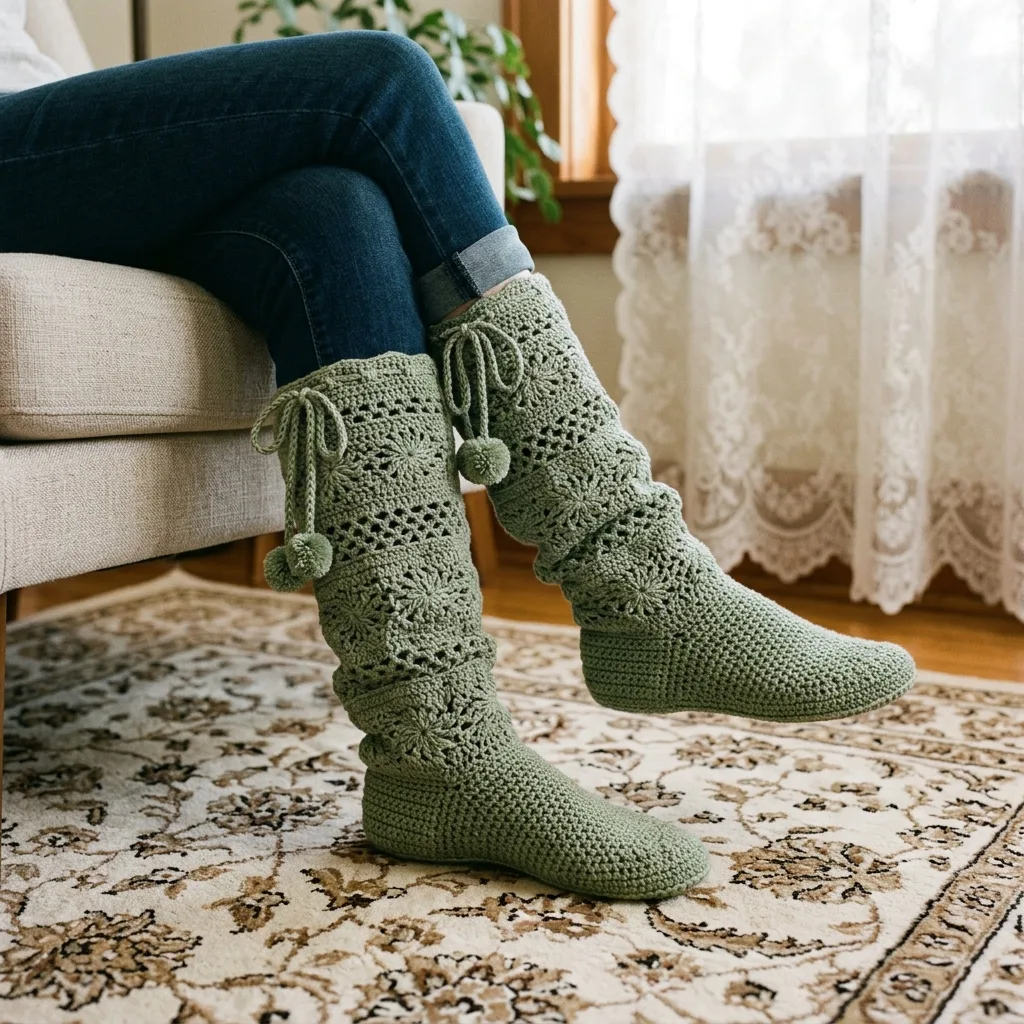
I don’t know about you, but I have been searching for the perfect cozy house boots that actually look stylish. You know the ones. Warm enough for cold mornings, pretty enough to wear when friends pop over, and comfortable enough to forget you’re wearing them. These sage green boho crochet lace boots check every single box. All the cozy with none of the frumpy slipper vibes.
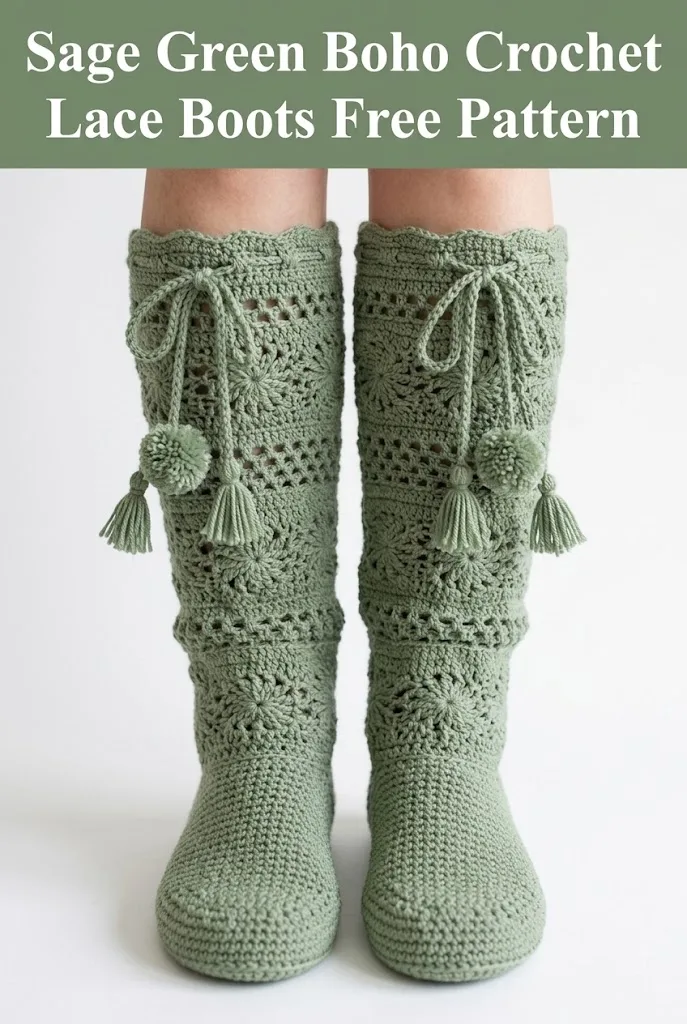
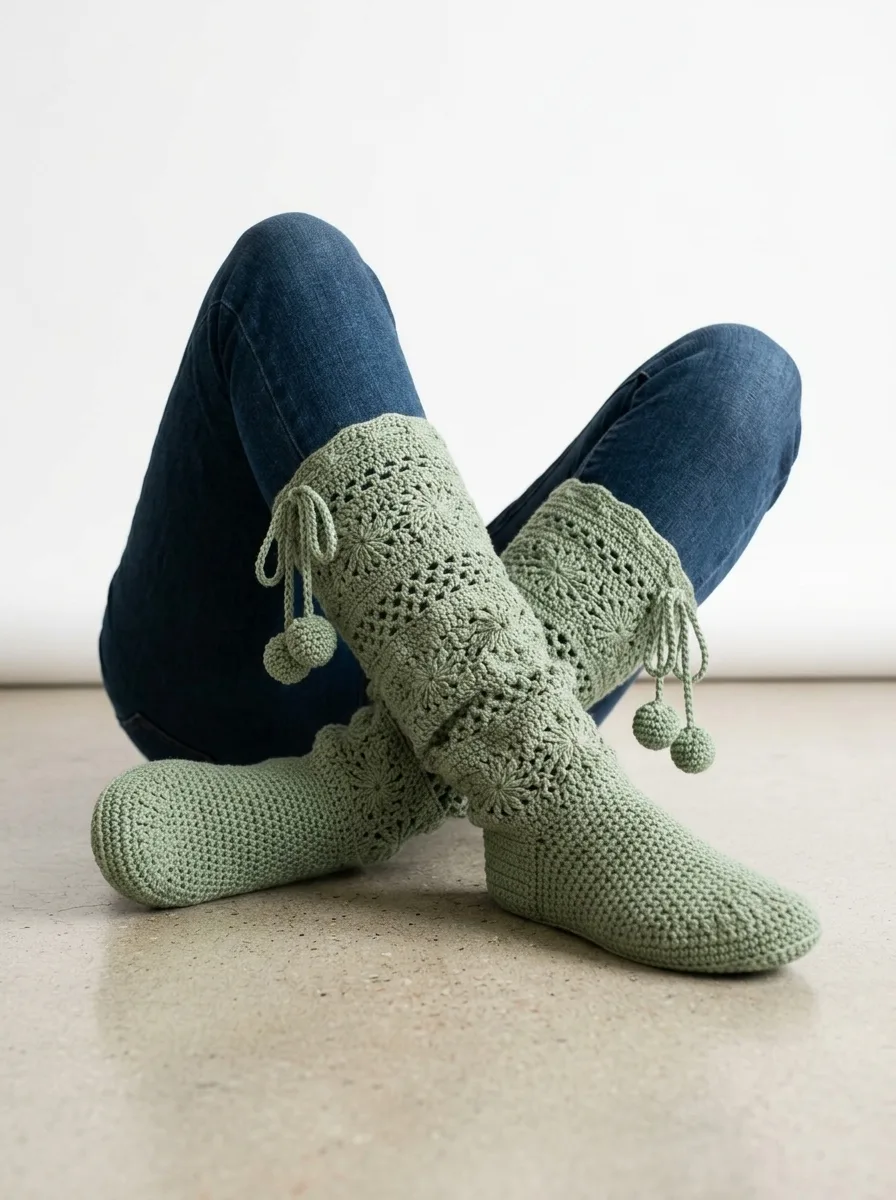
These beauties feature delicate floral lace panels, an openwork lattice design, and the sweetest little pom pom ties at the cuff. They look complicated, but I promise the construction is more straightforward than you might think. We’re building them in sections, starting with a solid sole and foot, then adding those gorgeous decorative panels as we work up the leg.
Why You’ll Love This Crochet Boots Pattern
This crochet lace boots pattern combines function with genuine beauty. The solid single crochet sole and foot portion give you warmth and durability where you need it most. Then the openwork lace sections on the leg add breathability and visual interest without sacrificing coziness.
The boho aesthetic comes through in every detail. Those flower motifs scattered across the panels, the airy lattice sections between them, and the drawstring closure with pom poms at the top. They’re like wearing a vintage garden on your feet.
I designed these with intermediate crocheters in mind, but adventurous beginners can absolutely tackle this project. If you’ve made granny squares before and feel comfortable with basic increases and decreases, you have the skills you need.
Materials Needed for Your Crochet Boots
Yarn:
Hook:
Notions:
Gauge:
Abbreviations and Stitch Definitions
Let me walk you through every stitch we’ll use. No surprises here.
ch = chain: Wrap yarn over hook, pull through loop on hook. This creates your foundation.
sl st = slip stitch: Insert hook, yarn over, pull through stitch AND loop on hook in one motion. Used for joining rounds.
sc = single crochet: Insert hook into stitch, yarn over and pull up a loop (2 loops on hook), yarn over and pull through both loops. This is your basic building block stitch.
dc = double crochet: Yarn over, insert hook into stitch, yarn over and pull up a loop (3 loops on hook), yarn over and pull through 2 loops, yarn over and pull through remaining 2 loops. Creates a taller stitch with nice drape.
tr = treble crochet: Yarn over twice, insert hook into stitch, yarn over and pull up a loop (4 loops on hook), yarn over and pull through 2 loops three times. Even taller than double crochet.
hdc = half double crochet: Yarn over, insert hook, yarn over and pull up a loop (3 loops on hook), yarn over and pull through all 3 loops at once.
sc2tog = single crochet two together (decrease): Insert hook in first stitch, pull up a loop, insert hook in next stitch, pull up a loop (3 loops on hook), yarn over and pull through all 3 loops. This turns 2 stitches into 1.
puff st = puff stitch: (Yarn over, insert hook, pull up a loop) 3 times in same stitch (7 loops on hook), yarn over and pull through all 7 loops. Creates a raised, puffy texture for the flower centers.
Size Information
This pattern is written for a women’s medium (US shoe size 7 to 8).
Finished Measurements:
To adjust the size, add or subtract foundation chains in multiples of 2 for the sole, and adjust the leg rounds accordingly.
Step by Step Crochet Boot Pattern
Part 1: The Sole (Make 2)
We’re starting from the ground up. Literally.
Foundation: Ch 29.
Round 1: Sc in 2nd ch from hook, sc in next 26 ch, 3 sc in last ch (this creates the turn at the toe). Working along the opposite side of the foundation chain, sc in next 26 sts, 2 sc in last st. Join with sl st to first sc. (58 sts)
Round 2: Ch 1, 2 sc in first st, sc in next 26 sts, 2 sc in each of next 3 sts, sc in next 26 sts, 2 sc in last 2 sts. Join with sl st. (66 sts)
Round 3: Ch 1, sc in first st, 2 sc in next st, sc in next 26 sts, (sc in next st, 2 sc in next st) 3 times, sc in next 26 sts, (sc in next st, 2 sc in next st) twice. Join with sl st. (74 sts)
Round 4: Ch 1, sc in each st around. Join with sl st. (74 sts)
Place a stitch marker at the center front of the toe (this will be important later).
Part 2: The Foot Section
Now we build up the sides and create the foot cup.
Rounds 5 through 8: Ch 1, working in back loops only for Round 5 (this creates a nice edge at the sole), sc in each st around. Join with sl st. (74 sts)
For Rounds 6 through 8, work through both loops as normal.
Round 9 (Begin Toe Shaping): Ch 1, sc in first 25 sts, (sc2tog) 12 times across the toe area, sc in remaining 25 sts. Join with sl st. (62 sts)
Round 10: Ch 1, sc in first 22 sts, (sc2tog) 9 times, sc in remaining 22 sts. Join with sl st. (53 sts)
Rounds 11 through 14: Ch 1, sc in each st around. Join with sl st. (53 sts)
Round 15 (Instep Opening Preparation): This round prepares for the transition to the leg portion. Ch 1, sc in each st around, placing a stitch marker at the back center of the heel. Join with sl st. (53 sts)
Part 3: The Decorative Lace Leg
Here’s where the magic happens. Don’t let the lace intimidate you. We’re building it one round at a time.
Round 16 (Transition Round): Ch 3 (counts as first dc), dc in each st around. Join with sl st to top of ch 3. (53 dc)
Round 17: Ch 3, dc in next st, *ch 2, skip 2 sts, dc in next 2 sts* repeat around, adjusting final repeat as needed to complete the round evenly. Join with sl st. (approximately 53 sts including chains)
Rounds 18 through 20 (Lattice Section):
Ch 5, *dc in next ch 2 space, ch 2* repeat around. Join with sl st to 3rd ch of beginning ch 5.
This creates the open lattice grid you see in the design.
Round 21 (Flower Motif Round):
Ch 1, *sc in ch 2 space, ch 3, puff st in same space, ch 3, sc in same space (this creates one flower), sc in next ch 2 space* repeat around, alternating flower motifs with plain spaces. Join with sl st.
The puff stitch flowers should be spaced evenly. You’ll have approximately 8 to 10 flowers per round.
Rounds 22 through 24: Repeat the lattice pattern from Rounds 18 through 20.
Round 25: Repeat the flower motif round.
Rounds 26 through 28: Repeat lattice pattern.
Round 29: Repeat flower motif round.
Round 30 (Eyelet Round for Drawstring): Ch 3, dc in next st, *ch 2, skip 2 sts, dc in next 2 sts* repeat around. Join with sl st.
Rounds 31 through 33: Ch 1, sc in each st and ch space around (working 2 sc in each ch 2 space). Join with sl st. This creates a solid cuff. (approximately 56 sts)
Round 34 (Final Edging): Ch 1, *sc in next st, ch 2, skip 1 st* repeat around for a delicate scalloped edge. Join with sl st. Fasten off.
Part 4: The Drawstring Ties
These add the finishing boho touch and help the boots stay snug around your leg.
Foundation: Ch 120 (or until tie measures approximately 30 inches).
Row 1: Sl st in 2nd ch from hook and in each ch across. Fasten off.
Make 2 ties total (one for each boot).
Part 5: Pom Poms
Make 4 pom poms total, approximately 1.5 inches in diameter.
Using a pom pom maker or two cardboard circles, wrap yarn generously until you achieve a full, fluffy pom pom. Trim to shape. Leave long tails for attaching to the drawstring ties.
Attach one pom pom to each end of both drawstrings, securing tightly with the yarn tails.
Assembly and Finishing
Weave in all ends securely using your yarn needle. Take your time with this step. Nobody wants yarn tails poking out of their beautiful boots.
Thread each drawstring through the eyelet round (Round 30), starting at the center front and weaving in and out of the ch 2 spaces. The drawstring should exit at the front center, allowing you to tie a bow.
Care Instructions
Hand wash these boots in cool water with a gentle detergent. Reshape while damp and lay flat to dry. Avoid the dryer, as heat can distort the shape and felt certain yarn types.
For longer wear on hard floors, consider adding a non slip sole treatment or wearing them over thin socks.
Tips for Success with This Crochet Tutorial
Check your gauge. I know I keep saying it, but the difference between a boot that fits and one that doesn’t often comes down to gauge. Make a small swatch before starting.
Use stitch markers generously. Mark the beginning of each round, the toe center, and the heel center. You’ll thank yourself later.
Block the finished boots. Wet blocking really opens up the lace sections and helps the flower motifs pop. Stuff the boots with plastic bags or foam while drying to maintain shape.
Don’t stress about perfection. The beauty of handmade items is their slight variations. If your lattice isn’t mathematically precise, nobody will notice when you’re wearing them.
Customization Ideas
These crochet lace boots work beautifully in so many colors. Imagine them in cream for a wedding gift, deep burgundy for fall, or soft pink for a feminine touch.
You could also skip the pom poms and add tassels instead, or leave the ties plain for a more minimalist look.
For extra warmth, line the foot portion with a fleece insole, or work the foot section with a double strand of yarn.
Thank you so much for choosing this pattern for your next crochet project. I truly hope you love making these boots as much as I loved designing them. When you finish your pair, I would absolutely love to see them. Tag me on Instagram or share a photo in our Facebook group.
If this pattern is going on your to make list, go ahead and pin it to your favorite Pinterest board so you can find it easily when you’re ready to start. And please leave a comment below if you make these boots. Hearing from you honestly makes my day, and your feedback helps other crocheters decide if this project is right for them.
