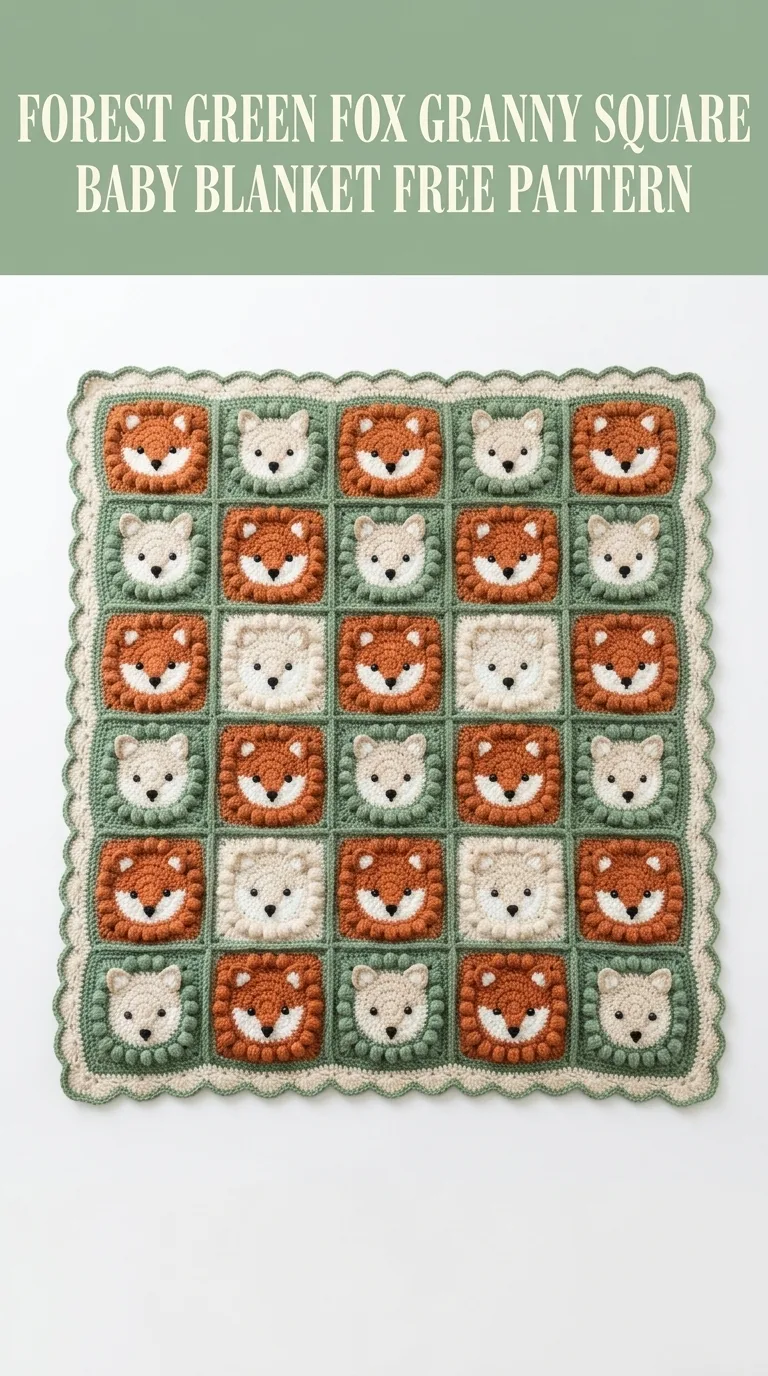
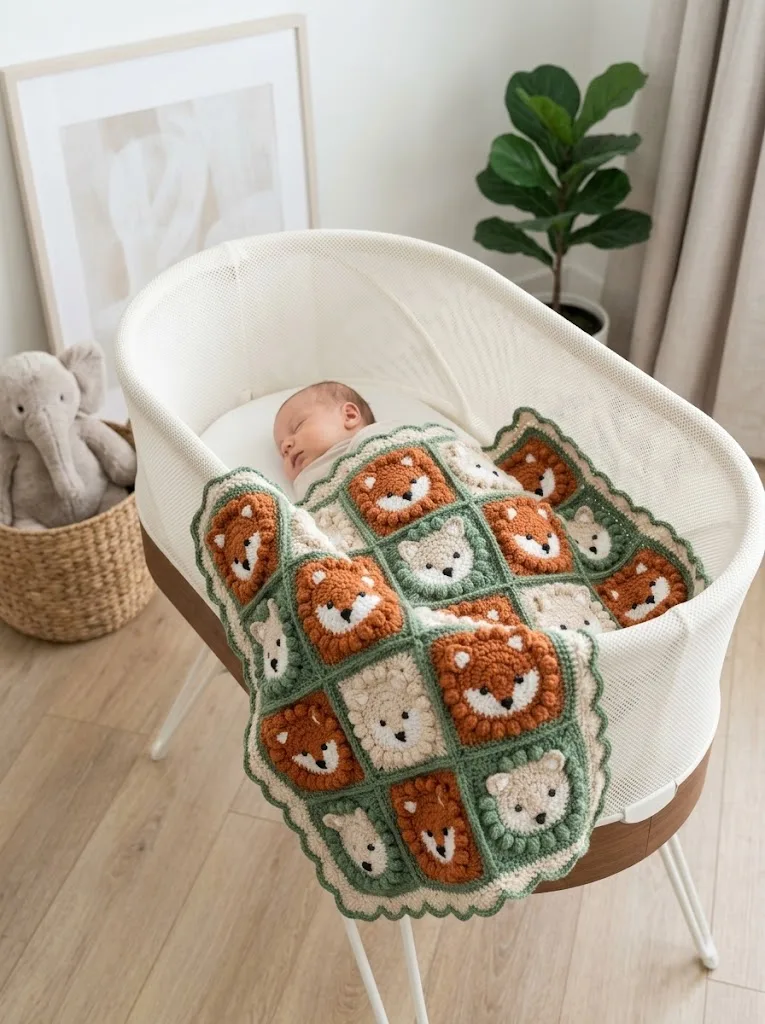
Looking for the perfect handmade baby gift that will get endless compliments? This adorable fox granny square blanket is exactly what you need. It combines simple bobble stitches and basic granny square construction to create charming woodland fox faces that any nursery would love. The pattern works up faster than you might expect, uses worsted weight yarn from your stash, and makes an unforgettable baby shower gift or charity donation piece. Whether you are crocheting for your own little one or someone special, this cozy blanket is practical, whimsical, and absolutely huggable.
I designed this blanket with accessibility in mind. If you can crochet a basic granny square and make a bobble stitch, you can absolutely create this sweet woodland masterpiece. The construction is straightforward. You will make individual fox face squares, join them together, then add a simple scalloped border. Let me walk you through every single step.
Why You Will Love This Fox Granny Square Baby Blanket Crochet Pattern
This crochet pattern hits all the right notes for both the maker and the recipient. The modular design means you can work on squares anywhere, anytime. Waiting rooms, car rides, lunch breaks. Each square takes roughly 20 to 30 minutes once you get the rhythm down.
The finished blanket measures approximately 30 inches by 36 inches, which is a generous size for a stroller blanket or tummy time mat. You can easily adjust the size by adding or removing rows of squares.
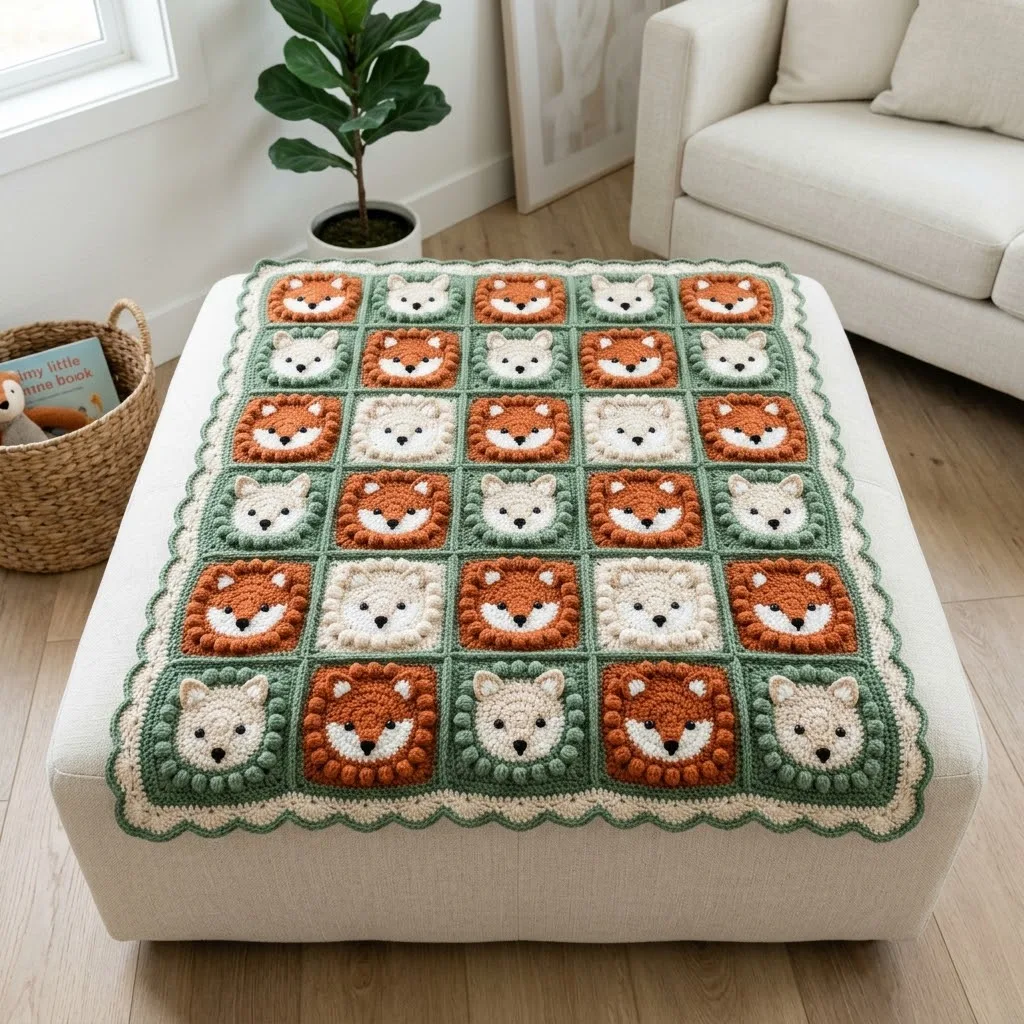
Best of all? The bobble stitch texture creates those puffy fox cheeks and ears that make this blanket so irresistibly cute. Babies love the tactile experience, and adults cannot stop touching it.
Materials You Will Need
Before you begin, gather these supplies:
Yarn:
– Burnt Orange (approximately 400 yards) for fox faces
– Cream or Ivory (approximately 350 yards) for fox faces and inner ears
– Forest Green (approximately 500 yards) for square borders and blanket border
– Black (approximately 20 yards) for noses and eyes
Hook:
Notions:
Gauge: Each completed square measures approximately 6 inches by 6 inches after blocking. Always check your gauge before starting.
Abbreviations and Stitch Definitions
Let me explain every stitch you will use in this pattern. Read through these carefully before starting.
Ch = Chain. Wrap yarn over hook, pull through loop on hook. This creates the foundation for your work.
Sl st = Slip stitch. Insert hook into stitch, yarn over, pull through both loops on hook. Used for joining and moving across stitches without adding height.
Sc = Single crochet. Insert hook into stitch, yarn over, pull up a loop (2 loops on hook), yarn over, pull through both loops. Creates a short, tight stitch.
Dc = Double crochet. Yarn over, insert hook into stitch, yarn over, pull up a loop (3 loops on hook), yarn over, pull through 2 loops, yarn over, pull through remaining 2 loops. Creates a taller stitch.
Bob = Bobble stitch. This creates those adorable puffy cheeks! Work 5 double crochets into the same stitch but stop before the final yarn over on each one (leaving 2 loops on hook each time). You will have 6 loops on your hook. Yarn over and pull through all 6 loops at once. The bobble pops to the front of your work.
Inc = Increase. Work 2 stitches into the same stitch.
Fox Face Granny Square Pattern
You will make 30 squares total for this blanket: 18 orange fox squares and 12 cream fox squares. The construction is identical for both, just swap the main face color.
Orange Fox Square (Make 18)
Round 1: With Burnt Orange yarn, create a magic ring. Ch 3 (counts as first dc throughout), work 2 dc into ring, ch 2, *3 dc into ring, ch 2* repeat 3 more times. Join with sl st to top of beginning ch 3. Pull magic ring closed. (12 dc, 4 ch-2 corner spaces)
Round 2: Sl st into next 2 dc and into corner ch-2 space. Ch 3, 2 dc in same space, ch 1, 3 dc in same corner space. *Ch 1, 3 dc in next corner space, ch 1, 3 dc in same corner space.* Repeat around. Join with sl st. (24 dc, 8 ch-1 spaces)
Round 3: This is where the magic happens! We add the bobble cheeks. Sl st to corner space. Ch 3, 2 dc, ch 2, 3 dc in same corner. Ch 1, 3 dc in next ch-1 space. Ch 1. In the next corner space, work: 3 dc, ch 2, 3 dc. Ch 1, Bob in next ch-1 space, ch 1. Continue around, placing bobbles on the two side ch-1 spaces that will form the cheeks. Join with sl st. (36 dc, 2 bobbles)
Round 4: Continue building the granny square. Sl st to corner. Ch 3, 2 dc, ch 2, 3 dc in corner. *Ch 1, 3 dc in each ch-1 space across to next corner. Ch 1, 3 dc, ch 2, 3 dc in corner.* Repeat around. Join with sl st. (48 dc)
Round 5: Switch to Forest Green yarn. Repeat Round 4 structure, working 3 dc clusters in each ch-1 space and corners. Join. Fasten off. (60 dc)
Adding Fox Features
This is the fun part! You will add ears, eyes, nose, and inner ear details.
Ears (Make 2 per square):
With Burnt Orange, ch 4. Sc in 2nd ch from hook, hdc in next ch, dc in last ch. Fasten off leaving a long tail for sewing.
Inner Ears (Make 2 per square):
With Cream yarn, ch 3. Sc in 2nd ch from hook, hdc in last ch. Fasten off leaving tail.
Assembly:
1. Sew inner ears onto outer ears, positioning at the base of each triangle.
2. Position ears at the top corners of your square, angling them slightly outward. The ears should sit just inside the green border round. Sew securely.
3. Using Black yarn and your tapestry needle, embroider the nose. Create a small triangle using satin stitch, positioned between and slightly below the bobble cheeks.
4. Embroider eyes using French knots or small satin stitch circles. Place them above the cheeks, evenly spaced.
Do not worry if your first fox looks a little wonky. Embroidery placement takes practice. I recommend making one complete square first to test your feature placement before making all 30.
Cream Fox Square (Make 12)
Follow the exact same instructions as the Orange Fox Square, but use Cream yarn instead of Burnt Orange for Rounds 1 through 4. Still use Forest Green for Round 5. For the ears, use Cream with a small Burnt Orange inner ear for contrast.
Blanket Assembly
Now comes the satisfying part. Laying out all your sweet fox faces and joining them together.
Layout
Arrange your 30 squares in a 5 by 6 grid. I recommend alternating orange and cream foxes in a checkerboard pattern, but you can arrange them however you like. Take a photo of your layout before joining so you remember the placement!
Joining Method
I recommend the flat slip stitch join for this blanket because it creates a neat, flat seam that showcases the green borders beautifully.
To join:
1. Hold two squares with wrong sides together (right sides facing out).
2. Working through both layers, insert hook through back loops only of corresponding stitches.
3. Using Forest Green yarn, sl st across the edge.
4. Continue joining squares into rows first, then join rows together.
Pro tip: Join all vertical seams first, creating 6 horizontal strips of 5 squares each. Then join those strips together with long horizontal seams.
Blanket Border
The scalloped border gives this baby blanket crochet pattern a polished, professional finish.
Round 1: Join Forest Green to any corner. Ch 1, work sc evenly around entire blanket, placing 3 sc in each corner. Join with sl st. Count your stitches and adjust to ensure you have a multiple of 6 plus 3 for the scallop pattern.
Round 2: Switch to Cream yarn. Ch 1, sc in same st. *Skip 2 sts, 5 dc in next st (shell made), skip 2 sts, sc in next st.* Repeat around, adjusting at corners to keep work flat. Join with sl st.
Round 3: Switch back to Forest Green. Ch 1, sc in each st around, working 3 sc in the center dc of each shell for a smoother edge. Join.
Round 4: Final scallop round. With Forest Green, ch 1, sc in first st. *Skip 2 sts, 5 dc in next st, skip 2 sts, sc in next st.* Repeat around. Join. Fasten off.
Finishing Your Blanket
Weave in all those ends! With a project like this, you will have quite a few. I like to weave each end through at least 2 inches of stitches, then double back for security.
Blocking is optional but recommended. Wet block by soaking your blanket in cool water with a splash of wool wash. Gently squeeze out excess water (never wring), then lay flat on blocking mats or towels. Shape to dimensions and let dry completely.
Tips for Success
Tension consistency matters most when making multiple squares. Try to maintain the same tension throughout so all your squares measure the same. If you are a tight crocheter, go up a hook size. Loose? Go down.
Color substitution works beautifully with this pattern. Try gray and white for wolf faces, or brown and tan for bears. The granny square construction adapts to many woodland creatures.
For gifting, I recommend including a care card. This blanket is machine washable on gentle cycle with cold water. Lay flat to dry or tumble on low.
Skill Level and Time Estimate
I would call this an easy to intermediate crochet pattern. You need to know basic granny squares and be comfortable with the bobble stitch. The embroidery is simple, and I have seen many beginners tackle this successfully.
Time estimate: Approximately 25 to 35 hours total, depending on your speed. Each square takes about 20 to 30 minutes, plus time for joining and the border.
Making This Blanket Your Own
Feel free to customize! Here are some ideas:
Thank you so much for choosing this pattern for your next project! I truly hope you enjoy making this sweet fox blanket as much as I enjoyed designing it. If you create one, I would absolutely love to see it. Tag me on Instagram or share a photo in my Facebook group. Seeing your finished projects honestly makes my whole week.
If this pattern made you smile or you want to remember it for later, save it to your Pinterest boards so you can find it when you are ready to start. And please drop a comment below if you make one. I read every single comment and love hearing about your color choices, who you made it for, and any tips you discovered along the way. Happy crocheting, friend!
