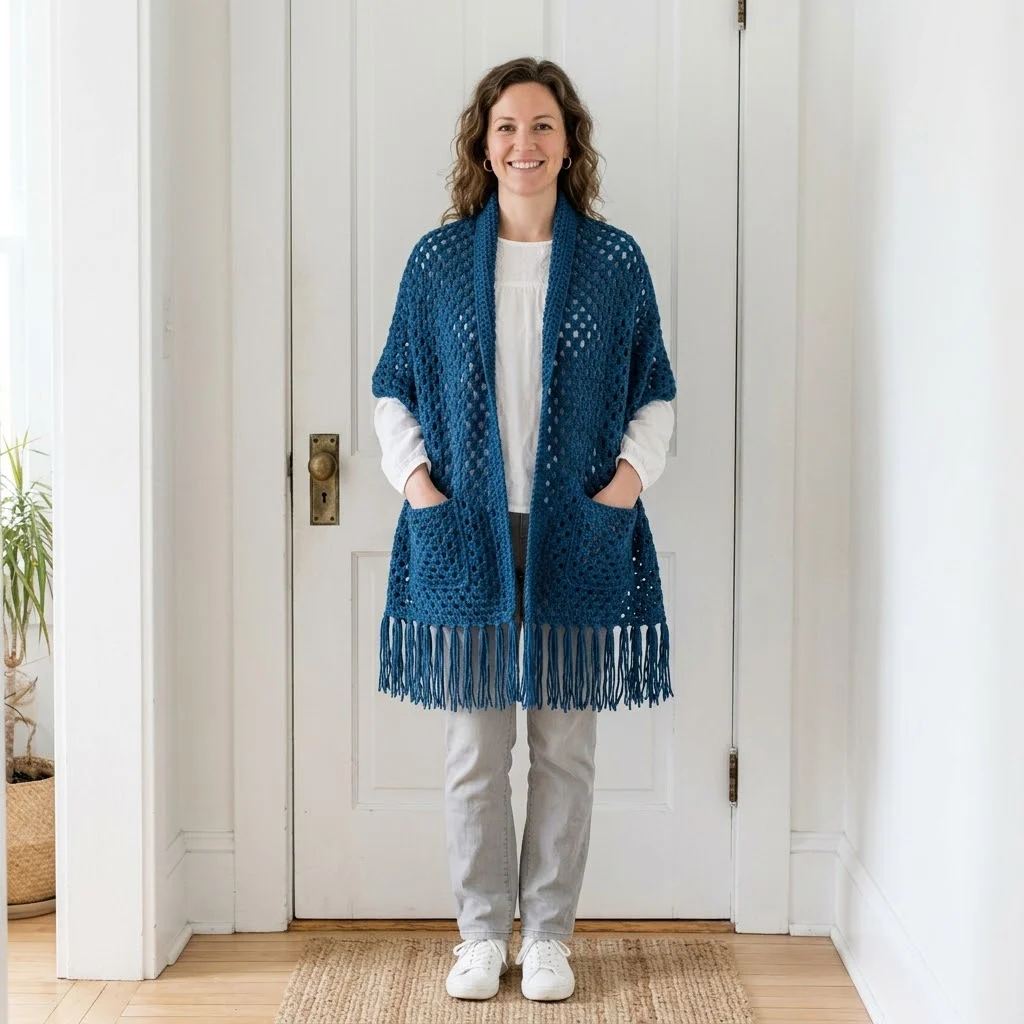
This is a classic granny square pocket shawl with fringe. It uses basic stitches. The construction is simple and repetitive. If you can make a granny square, you can make this shawl.

The design combines traditional granny stitch panels with cozy pockets and a long fringe finish. You will work flat panels, seam them together, and add pockets at each end. The whole project uses double crochet clusters and chain spaces. Nothing fancy, just satisfying repetition that builds into something beautiful and functional.
Why You Will Love This Crochet Pattern
This pocket shawl is the kind of project you pick up and don’t want to put down. The granny stitch creates an open, lacy texture that works up quickly. You get visible progress with every row. The pockets are a practical touch that makes this more than just a decorative wrap. They keep your hands warm and give you a place to tuck your phone or tissues.
The ocean blue color in this design is stunning, but this pattern works beautifully in any solid or variegated yarn. The open stitch pattern lets the yarn do the talking.
This crochet tutorial walks you through every step from the first chain to the last fringe knot. Whether you are an experienced crafter or a confident beginner ready for your first wearable, you will find clear instructions and helpful tips throughout.
Skill Level
Easy to Intermediate
If you have made a basic granny square before, you have all the skills you need. The main body uses the same stitch pattern throughout. The pockets are smaller versions of the same technique. Seaming and fringe are straightforward finishing steps.
This pattern is beginner friendly if you take it section by section. I will explain each technique as we go.
Finished Measurements
Materials Needed
Yarn
The yarn in the photo appears to be a smooth, plied acrylic with a slight sheen. Look for something that feels soft against your skin since this will drape around your neck and shoulders. Avoid anything scratchy or stiff.
Hook
You may need to adjust your hook size to match gauge. More on that below.
Notions
Gauge
14 stitches and 7 rows = 4 inches in granny stitch pattern
To check your gauge, work the first few rows of the main panel. Measure your width. If your fabric is too tight, go up a hook size. If it is too loose, go down a hook size.
Gauge matters for this project because it affects the final drape and size. A too-tight fabric will feel stiff. A too-loose fabric may stretch out of shape.
Abbreviations and Stitch Definitions
Let me explain every stitch before we begin. Refer back to this section whenever you need a refresher.
Ch = Chain. Wrap yarn over hook and pull through the loop on your hook. This creates one chain stitch.
Sl st = Slip stitch. Insert hook into stitch, yarn over, pull through both the stitch and the loop on your hook in one motion. Used for joining and moving across stitches.
Dc = Double crochet. Yarn over, insert hook into stitch, yarn over and pull up a loop (3 loops on hook), yarn over and pull through 2 loops (2 loops remain), yarn over and pull through remaining 2 loops. This is a tall stitch that creates height quickly.
Sk = Skip. Pass over the indicated stitch or space without working into it.
Sp = Space. The gap created by chain stitches, often used as a working space in lace patterns.
3-dc cluster = Three double crochet stitches worked into the same stitch or space. This is the building block of granny stitch.
Granny stitch = A combination of 3-dc clusters separated by chain spaces. Creates the characteristic open, lacy look of granny square patterns.
Pattern Notes
Read these before starting. They will save you confusion later.
1. The main body is worked flat in rows, turning at the end of each row.
2. Chain 3 at the beginning of a row counts as your first double crochet unless otherwise noted.
3. Work all clusters into chain spaces, not into individual stitches. This is key to getting the granny stitch look right.
4. The pockets are worked separately and sewn on at the end.
5. Fringe is added last along both short ends of the shawl.
6. Do not cut your yarn between sections if you can avoid it. This reduces ends to weave in later.
Step by Step Crochet Pattern
Main Shawl Body
The body is one long rectangular panel worked in granny stitch rows.
Foundation Row:
Ch 62.
Row 1: Dc in 4th ch from hook (the skipped chains count as your first dc). Dc in next ch. *Sk 2 ch, 3 dc in next ch.* Repeat from * to * across until 3 ch remain. Sk 2 ch, 3 dc in last ch. Turn. (60 sts)
Row 2: Ch 3 (counts as first dc). 2 dc in same st. *Sk 3 dc, 3 dc in next ch-sp or gap between clusters.* Repeat from * to * across. End with 3 dc in top of turning ch. Turn. (60 sts)
Rows 3 through 120: Repeat Row 2.
Your panel should measure approximately 70 inches long when complete. If you want a longer or shorter shawl, add or subtract rows here. Each row adds roughly half an inch to your length.
Fasten off. Weave in ends.
Border for Main Body
A simple border cleans up the edges and gives the shawl a finished look.
Round 1: Join yarn at any corner with a sl st. Ch 1. Work sc evenly around the entire rectangle. Work 3 sc in each corner to help the fabric lie flat. Join with sl st to first sc.
Round 2: Ch 1. Sc in each st around, working 3 sc in each corner st. Join with sl st. Fasten off.
This border is optional but recommended. It stabilizes the edges and creates a neat frame for the fringe.
Pockets (Make 2)
The pockets use the same granny stitch pattern in a smaller rectangle.
Foundation Row:
Ch 26.
Row 1: Dc in 4th ch from hook. Dc in next ch. *Sk 2 ch, 3 dc in next ch.* Repeat from * to * across until 3 ch remain. Sk 2 ch, 3 dc in last ch. Turn. (24 sts)
Row 2: Ch 3. 2 dc in same st. *Sk 3 dc, 3 dc in next gap.* Repeat from * to * across. End with 3 dc in top of turning ch. Turn. (24 sts)
Rows 3 through 14: Repeat Row 2.
Border:
Work 1 round of sc evenly around all four sides of the pocket square. Work 3 sc in each corner. Join with sl st. Fasten off.
Your pocket should measure approximately 7 inches wide and 8 inches tall. Make a second pocket identical to the first.
Assembly
Now we put everything together. This is easier than it looks.
Positioning the pockets:
1. Lay your main shawl body flat on a table or bed.
2. Find the center of each short end.
3. Position one pocket about 2 inches up from the bottom edge, centered horizontally.
4. Pin in place if desired.
Attaching the pockets:
Using your yarn needle and matching yarn, whip stitch the pocket to the shawl body along the bottom and two sides. Leave the top edge open so you can actually use the pocket.
Whip stitch how-to: Thread your needle with about 24 inches of yarn. Working from the wrong side, insert needle through one edge stitch of the pocket and the corresponding stitch on the shawl body. Pull through. Insert needle through the next stitch on each piece. Continue along the entire edge, keeping your stitches even and snug but not tight.
Repeat for the second pocket on the opposite end of the shawl.
Fringe
The fringe adds movement, length, and a beautiful vintage feel.
Cutting your fringe:
Cut strands of yarn approximately 14 inches long. You will need about 80 to 100 strands for each end, depending on how full you want your fringe.
Attaching fringe:
1. Take 2 strands and fold them in half.
2. Insert your crochet hook through the edge stitch from front to back.
3. Grab the folded loop with your hook and pull it through the edge, creating a small loop on the front side.
4. Pull the loose ends through this loop.
5. Tug firmly to tighten the knot.
6. Repeat across the entire bottom edge, spacing fringe bundles about half an inch apart.
7. Repeat on the opposite end of the shawl.
Trimming:
Once all fringe is attached, lay the shawl flat and trim the ends so they are even. A rotary cutter and mat work great for this, but sharp scissors work fine too.
Finishing
Weave in all remaining ends using your yarn needle. Work the tail through several stitches on the wrong side, then double back in a different direction. This locks the end in place so it won’t work loose with wear and washing.
Blocking (optional but recommended):
Wet blocking opens up the granny stitch pattern and evens out your stitches. Soak your finished shawl in cool water for 15 minutes. Gently squeeze out excess water without wringing. Lay flat on a towel or blocking mat. Smooth into shape. Pin if needed. Let dry completely before wearing.
Care Instructions
This shawl can be machine washed on a gentle cycle with cool water if you used acrylic yarn. Lay flat to dry to maintain shape. Avoid the dryer, which can damage fringe and distort the fabric.
For wool or wool blend yarns, hand wash in cool water with a gentle detergent. Lay flat to dry.
Customization Ideas
Make it longer: Add more rows to the main body for a floor-length wrap.
Make it wider: Add more chains to your foundation row in multiples of 3.
Skip the pockets: If you prefer a simpler look, leave off the pockets entirely.
Add stripes: Change colors every few rows for a striped effect.
Try different fringe: Use chunkier bundles for more drama, or skip fringe entirely for a clean modern look.
Troubleshooting Common Issues
My edges are wavy: You might be adding extra stitches at the turns. Count your stitches at the end of each row to catch this early.
My edges are pulling in: You might be skipping stitches or working too tightly at the turns. Make sure you work the full cluster at each end.
My pockets don’t match: Slight variations are normal. As long as both pockets are roughly the same size, no one will notice once they are attached.
My fringe is uneven: This is easy to fix. Just trim with sharp scissors after all fringe is attached.
Why This Pocket Shawl Makes a Great Gift
Handmade wearables are always meaningful, but this pocket shawl is especially giftable. It suits all body types because it drapes rather than fits. The pockets make it practical for everyday use. The granny stitch pattern has a timeless, heirloom quality that feels special.
Consider making one for a mom, grandmother, teacher, or friend who deserves something cozy. It also makes a thoughtful sympathy or get-well gift.
Thank you so much for choosing this pattern for your next project. I hope you enjoy making it as much as I enjoyed designing it. If you finish your shawl, I would love to see it. Tag me on Instagram or share a photo in my Facebook group. Seeing your creations truly makes my day.
If this pattern inspired you, go ahead and pin it to your favorite Pinterest board so you can find it when you are ready to start. And if you make one, please come back and leave a comment below. I read every single one, and your feedback helps other crafters decide if this project is right for them. Happy crocheting!
