
I don’t know about you, but I absolutely love a table setting that feels like a warm hug. Something handmade, something cheerful, something that makes breakfast feel like a little celebration.
Get the Ad-Free PDF Pattern
You can find the free pattern below, or you can purchase the ad-free printable PDF from my shop.
Get the Printable PDF →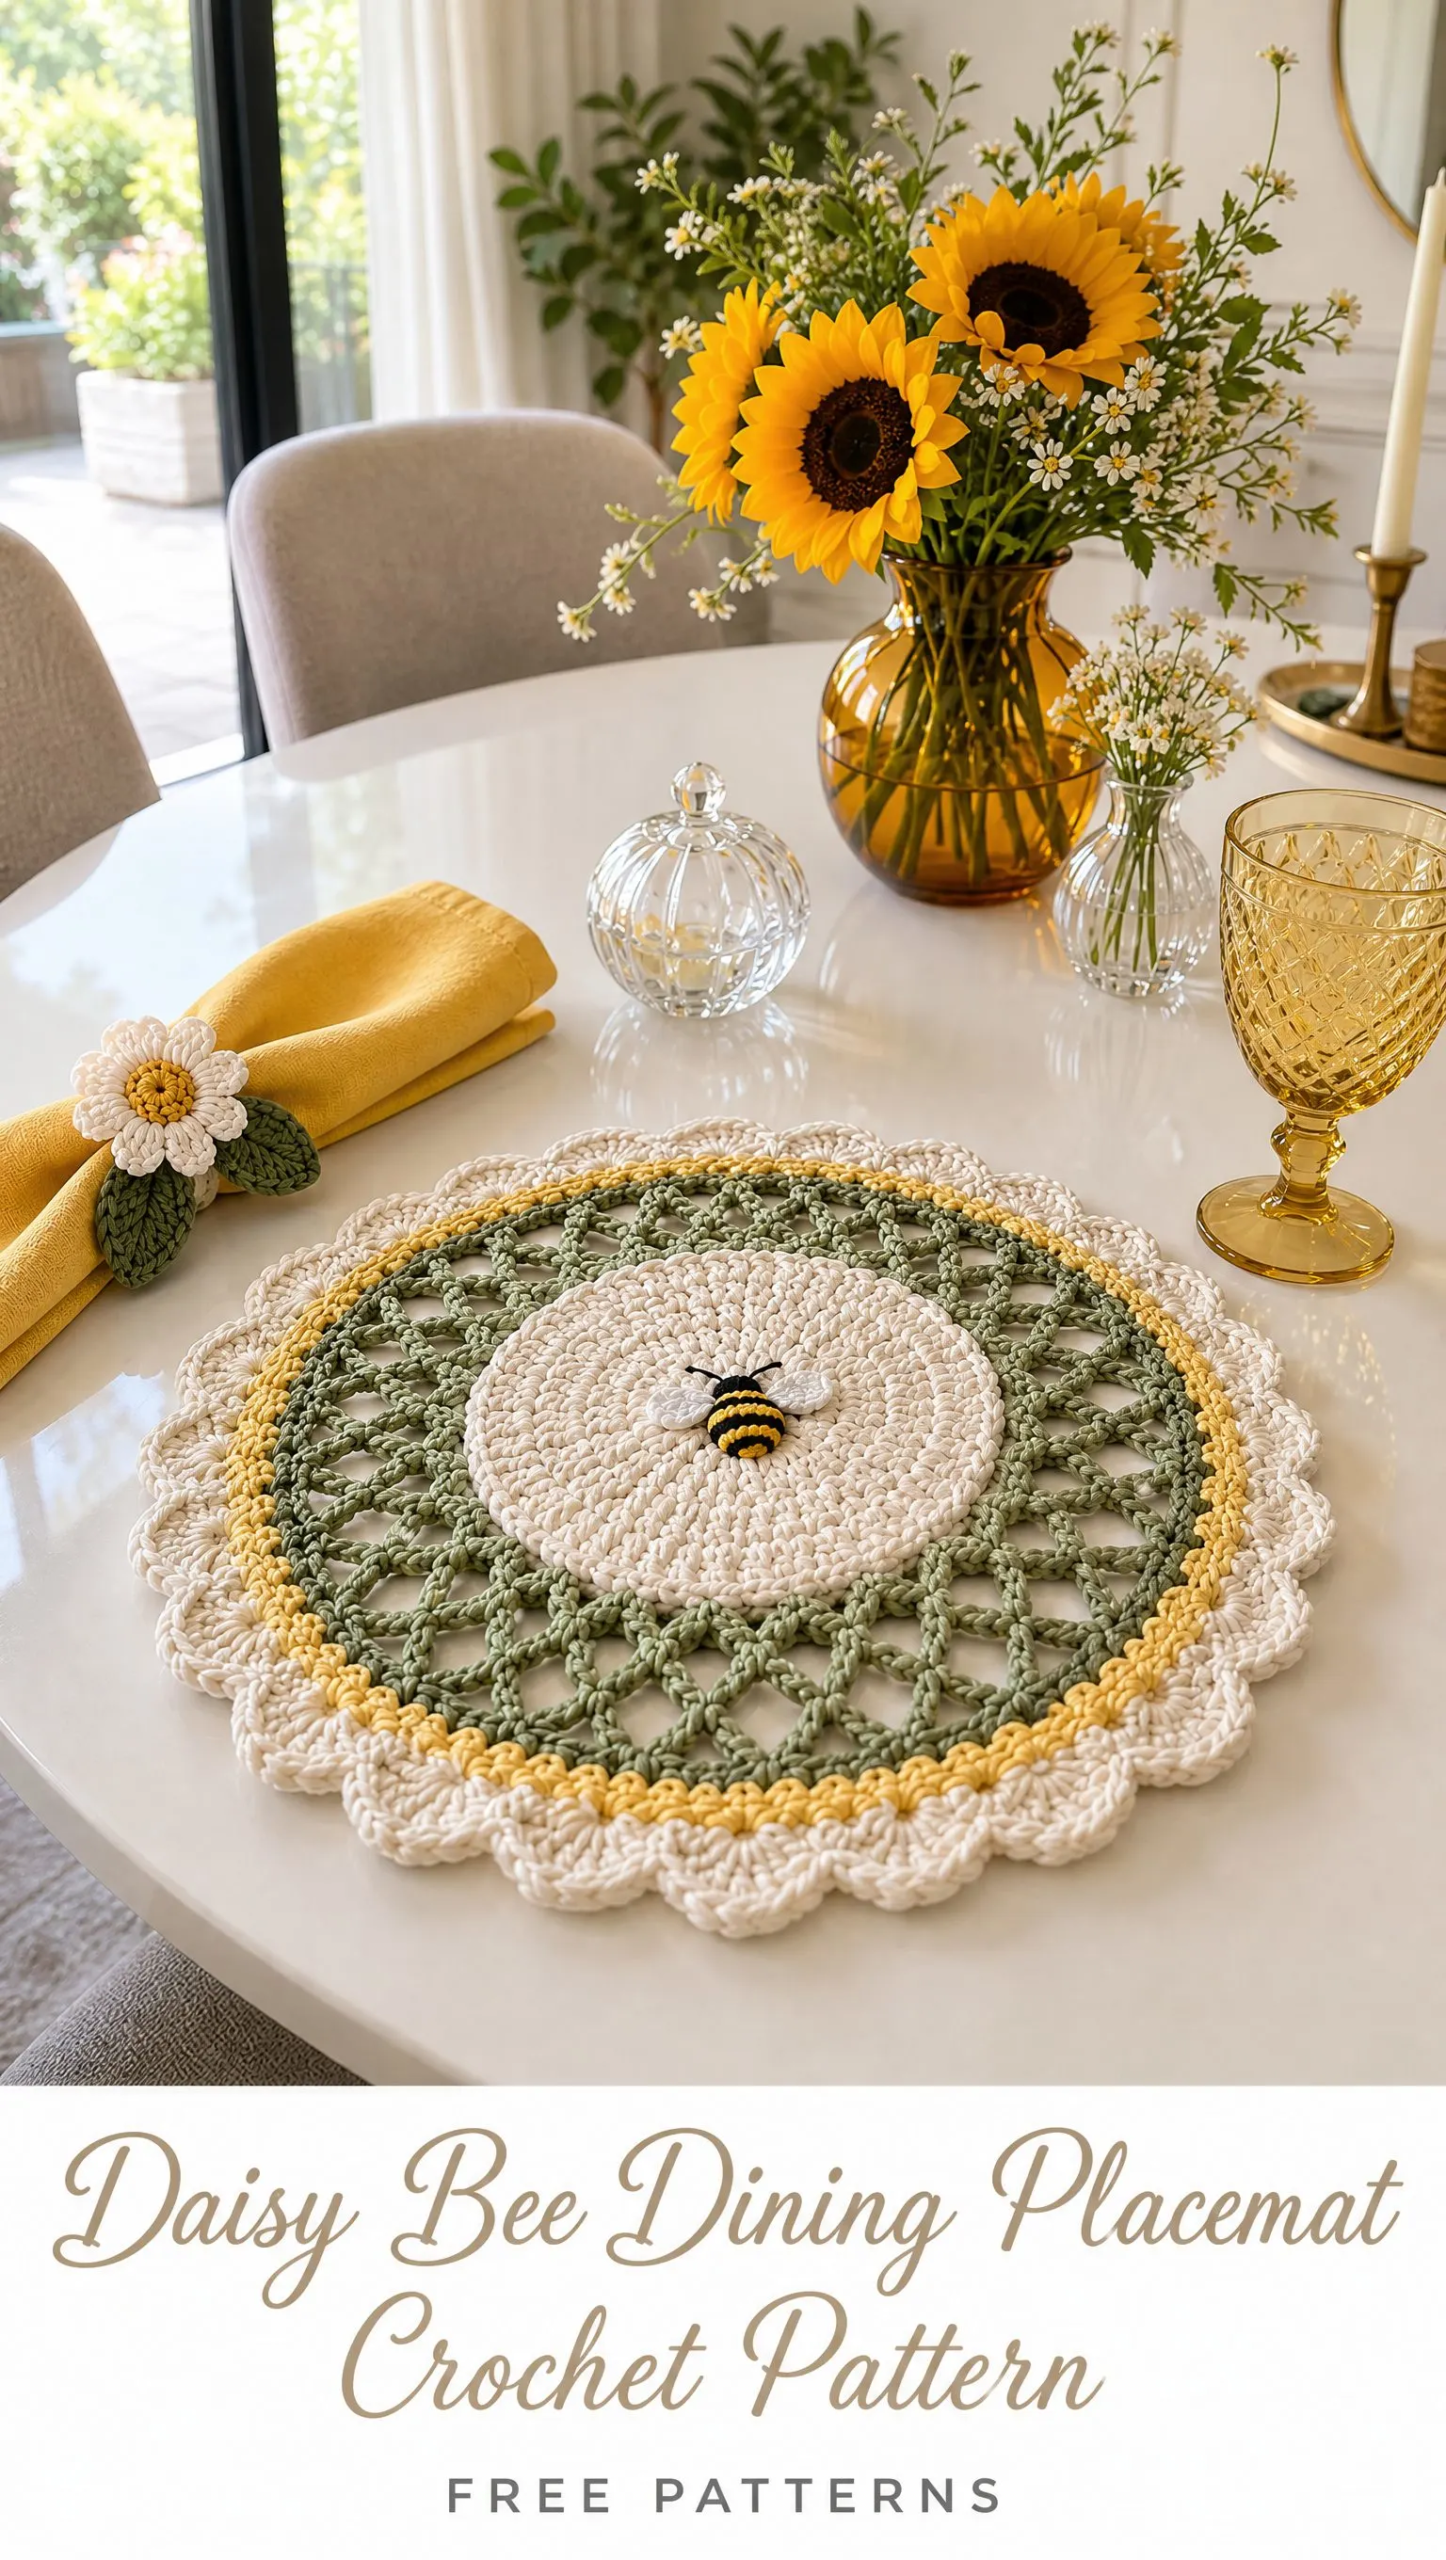
This Daisy Bee Dining Placemat is exactly that kind of project. It combines soft cream daisies, golden honeycomb texture, and the sweetest little embroidered bees into one stunning piece. All the charm of a cottage garden with none of the weeding.
If you’ve been looking for a crochet project that’s both practical and pretty, this is the one. It works up beautifully, lies perfectly flat, and honestly just makes you smile every time you see it on the table.
Why You’ll Love This Daisy Bee Placemat Pattern
This pattern hits that sweet spot between interesting enough to keep you engaged and straightforward enough to actually finish. The construction moves through several distinct sections, each one building on the last, so you’re never bored but never overwhelmed either.
The finished size comes out to approximately 14 to 16 inches (35 to 40 cm) in diameter, which is perfect for standard dinner plates. It’s substantial enough to protect your table while still looking delicate and handcrafted.
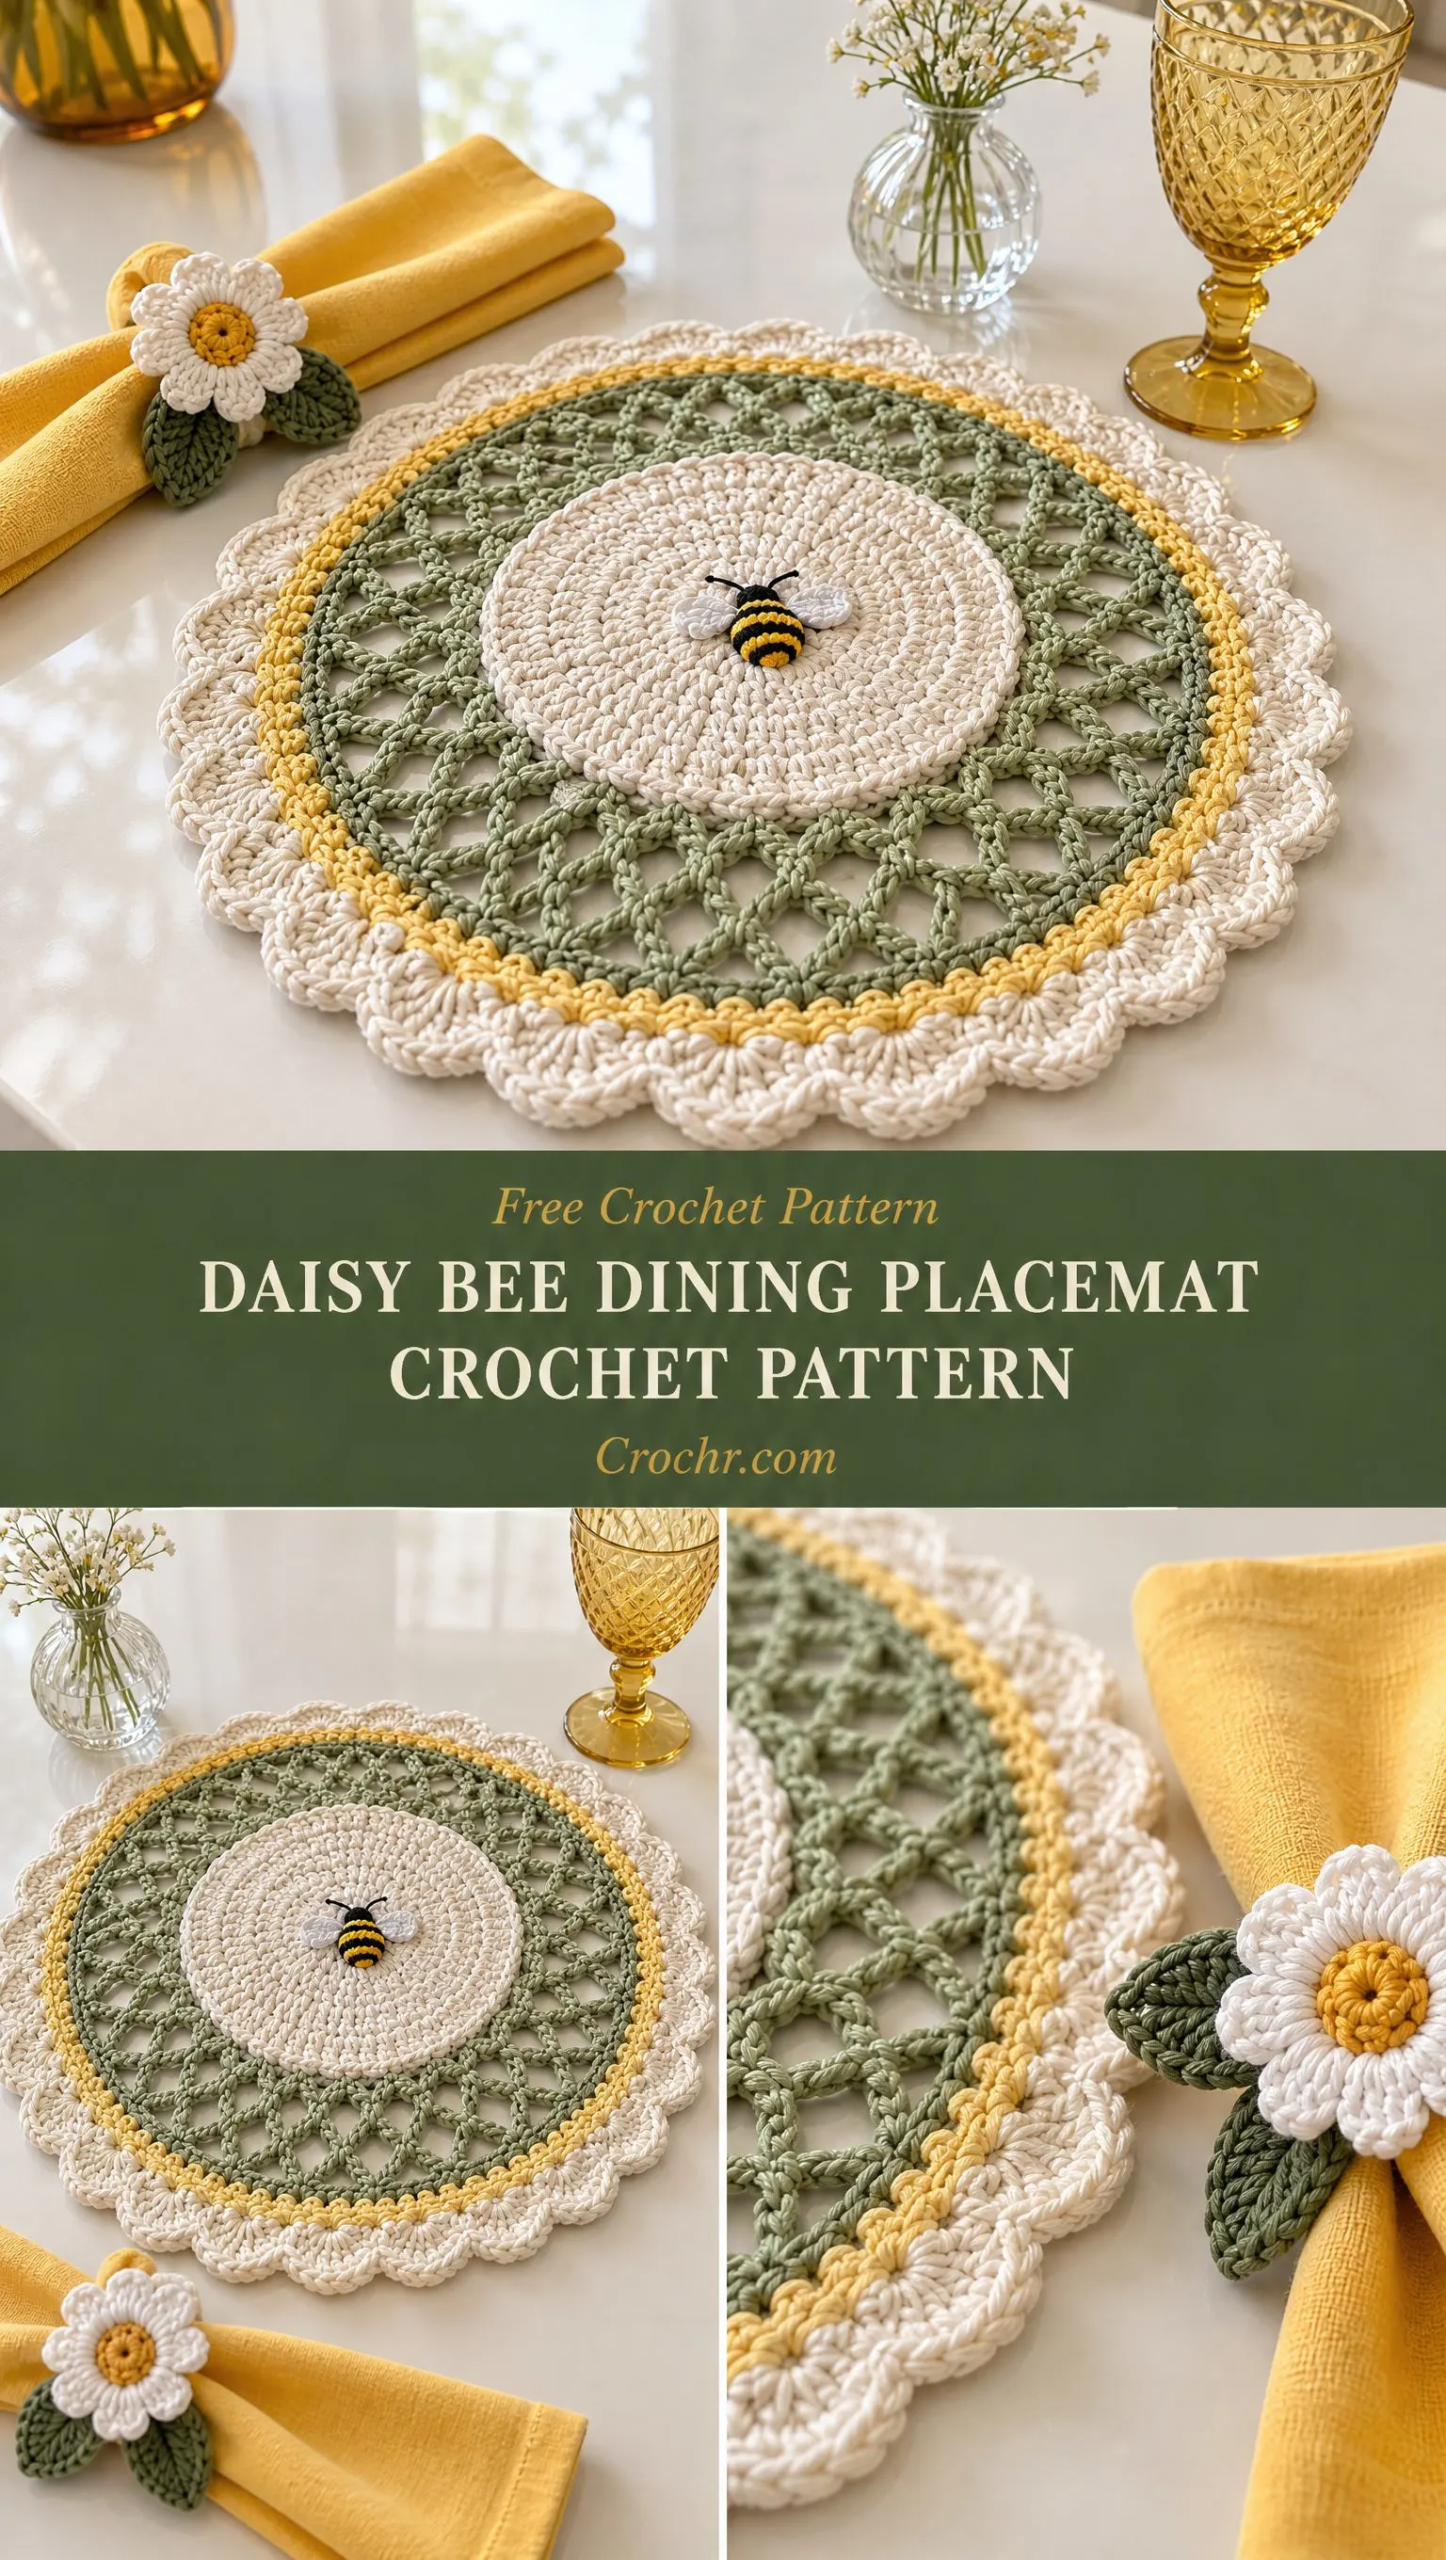
What really makes this placemat special is the combination of textures and techniques. You’ve got your smooth double crochet center, raised honeycomb clusters, embroidered bee details, daisy petals, leaf accents, and a gorgeous scalloped border. Each element adds visual interest without making the pattern complicated.
This is rated as an intermediate skill level project, but don’t let that scare you off if you’re a confident beginner. If you can work double crochet in the round and follow a simple increase pattern, you can absolutely make this.
Materials You’ll Need
Gather these supplies before you start. Having everything ready makes the whole process so much smoother.
Yarn:
Cotton yarn is essential here because it gives the placemat structure and durability. It also washes beautifully, which matters for something that’s going to live on your dining table.
Tools:
Gauge Information
Your gauge should be approximately 18 stitches and 10 rows in 4 inches of single crochet.
Here’s the good news: gauge is not critical for this project. The placemat doesn’t need to fit anyone, so if yours comes out slightly larger or smaller, that’s perfectly fine. What matters most is keeping your stitches firm and consistent so the placemat lies flat on the table without curling or bunching.
If your work is floppy or loose, go down a hook size. If it’s so tight you’re fighting the yarn, go up a size.
Stitch Abbreviations and Definitions
Let me break down every stitch you’ll use in this pattern. Understanding these before you start will make the instructions much easier to follow.
CH = Chain: The foundation stitch. Yarn over, pull through the loop on your hook. That’s one chain.
SL ST = Slip Stitch: Insert your hook, yarn over, pull through both the stitch and the loop on your hook in one motion. Used for joining rounds and moving across stitches without adding height.
SC = Single Crochet: Insert hook, yarn over and pull up a loop (2 loops on hook), yarn over and pull through both loops. The shortest and tightest of the basic stitches.
HDC = Half Double Crochet: Yarn over, insert hook, yarn over and pull up a loop (3 loops on hook), yarn over and pull through all 3 loops. Slightly taller than single crochet with a nice drape.
DC = Double Crochet: Yarn over, insert hook, yarn over and pull up a loop (3 loops on hook), yarn over and pull through 2 loops, yarn over and pull through remaining 2 loops. A versatile medium-height stitch that creates beautiful fabric.
TR = Treble Crochet: Yarn over twice, insert hook, yarn over and pull up a loop (4 loops on hook), then yarn over and pull through 2 loops three times until one loop remains.
INC = Increase: Working 2 stitches into the same stitch to add width.
ST = Stitch: Refers to a single stitch.
SK = Skip: Pass over the indicated number of stitches without working into them.
Pattern Instructions
Now let’s get into the actual making. I’ve broken this down into clear sections that match how you’ll actually work the placemat.
Center Circle
This is where everything begins. You’ll create a flat circle using standard double crochet increases.
Step 1: With cream yarn, make a magic ring. If you’re not comfortable with magic rings, you can chain 4 and slip stitch to join instead.
Step 2 (Round 1): CH 2, work 12 DC into the ring. Join with SL ST to the top of your starting chain.
Step 3 (Round 2): CH 2, work 2 DC in every stitch around. Join. You should have 24 stitches.
Step 4 (Round 3): CH 2, work (1 DC, 2 DC in next stitch) around. Join. This increase pattern adds stitches evenly.
Step 5 (Round 4): CH 2, work (2 DC, 2 DC in next stitch) around. Join.
Step 6: Continue increasing evenly until the center measures about 5 inches in diameter.
The key to a flat circle is consistent, evenly spaced increases. If your circle starts cupping or ruffling, adjust your increase placement on the next round.
Honeycomb Accent Round
This section adds that gorgeous golden texture that gives the placemat its bee garden feel.
Step 7: Change to golden yellow yarn.
Step 8: Work one round of HDC all the way around.
Step 9: Create the honeycomb texture by alternating raised double crochet clusters and small chain spaces. Work as follows:
The post stitches create that lovely raised texture. If you’ve never done front post double crochet before, you’re simply working your DC around the post (the vertical part) of the stitch below instead of into the top of it.
Step 10: Join and fasten off.
Bee Motif
Here’s where the personality comes in. These little embroidered bees are easier than they look.
Step 11: Using black yarn, embroider small bee bodies on selected honeycomb spaces. A simple oval shape made with satin stitch or backstitch works perfectly.
Step 12: Add golden yellow wings using small chain loops. Create a chain of about 4 to 6 stitches, then attach back to the body to form a wing shape. Repeat on the other side.
Step 13: Add tiny brown stitches for bee centers. Just a few small stitches across the body create the striped effect.
Step 14: Keep bee placement evenly spaced around the placemat. I recommend 4 to 6 bees depending on your preference.
Don’t stress about making the bees identical. A little variation makes them look more natural and charming.
Daisy Petal Detail
This round creates the sweet floral ring that gives the placemat its daisy-inspired look.
Step 15: Attach cream yarn around the honeycomb section.
Step 16: Create small petals using this method:
Step 17: Repeat around to form a complete daisy-inspired ring of petals.
These petals add dimension without bulk. They sit nicely on top of the honeycomb layer.
Leaf Accent Round
A touch of sage green brings the garden theme together.
Step 18: With sage green yarn, add small leaf shapes between the flower sections:
Step 19: Repeat around evenly, placing leaves between the petal sections.
These little leaves are worked separately and attached as you go. They add just enough color contrast without overwhelming the design.
Outer Border
The border finishes everything with a beautiful scalloped edge.
Step 20: Change to cream yarn.
Step 21 (Round 1): Work SC evenly around the entire placemat.
Step 22 (Round 2): Work the following pattern in repeating sections to create gentle waves:
Step 23 (Round 3): Add the scalloped edging:
Step 24 (Optional): Add picot details at selected scallop points:
The picots are completely optional but add a lovely delicate finishing touch.
Finishing Your Placemat
Almost there! These final steps make the difference between a good placemat and a great one.
Care Instructions
This placemat is made for actual use, so knowing how to care for it matters.
Hand wash gently in cool water. Cotton can handle washing beautifully, but agitation can distort your stitches.
Lay flat to dry. This prevents stretching and keeps the shape perfect.
Avoid harsh detergents to preserve the cotton texture and color vibrancy.
Styling Your Finished Placemats
This placemat works beautifully as a spring or summer dining accent. The cream, yellow, and green color palette feels fresh and cheerful without being overwhelming.
For a complete table setting, make a set of four or six matching placemats. Pair them with cream linens, natural wood serving pieces, or bright floral arrangements for a handmade garden-inspired table that feels both elegant and welcoming.
These also make incredible gifts. A set of two placemats wrapped with a ribbon and a little bee charm would be perfect for a housewarming, bridal shower, or hostess gift.
Tips for Success
Use stitch markers generously. Mark the beginning of each round and any increase points. This saves so much frogging later.
Count your stitches at the end of each round, especially in the center circle section. Catching a mistake early is much easier than discovering it five rounds later.
Work the embroidered bees last if you prefer. Some crocheters find it easier to complete all the crocheted sections first, then go back and add the embroidery.
Take photos as you go. Not only does this help you track your progress, but other crocheters love seeing work-in-progress shots.
Final Thoughts on the Daisy Bee Dining Placemat Crochet Pattern
This pattern combines so many elements I love in a crochet project. It’s visually interesting with all those textures and colors. It’s practical because you’ll actually use it. And it’s satisfying to make because each section feels like its own mini accomplishment.
The daisy bee placemat crochet pattern is the kind of project that reminds you why you fell in love with crochet in the first place. Every stitch adds to something beautiful, and the finished piece brings joy every single time you set the table.
Whether you’re making one for yourself or a whole set for your dining room, I hope you enjoy every moment of creating these cheerful little garden scenes. Your table is going to look absolutely stunning.
If this pattern made you excited to grab your hook and some cotton yarn, go ahead and save it to your Pinterest boards so you can find it easily when you’re ready to start. And please, if you make this daisy bee placemat, leave a comment below or tag me on social media. Seeing your finished projects is honestly the best part of sharing patterns, and I would love to cheer you on!
Want a Quick & Easy Printable Version?
Get a clean, beautifully formatted PDF of this pattern — easy to follow step by step, ready to print or save on any device. No scrolling, no distractions, just the pattern.
Get the Printable PDF →You Might Also Like
- Sage Green Botanical Shell Purse Free Crochet Pattern
- Moonlight Snake Plant Amigurumi Free Crochet Pattern
- Sunny Lemon Couple Amigurumi Free Crochet Pattern
- Sage Green Boho Crochet Lace Boots Free Pattern
