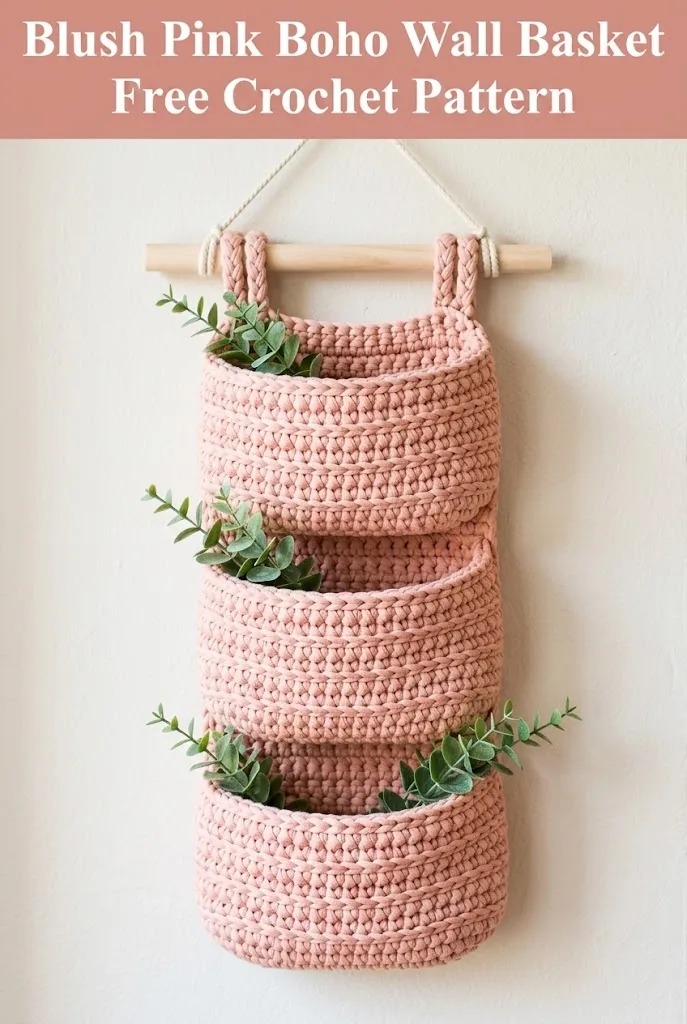
This is a three-tier hanging wall basket worked in single crochet with t-shirt yarn. Beginner friendly. Quick to make. Perfect for organizing small items or displaying faux greenery in any room.
Why You’ll Love This Crochet Wall Basket Pattern
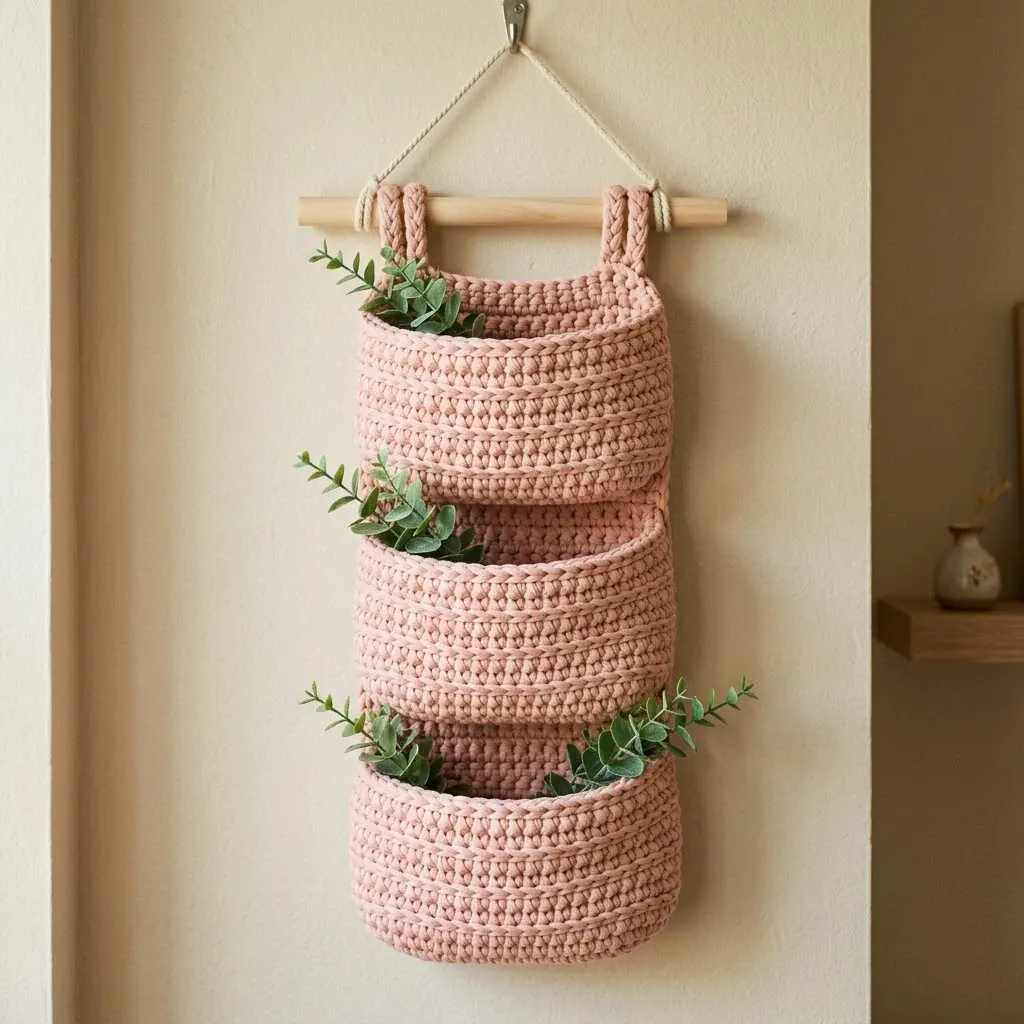
I designed this wall organizer for my entryway, and honestly, it exceeded my expectations. The thick t-shirt yarn creates sturdy pockets that hold their shape beautifully without any wire or interfacing. Each basket is worked in continuous rounds from the bottom up, then attached to a simple back panel. The whole thing hangs from a wooden dowel using crocheted straps.
If you’ve ever crocheted a basic basket, you already have the skills for this project. The entire piece uses just one stitch. Single crochet all the way through. The chunky yarn means you’ll finish this in a weekend, maybe even a single afternoon if you’re motivated.
This wall basket makes an incredible housewarming gift. It’s also perfect for nurseries, bathrooms, craft rooms, or anywhere you need a little extra vertical storage with boho style.
Skill Level
Confident beginner to intermediate. You should be comfortable working in the round and increasing evenly for flat circles.
Finished Dimensions
Overall length from dowel to bottom basket: Approximately 24 inches (61 cm)
Individual basket dimensions:
Back panel width: 7 inches (18 cm)
Materials Needed
Yarn:
Hook:
Notions:
Gauge
Gauge is flexible for this project. Approximately 8 single crochet stitches and 8 rows equals 4 inches (10 cm) in single crochet with t-shirt yarn and 9mm hook.
Your baskets should feel firm but not stiff. If your fabric feels loose or floppy, go down a hook size. If it feels too tight to work comfortably, go up a hook size.
Abbreviations and Stitch Definitions
ch = chain: Wrap yarn over hook and pull through the loop on your hook. This creates one chain stitch.
sc = single crochet: Insert hook into the stitch, yarn over and pull up a loop (2 loops on hook), yarn over and pull through both loops.
inc = increase: Work 2 single crochet stitches into the same stitch. This adds one stitch to your count.
sl st = slip stitch: Insert hook into stitch, yarn over and pull through both the stitch and the loop on your hook in one motion.
st(s) = stitch(es)
rnd = round
Pattern Notes
This pattern is worked in continuous rounds without joining. Use a stitch marker to track the beginning of each round. Move your marker up as you complete each round.
Work into the back loop only (BLO) on Round 1 of the basket sides to create a clean edge where the base meets the walls.
All three baskets are made identically except for height. I’ll note where the variations occur.
The back panel is worked in rows, then the baskets are sewn on.
Crochet Wall Basket Pattern Instructions
Bottom Basket (Make 1)
Base:
Rnd 1: Create a magic ring. Work 6 sc into the ring. Pull tight to close. Place marker. (6 sts)
Rnd 2: Inc in each st around. (12 sts)
Rnd 3: *Sc 1, inc* repeat around. (18 sts)
Rnd 4: *Sc 2, inc* repeat around. (24 sts)
Rnd 5: *Sc 3, inc* repeat around. (30 sts)
Rnd 6: *Sc 4, inc* repeat around. (36 sts)
Your base should measure approximately 5 to 6 inches across. If you need a larger basket, continue increasing with one more sc between increases each round.
Sides:
Rnd 7: Working in the back loop only, sc in each st around. (36 sts)
This creates the ridge where your basket base meets the sides. Don’t skip this step. It gives the basket that professional finished look.
Rnds 8-14: Sc in each st around, working through both loops as normal. (36 sts per round)
That’s 7 rounds for the sides, plus the BLO round. This makes your tallest basket.
Finishing round: Sl st in next st. Fasten off, leaving a 12-inch tail for sewing.
Middle Basket (Make 1)
Work the base exactly as the bottom basket through Round 6. (36 sts)
Sides:
Rnd 7: Working in BLO, sc in each st around. (36 sts)
Rnds 8-13: Sc in each st around. (36 sts per round)
That’s 6 rounds for the sides total.
Finishing round: Sl st in next st. Fasten off, leaving a 12-inch tail.
Top Basket (Make 1)
Work the base exactly as the bottom basket through Round 6. (36 sts)
Sides:
Rnd 7: Working in BLO, sc in each st around. (36 sts)
Rnds 8-12: Sc in each st around. (36 sts per round)
That’s 5 rounds for the sides total.
Finishing round: Sl st in next st. Fasten off, leaving a 12-inch tail.
Back Panel
The back panel connects all three baskets and creates the structure for hanging.
Row 1: Ch 15. Sc in 2nd ch from hook and in each ch across. Ch 1, turn. (14 sts)
Rows 2-48: Sc in each st across. Ch 1, turn. (14 sts)
Your panel should measure approximately 7 inches wide and 22 to 24 inches long. Adjust the number of rows if needed to fit your three baskets with about 1 inch of space between each.
Final row: Sc in each st across. Do not ch 1. Fasten off and weave in ends.
Hanging Straps (Make 2)
These crocheted straps wrap around your wooden dowel.
Row 1: Ch 5. Sc in 2nd ch from hook and in each ch across. Ch 1, turn. (4 sts)
Rows 2-16: Sc in each st across. Ch 1, turn. (4 sts)
Your strap should be approximately 6 to 7 inches long. It needs to fold over the dowel with enough length to attach to the back panel on both sides.
Fasten off, leaving a long tail for sewing.
Assembly Instructions
Step 1: Attach the Baskets to the Back Panel
Lay your back panel flat. Position the bottom basket near the lower edge, leaving about 1 inch of panel showing below it.
Using your yarn needle and the long tail from the basket, whip stitch the back edge of the basket to the panel. Sew through both layers securely. Weave in the end when finished.
Position the middle basket approximately 1 inch above the top of the bottom basket. Attach the same way.
Position the top basket approximately 1 inch above the middle basket, leaving room at the top for your straps. Attach securely.
Step 2: Attach the Hanging Straps
Fold each strap in half lengthwise. Position one strap at each upper corner of the back panel, about 1 inch from the edge.
Thread your dowel through both folded straps to check placement. The dowel should sit about 1 inch above the top edge of your back panel.
Remove the dowel. Sew the bottom edges of each strap securely to the back panel using whip stitch. Make sure the straps are even.
Step 3: Add the Dowel and Hanging Rope
Thread your wooden dowel through both straps.
Cut a length of jute or cotton rope, approximately 20 to 24 inches. Tie each end securely to the dowel, creating a loop for hanging. You can adjust the length based on where you want to hang your basket.
Trim any excess rope and secure the knots with a dab of glue if desired.
Customization Ideas
Color variations: Try making each basket in a different shade for an ombre effect. Neutral tones like cream, sage, and terracotta work beautifully together.
Basket sizes: Add more increase rounds to the base for wider baskets, or work fewer side rounds for shallower pockets.
Two-basket version: If you prefer a smaller organizer, simply make two baskets instead of three and shorten your back panel accordingly.
Wooden beads: Thread large wooden beads onto your hanging rope before tying for extra boho flair.
Tips for Working with T-Shirt Yarn
T-shirt yarn can be tricky if you’ve never used it before. Here are my best tips for success.
Keep your tension loose. This yarn doesn’t have much give, so a death grip on your hook will make your hands tired and your stitches uneven.
Untwist as you go. T-shirt yarn tends to twist on itself. Pause every few rounds and let your work dangle to unwind naturally.
Join new yarn carefully. When you run out, overlap the ends by about 3 inches and work through both strands for a few stitches. The bulk hides the join beautifully.
Steam blocking helps. If your baskets seem wonky after finishing, hold a steamer a few inches away and gently reshape while warm. Don’t touch the iron directly to the yarn.
Caring for Your Wall Basket
Spot clean with a damp cloth as needed. If your baskets get dusty, a lint roller works wonderfully.
For deeper cleaning, hand wash in cool water with mild soap. Reshape while damp and allow to air dry completely before rehanging.
Avoid hanging in direct sunlight for extended periods, as some t-shirt yarns may fade over time.
More Crochet Home Decor Patterns to Try
If you enjoyed this crochet tutorial, you might also love making matching plant hangers, coasters, or storage bins in the same yarn. T-shirt yarn is incredibly versatile for home projects, and once you start, you’ll want to make everything.
I really hope you love making this blush pink boho wall basket as much as I loved designing it. It’s one of those projects that looks impressive but comes together so quickly. If this pattern helped you, I’d be thrilled if you saved it to your Pinterest boards so you can find it again later. And please drop a comment below if you make one. I genuinely love seeing your finished projects and hearing which colors you chose!
