
I call this one the "Little Fox" set, and it has a story. A few years back, I sketched out this design in a battered notebook while waiting at a doctor’s appointment. My best friend had just announced her pregnancy, and I wanted to create something that felt special but not fussy. Something handmade with love, as the tag would say.
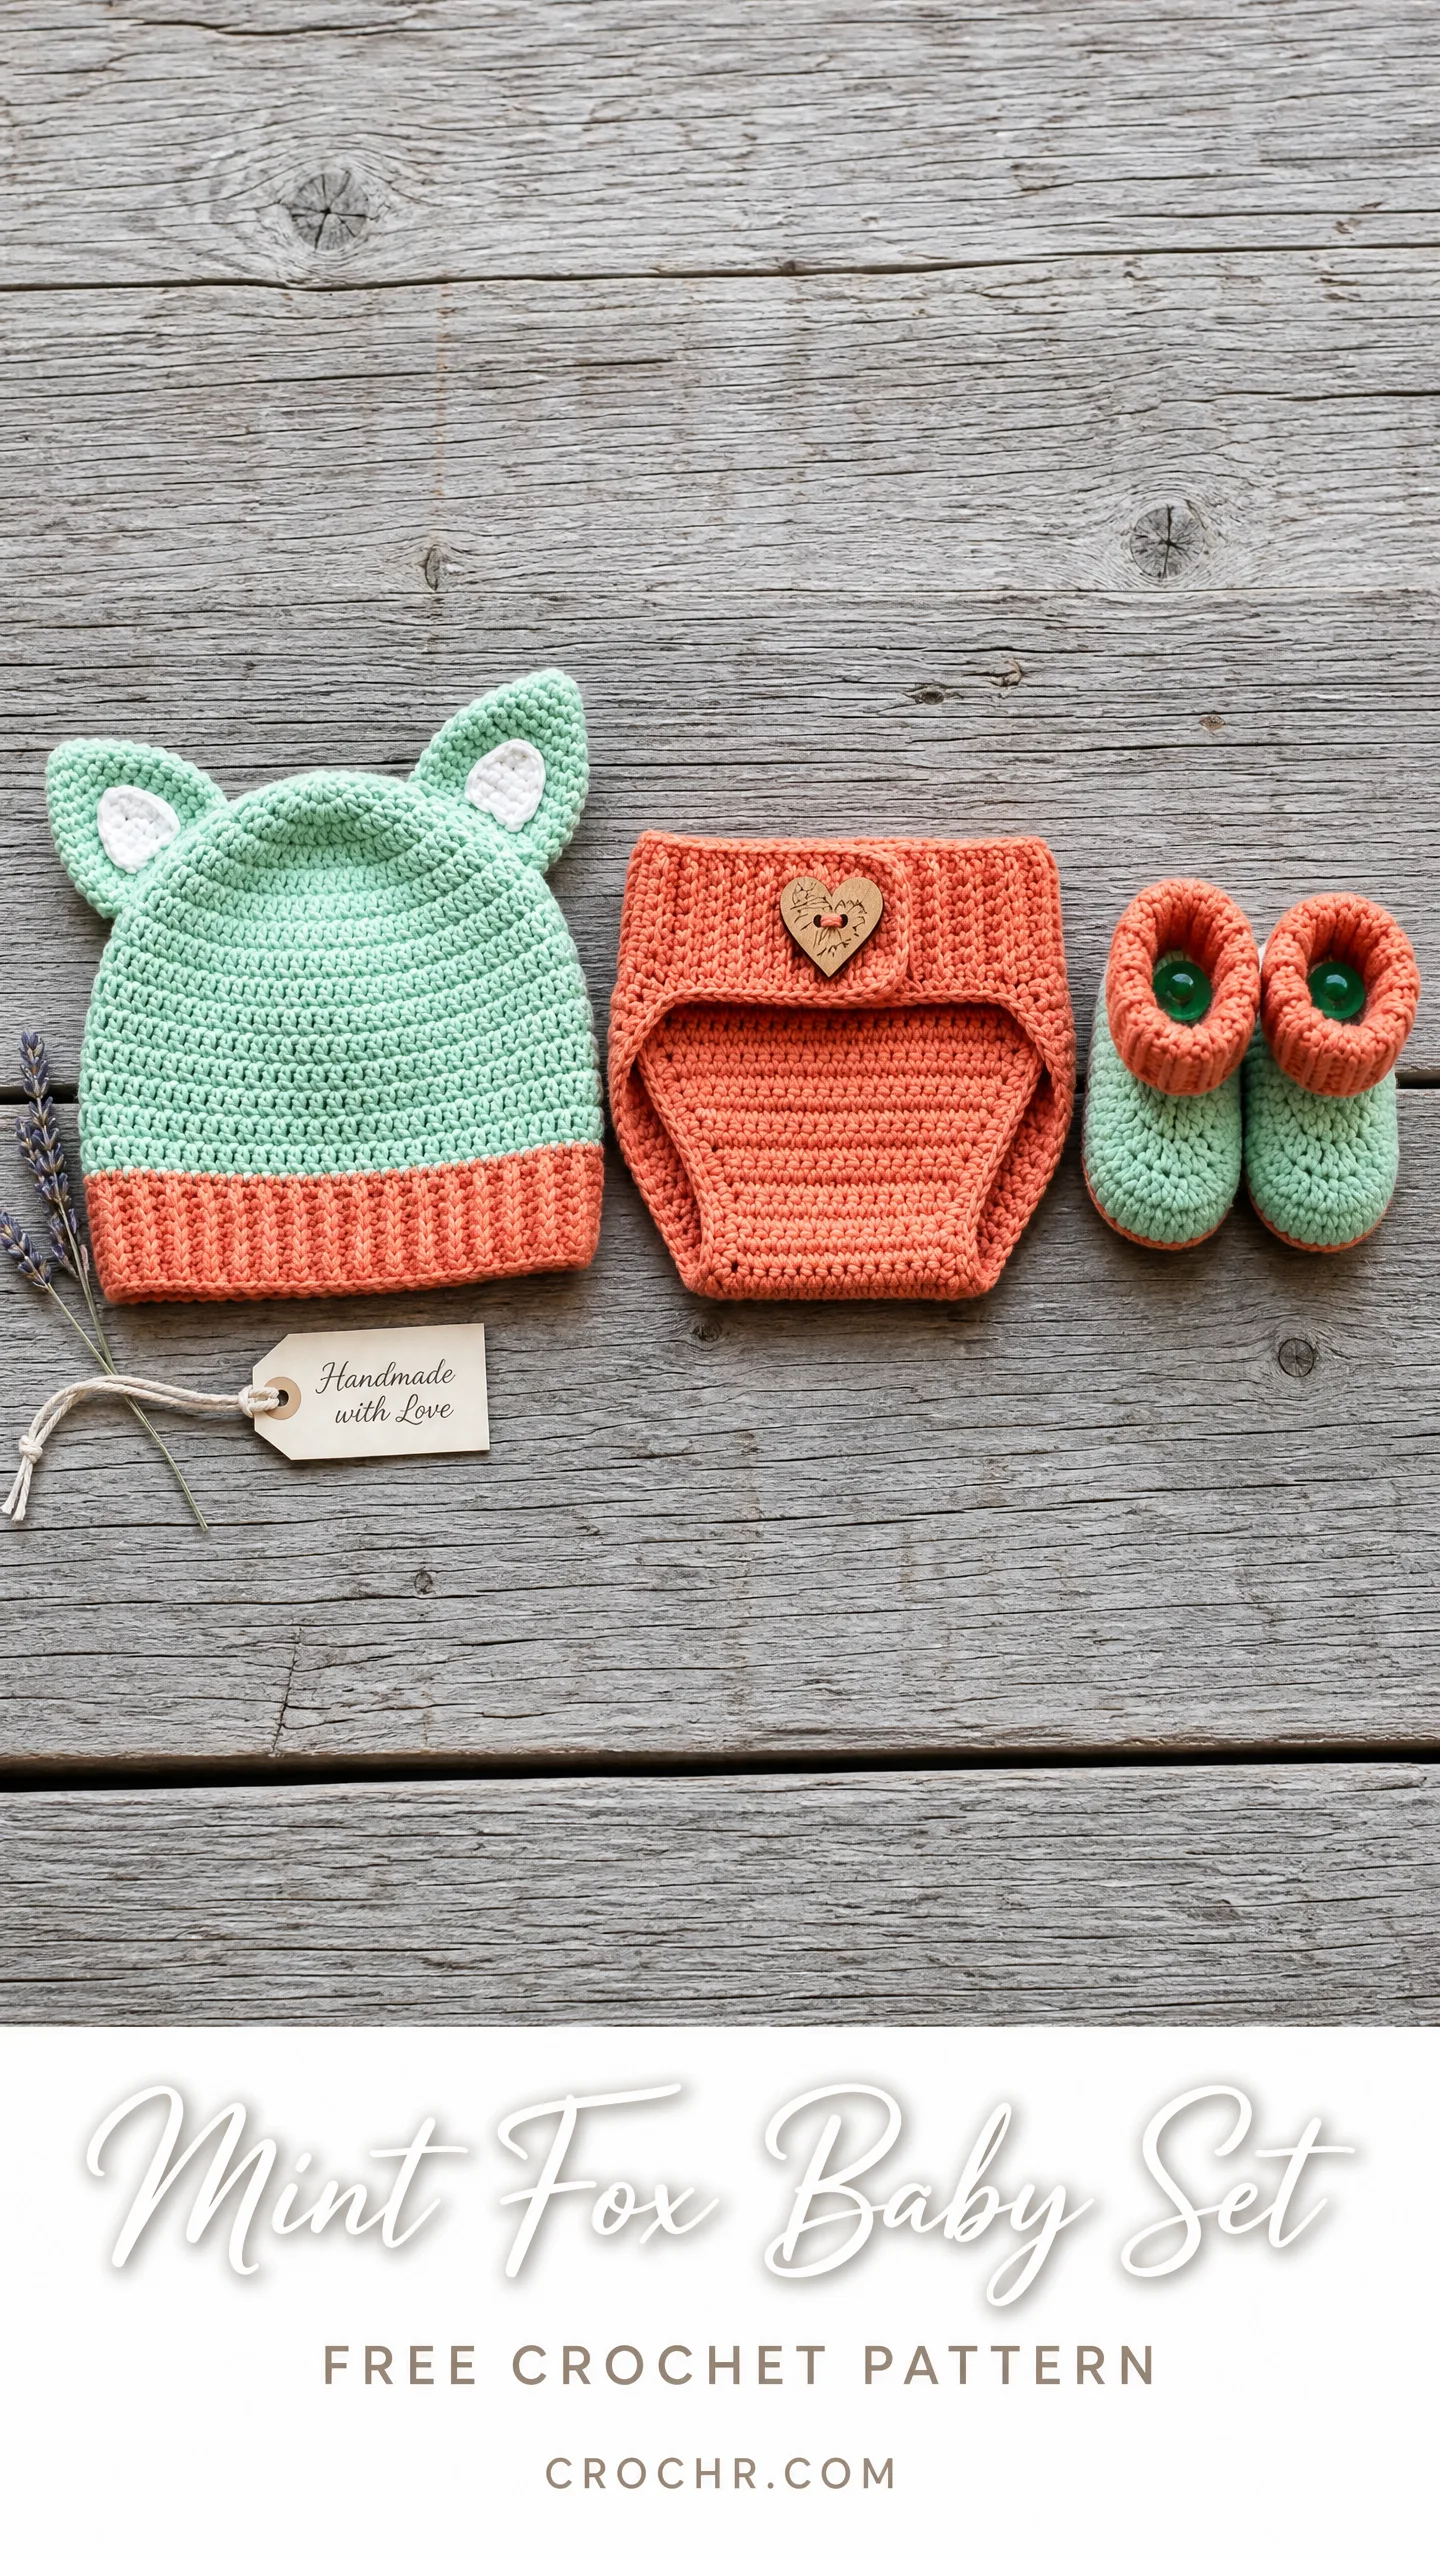
The notebook got tucked away, the baby arrived, and life got busy. But I found those sketches again last month, and I finally brought the Little Fox to life. The mint and coral combination turned out even better than I imagined. Those little ears make me smile every single time.
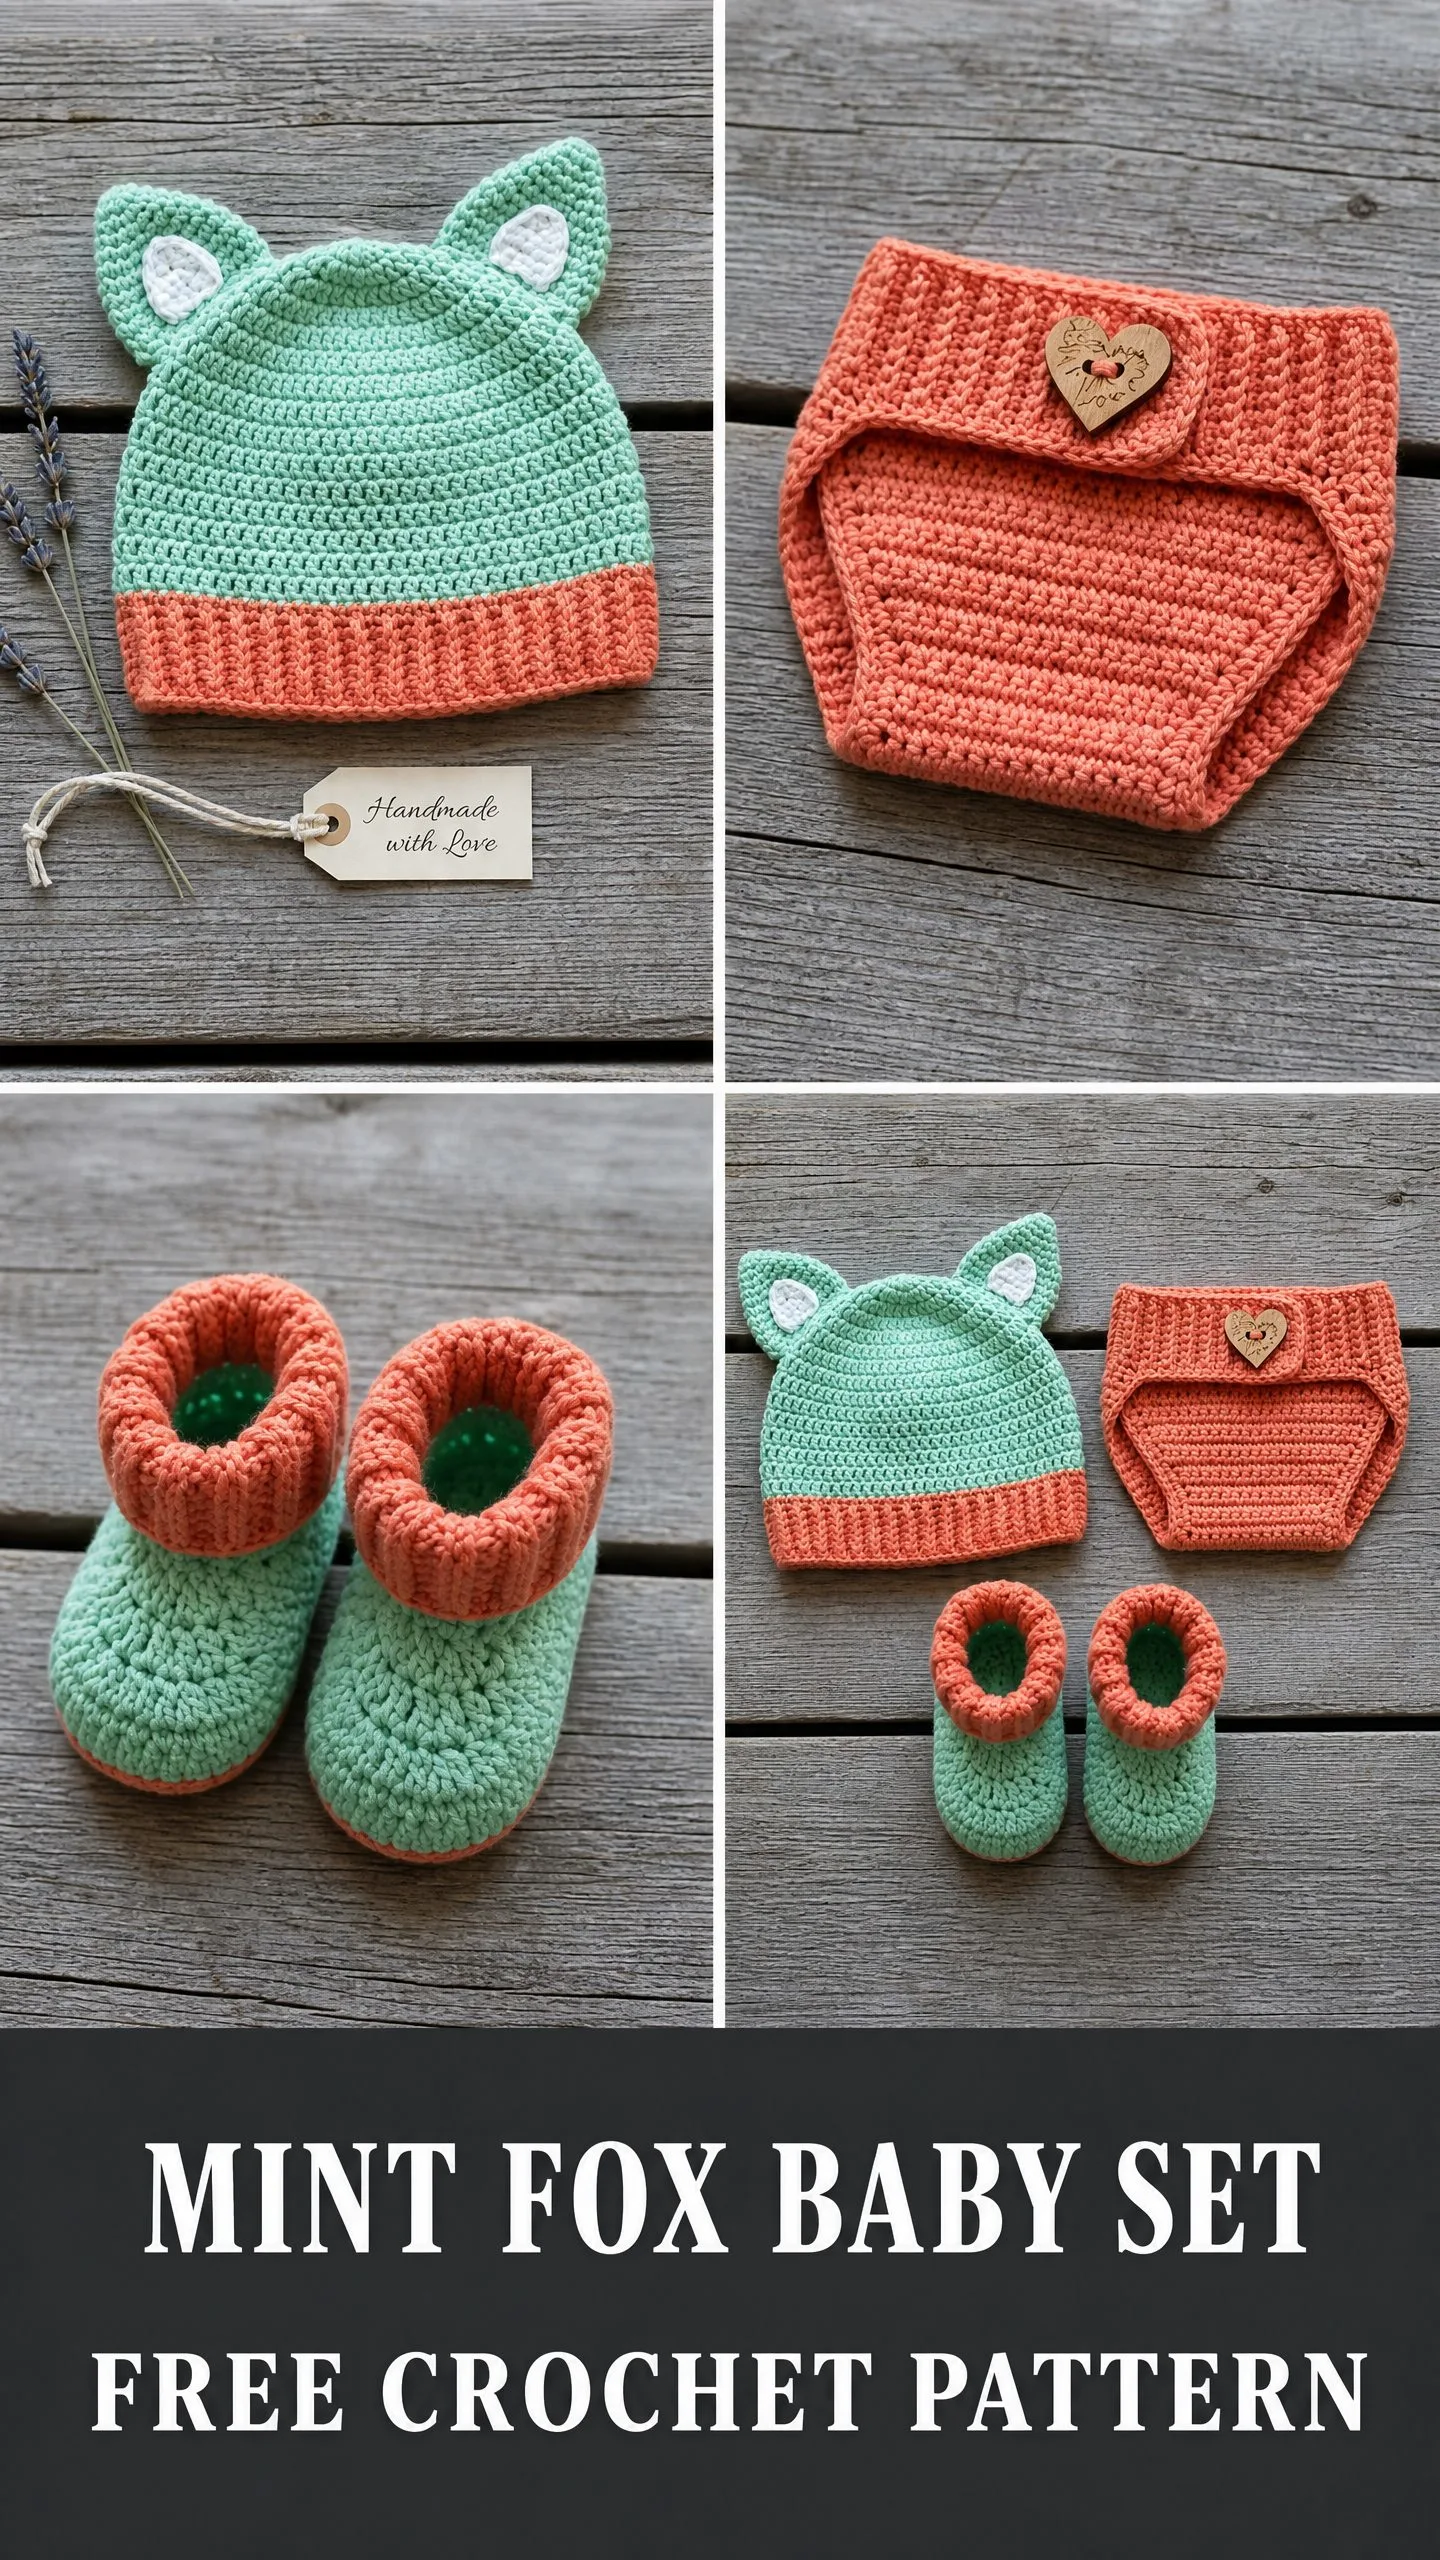
If you have a baby shower coming up or simply want to create a keepsake gift that will make new parents gasp with delight, this is your pattern. The set includes a fox ear beanie, a diaper cover with a sweet wooden heart button, and matching ankle booties. Let me walk you through every stitch.
Why This Baby Set Works So Well
This coordinating three piece baby set hits that sweet spot between impressive and achievable. The construction uses single crochet (sc) as the primary stitch, which means you are working with familiar, predictable stitches throughout. The magic happens in the details: the ribbed texture on the brim and cuffs, the adorable fox ears with white accents, and the coordinating color blocking that ties everything together.
The set fits newborns to approximately 3 months old. That is the perfect size range for gift giving because it works for tiny newborns and still fits as baby grows those first precious weeks. Every piece is worked in the round, so you will get comfortable with that technique if you are not already.
Skill Level and Time Investment
I would call this an intermediate level project. You need to feel comfortable working in the round, making increases and decreases, and doing some basic sewing to attach the ears. None of these techniques are advanced on their own. The variety across three pieces and the small scale assembly work puts this above true beginner level.
Plan for 8 to 12 hours total for the complete set. The hat takes roughly 3 to 4 hours, the diaper cover another 3 to 4 hours, and the booties about 2 to 3 hours for the pair. I like to spread a set like this across several evenings. It makes the work feel relaxed rather than rushed.
Materials You Will Need
Gather these supplies before you start:
Yarn A (Mint Green): Approximately 200 yards of DK weight (light 3) yarn
Yarn B (Coral/Peach): Approximately 150 yards of DK weight (light 3) yarn
Yarn C (White): Approximately 15 yards of DK weight (light 3) yarn
Hook: US size E-4 (3.5 mm) crochet hook
Notions: Stitch markers (at least 4), yarn needle, scissors, one decorative heart shaped wooden button approximately 3/4 inch wide, sewing needle and thread to match Yarn B, two small green decorative buttons approximately 3/8 inch for bootie toes (optional), straight pins for blocking
For yarn suggestions, I recommend Lion Brand Feels Like Butta in Sage and Peach. The soft hand is perfect for baby skin. Paintbox Yarns Simply DK in Spearmint Green and Bubblegum Pink also works beautifully and comes in at a budget friendly price point. Any DK weight yarn that meets gauge will work. Prioritize machine washable fibers for practical baby gifts.
Gauge
18 single crochet by 20 rows = 4 inches (10 cm) worked in the round with your E-4 hook.
I know gauge swatches are not the exciting part, but please check yours. The hat circumference and diaper cover rise depend on hitting this gauge. If your swatch runs large, go down a hook size. If it runs small, go up.
Abbreviations and Stitch Definitions
Let me define every abbreviation you will encounter:
BLO (back loop only): Insert your hook into only the back loop of the stitch, which is the loop farther from you as you look down at your work. This creates stretchy ribbed texture.
ch (chain): Yarn over, pull through loop on hook.
sc (single crochet): Insert hook in stitch, yarn over and pull up a loop (2 loops on hook), yarn over and pull through both loops.
inc (increase): Work 2 single crochet stitches into the same stitch.
dec (decrease): Use the invisible decrease method. Insert hook into the front loop only of the next stitch, then into the front loop only of the following stitch. Yarn over and pull through both front loops, yarn over and pull through both loops on hook.
sc2tog (single crochet two together): Standard decrease. Insert hook in next stitch, pull up loop, insert hook in following stitch, pull up loop, yarn over and draw through all 3 loops.
sl st (slip stitch): Insert hook, yarn over, pull through stitch and loop on hook in one motion.
Magic Ring: Make a loop with yarn tail crossing over working yarn. Insert hook through loop, catch working yarn, pull through. Chain 1 to secure. Work stitches into the ring, then pull tail to close. This eliminates the center hole.
Pattern Notes Before You Begin
All pieces work in continuous rounds unless stated otherwise. Do not join at the end of each round unless the instructions specifically say to. Place a stitch marker in the first stitch of each round and move it up as you go.
When changing colors, complete the last yarn over of the final stitch in the current color with the new color yarn. This creates clean color transitions.
Stitch counts appear in parentheses at the end of every round. Use them to check your work.
Fox Ear Beanie Instructions
The hat is worked from the crown downward with Yarn A, then the brim is added in Yarn B. The ears are made separately and sewn on.
Hat Crown
With Yarn A, make a magic ring.
Rnd 1: Ch 1, work 6 sc into ring, pull ring closed, sl st to first sc to join. (6 sc)
From Rnd 2 onward, work in continuous rounds. Place marker.
Rnd 2: Work 2 sc in each st around. (12 sc)
Rnd 3: (Inc, sc 1) around. (18 sc)
Rnd 4: (Inc, sc 2) around. (24 sc)
Rnd 5: (Inc, sc 3) around. (30 sc)
Rnd 6: (Inc, sc 4) around. (36 sc)
Rnd 7: (Inc, sc 5) around. (42 sc)
Rnd 8: (Inc, sc 6) around. (48 sc)
Rnd 9: (Inc, sc 7) around. (54 sc)
Rnd 10: (Inc, sc 8) around. (60 sc)
Checkpoint: Your crown should measure approximately 4.25 inches across. If significantly different, check your gauge.
Hat Body
Rnds 11 through 20: Sc in each st around. Work 10 rounds even without any shaping. (60 sc each round)
After completing Rnd 20, fasten off Yarn A leaving a 6 inch tail. Join Yarn B in any stitch.
Checkpoint: The hat body from crown top should measure approximately 5 inches.
Hat Brim (Ribbing in Yarn B)
Rnds 21 through 24: Sc in BLO of each st around. (60 sc each round)
After Rnd 24, sl st to join the round, fasten off Yarn B leaving a long tail. Weave in ends.
Checkpoint: The completed hat (without ears) should measure approximately 6 inches from crown top to brim edge and approximately 13 inches in circumference.
Hat Ear (Make 2)
Each ear has an outer piece in Yarn A and an inner piece in Yarn C.
Outer Ear (Yarn A):
Row 1 (RS): Ch 2, work 3 sc in 2nd ch from hook. Turn. (3 sc)
Row 2: Ch 1, inc in first st, sc 1, inc in last st. Turn. (5 sc)
Row 3: Ch 1, inc in first st, sc 3, inc in last st. Turn. (7 sc)
Row 4: Ch 1, inc in first st, sc 5, inc in last st. Turn. (9 sc)
Row 5: Ch 1, sc in each st across. Turn. (9 sc)
Row 6: Ch 1, sc2tog, sc 5, sc2tog. Turn. (7 sc)
Row 7: Ch 1, sc2tog, sc 3, sc2tog. Turn. (5 sc)
Fasten off leaving a long tail.
Inner Ear (Yarn C):
Row 1 (RS): Ch 2, work 3 sc in 2nd ch from hook. Turn. (3 sc)
Row 2: Ch 1, inc in first st, sc 1, inc in last st. Turn. (5 sc)
Row 3: Ch 1, inc in first st, sc 3, inc in last st. Turn. (7 sc)
Row 4: Ch 1, sc in each st across. Turn. (7 sc)
Row 5: Ch 1, sc2tog, sc 3, sc2tog. Turn. (5 sc)
Fasten off leaving a long tail.
Ear Assembly
Place the inner ear centered on the outer ear, wrong sides together. The white inner piece will be smaller. Whipstitch around the edges of the inner ear to attach it. Fold the bottom edge slightly to create a gentle pinch that helps the ear stand up. Sew each ear onto the hat approximately 1 inch from the crown center, angled slightly outward.
Diaper Cover Instructions
The diaper cover is worked from the waistband downward.
Waistband
With Yarn B, ch 64. Sl st to first ch to form a ring, taking care not to twist.
Rnd 1: Ch 1, sc in BLO of each ch around, sl st to join. (64 sc)
Rnds 2 through 5: Ch 1, sc in BLO of each st around, sl st to join. (64 sc each round)
Checkpoint: The waistband should measure approximately 14 inches in circumference and 1 inch tall.
Diaper Cover Body
Switch to continuous rounds. Place marker. Join Yarn A.
Rnds 6 through 8: Sc in each st around with Yarn A. (64 sc each round)
Rnd 9: (Sc 14, inc) 4 times around. (68 sc)
Rnds 10 through 12: Sc in each st around. (68 sc each round)
Rnd 13: (Sc 15, inc) 4 times around. (72 sc)
Rnds 14 through 16: Sc in each st around. (72 sc each round)
Front Panel
Row 1 (RS): Sc across 36 sts, ch 1, turn. (36 sc)
Row 2 (WS): Sc2tog, sc across to last 2 sts, sc2tog, ch 1, turn. (34 sc)
Row 3: Sc2tog, sc across to last 2 sts, sc2tog, ch 1, turn. (32 sc)
Row 4: Sc2tog, sc across to last 2 sts, sc2tog, ch 1, turn. (30 sc)
Row 5: Sc2tog, sc across to last 2 sts, sc2tog, ch 1, turn. (28 sc)
Row 6: Sc2tog, sc across to last 2 sts, sc2tog, ch 1, turn. (26 sc)
Row 7: Sc2tog, sc across to last 2 sts, sc2tog, ch 1, turn. (24 sc)
Row 8: Sc across, ch 1, turn. (24 sc)
Row 9: Sc across, ch 1, turn. (24 sc)
Fasten off leaving a long tail.
Back Panel
Rejoin Yarn A to remaining 36 sts. Work identical to front panel through Row 9. Do not fasten off.
Joining Crotch
Align the 24 sts of front and back panels, wrong sides together. Sl st the edges together to form the crotch seam. Fasten off.
Leg Openings
With Yarn B, join to one leg opening edge. Work 1 round of sc evenly around, sl st to join. Fasten off. Repeat for second leg.
Sew the heart button to center front waistband, approximately 1/2 inch from top edge.
Bootie Instructions (Make 2)
Bootie Sole
With Yarn B, ch 10.
Rnd 1: Sc in 2nd ch from hook, sc in next 7 ch, work 3 sc in last ch. Rotate to work along opposite side. Sc in next 7 ch, work 2 sc in first ch. Place marker. (20 sc)
Rnd 2: Inc in first st, sc 7, inc, inc, sc 7, inc, sc 1. (24 sc)
Rnd 3: Inc, sc 8, inc, inc, sc 8, inc, sc 2. (28 sc)
Rnd 4: Sc in each st around working in BLO. (28 sc)
Bootie Sides
Switch to Yarn A.
Rnds 5 through 7: Sc in each st around. (28 sc each round)
Toe Shaping
Rnd 8: Sc 10, (sc2tog) 4 times, sc 10. (24 sc)
Rnd 9: Sc 9, (sc2tog) 3 times, sc 9. (21 sc)
Rnd 10: Sc 8, (sc2tog) 2 times, sc 9. (19 sc)
Rnds 11 through 12: Sc in each st around. (19 sc each round)
Bootie Cuff
Switch to Yarn B.
Rnds 13 through 16: Sc in BLO of each st around. (19 sc each round)
Sl st to join at end of Rnd 16. Fasten off. Optional: sew a small green button to each bootie toe.
Finishing Your Little Fox Set
Weave in all ends securely, running each tail at least 1 inch through the back of the work before trimming. To block, lightly mist each piece with cool water. Shape the hat over a balloon or small bowl. Pin the diaper cover waistband flat. Insert tissue paper in the booties to hold their shape. Air dry completely.
Check all button attachments before gifting. These pieces are machine washable on a gentle cold cycle if you used acrylic or superwash yarn. Lay flat to dry.
Thank you so much for choosing this pattern for your next project. I hope the Little Fox brings as much joy to make as it did for me to design. If you create this set, I would absolutely love to see it! Share your finished photos on Instagram or Facebook and tag me so I can celebrate your work.
Save this Mint Fox Baby Set crochet pattern to your Pinterest boards so you can find it when that next baby shower invitation arrives. And please drop a comment below if you make it. I read every single one, and hearing about your projects truly makes my day.
You Might Also Like
- Sunset Orange Jellyfish Keychain Free Crochet Pattern
- Ocean Blue Granny Square Pocket Shawl Free Crochet Pattern
- Sunset Coral Textured Crochet Dress Free Pattern
- Navy Blue Chunky Round Purse Free Crochet Pattern
