
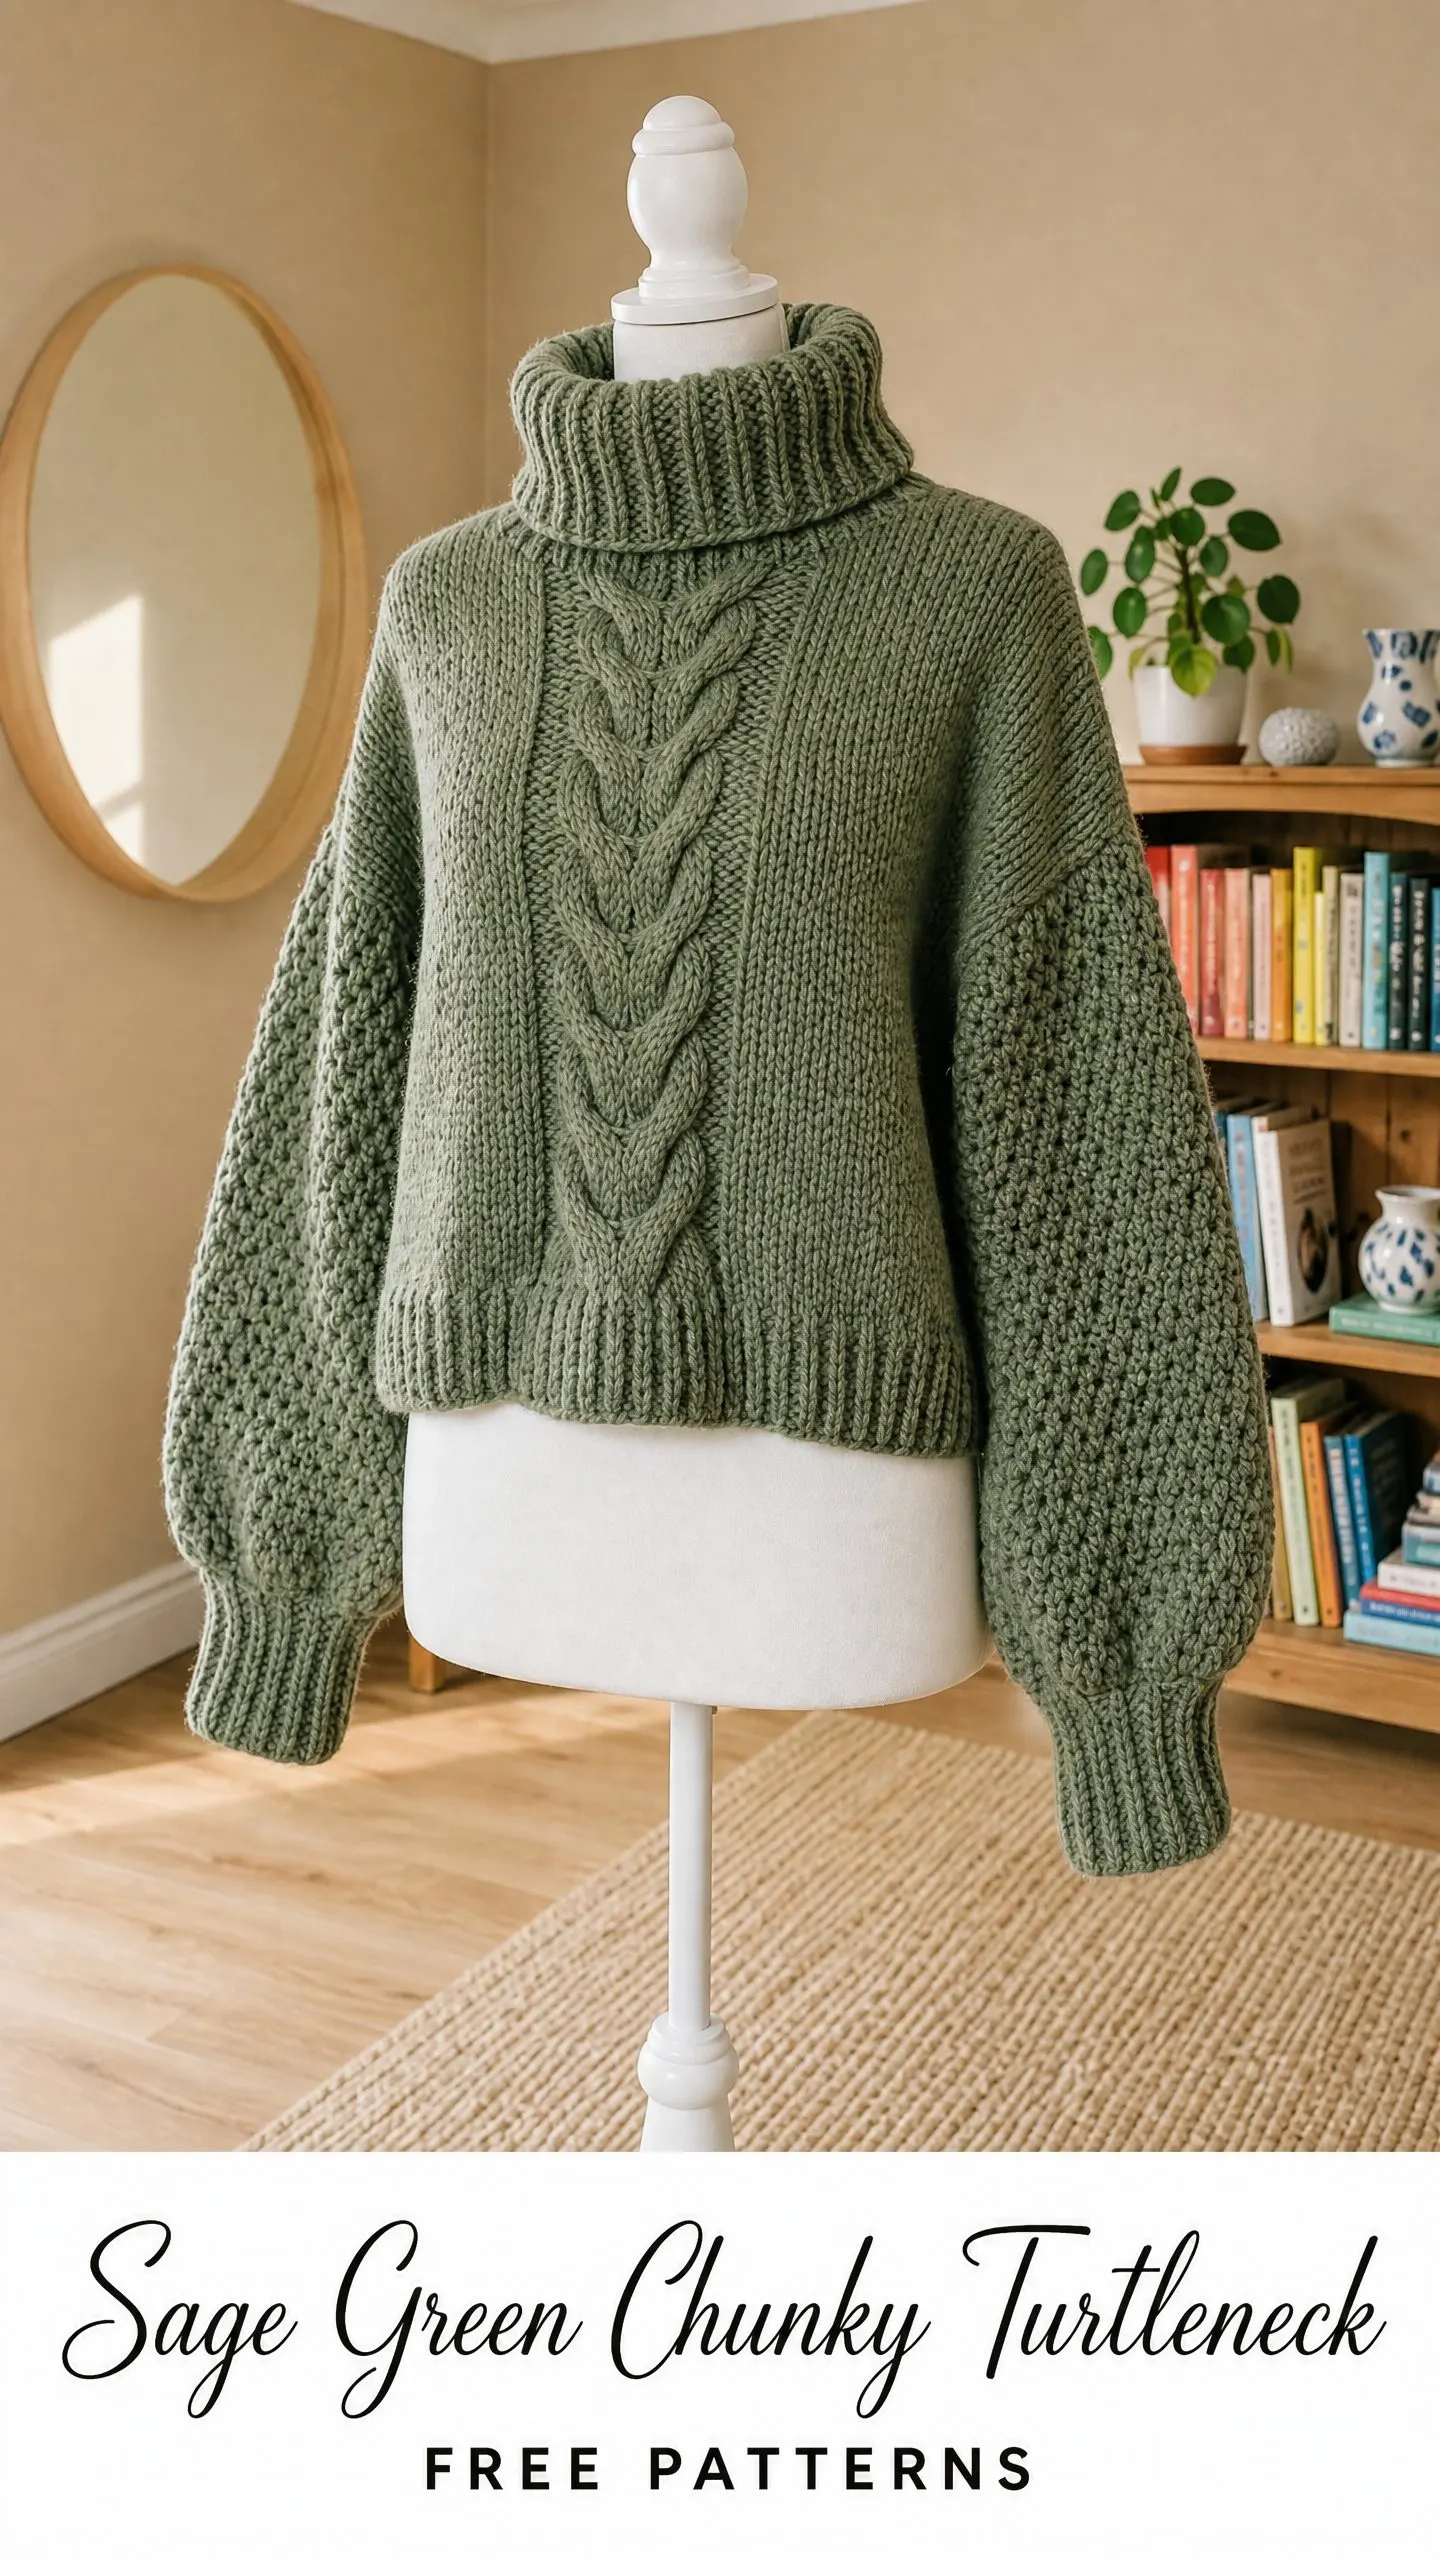
If you have ever wanted a cozy sweater that actually keeps you warm through the coldest months, this is the project for you. This chunky turtleneck works up in a beautiful sage green using bulky weight yarn, featuring a stunning braided cable column down the front and textured moss stitch sleeves that look far more complicated than they really are.
The sweater is perfect for intermediate crocheters ready to tackle their first garment with some texture work. It makes an incredible gift for someone special, or treat yourself to a handmade wardrobe staple you will reach for all winter long.
Working with bulky yarn means this project moves faster than you might expect for a full sweater. You are looking at roughly 25 to 40 hours of satisfying work, depending on your pace. The result is a cropped, oversized pullover with that effortlessly stylish look you see in high-end boutiques.
Why You Will Love This Chunky Turtleneck Crochet Pattern
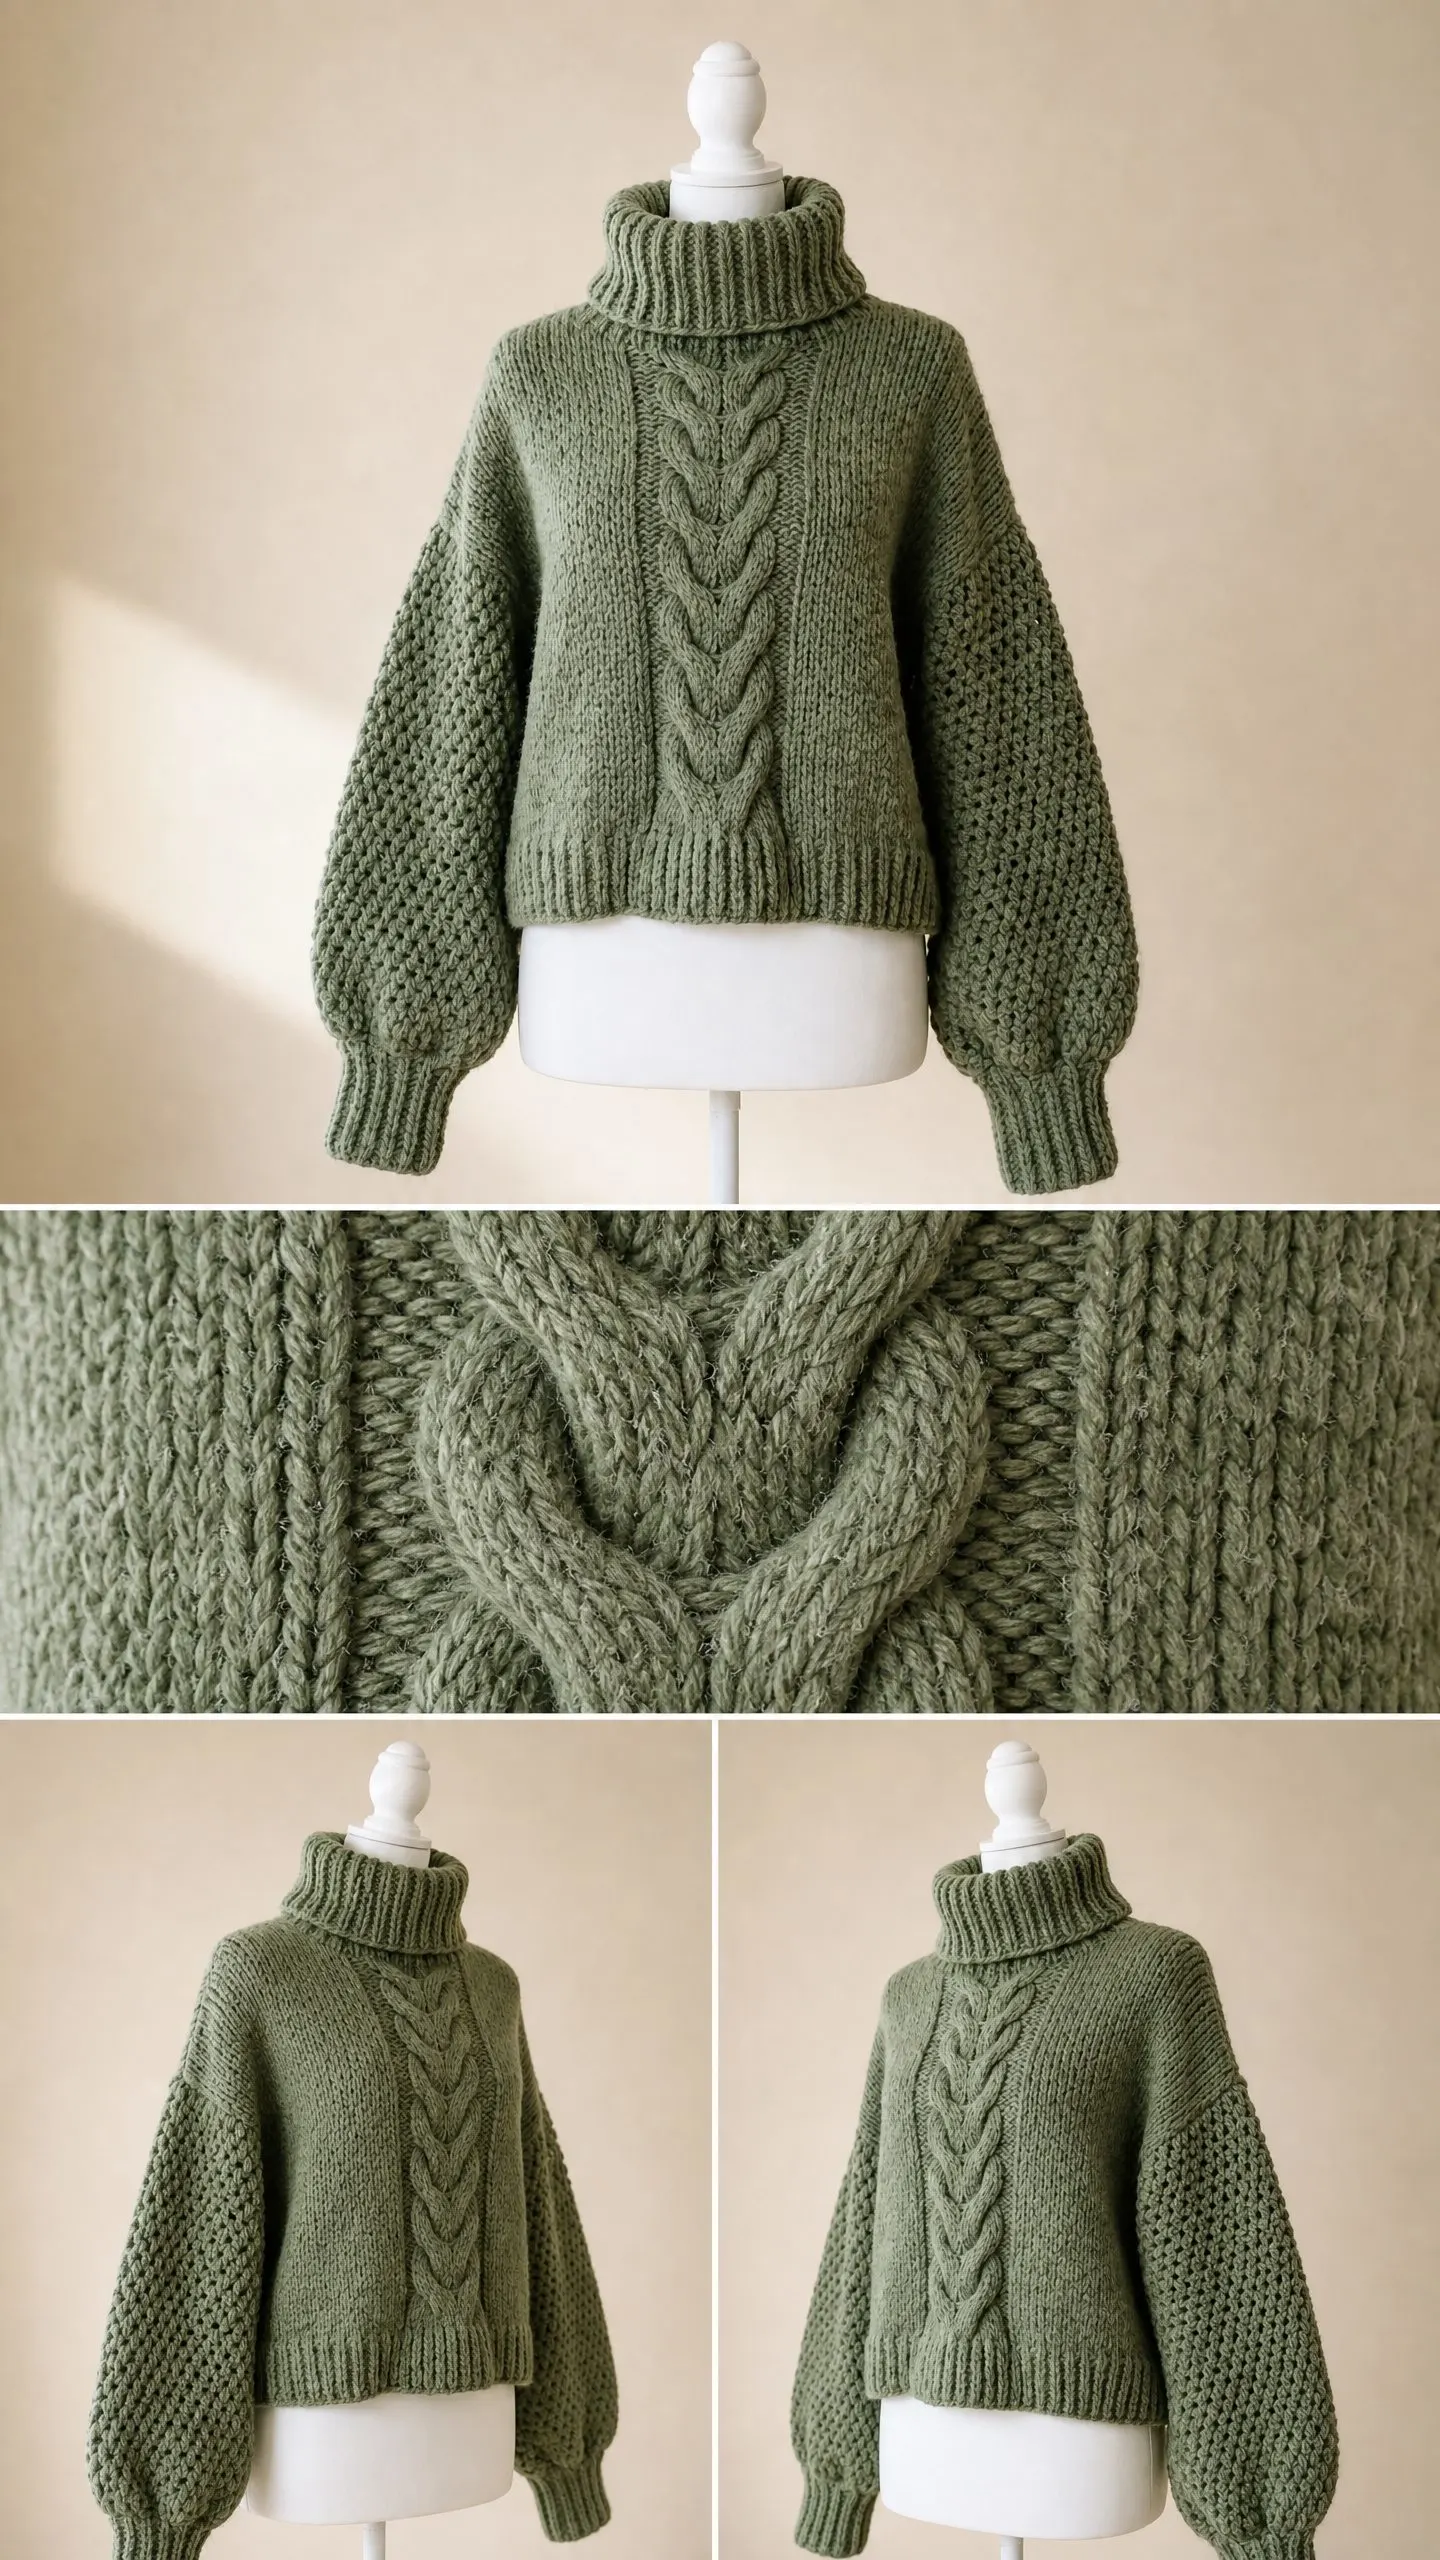
This sweater hits all the right notes. The cropped length sits at the high hip, which pairs beautifully with high-waisted jeans or skirts. The oversized fit gives you that relaxed, modern silhouette without looking sloppy. And those balloon sleeves? They cinch at the wrist with ribbed cuffs for a polished finish.
The front panel features a gorgeous braided cable column running straight down the center. Flanking the cable, you will find moss stitch (also called linen stitch), which creates a dense, woven-looking fabric that complements the cable beautifully. The back panel keeps things simple with basic half double crochet (hdc) throughout.
The tall turtleneck folds over for that classic cozy look. At 8 inches tall before folding, it provides serious warmth around your neck on blustery days.
Skill Level
I am rating this pattern as intermediate to advanced. You should feel comfortable with post stitches, working in the round, picking up stitches around edges, and maintaining multiple stitch patterns within one row.
If you have completed at least one crochet garment before and tried a textured stitch pattern, you have the skills for this. Take your time with the cable section, and you will do great.
Finished Measurements
The written instructions produce a size Medium with the following dimensions:
This sweater has approximately 6 to 8 inches of positive ease built in for the oversized fit shown in the photos.
Materials Needed
Yarn: Bulky weight yarn, CYCA 5, approximately 1,000 to 1,200 yards / 915 to 1,095 meters total in sage green
Yarn suggestions:
Hooks:
Notions:
When choosing your yarn, avoid very splitty or loosely plied options. The cable section works best with yarn that has some structure. A wool or wool-blend content will help your cables hold their definition after blocking.
Gauge (Do Not Skip This)
Gauge is mandatory for this garment. I cannot stress this enough. Even half a stitch difference per inch will significantly change your finished size.
With N-13 / 9.0 mm hook in half double crochet:
With N-13 / 9.0 mm hook in moss stitch:
Work a 6-inch / 15 cm swatch in each stitch pattern, block it, and measure before beginning. Your future self will thank you.
Abbreviations
Special Stitches for This Crochet Pattern
Moss Stitch (Linen Stitch)
This stitch creates a beautiful woven texture using alternating single crochets and chain-1 spaces.
Row 1 (RS): Ch 1, sc in first st, (ch 1, sk 1 st, sc in next st) across, turn.
Row 2 (WS): Ch 1, sc in first st, (ch 1, sk ch-1 sp, sc in next sc) across, turn.
Repeat Row 2 for pattern. Each single crochet sits directly above a chain-1 space from the previous row.
Cable Column (Worked Over 8 Stitches)
Foundation: Work 8 hdc across the 8 cable stitches.
Cable Row (RS): Skip the next 2 sts, fpdc around each of the next 2 sts, then working behind the 2 fpdc just made, go back and fpdc around each of the 2 skipped sts, fpdc around each of the next 2 sts, skip the next 2 sts, fpdc around each of the next 2 sts, then working behind, go back and fpdc around each of the 2 skipped sts. (8 fpdc total, crossing twice)
Cable Maintenance Row (WS): Work bpdc around each of the 8 post stitches.
Work the cable cross on RS rows only.
2×2 Ribbing
Row 1: Ch 1, (fpdc around next 2 sts, bpdc around next 2 sts) across, turn.
Repeat Row 1 for pattern.
Pattern Instructions
Front Panel
The front panel is worked from the hem edge upward with a total width of 50 stitches divided as follows:
Hem Ribbing (Front Panel)
Switch to M-13 / 8.0 mm hook.
Foundation: Ch 52, hdc in 3rd ch from hook and in each ch across. (50 hdc)
Ribbing Row 1 (RS): Ch 1, turn. (fpdc around next 2 sts, bpdc around next 2 sts) 12 times, fpdc around last 2 sts. (50 sts)
Repeat Ribbing Row 1 for 4 more rows. (5 ribbing rows total)
Switch back to N-13 / 9.0 mm hook.
Front Body (Main Texture)
Transition Row (RS): Ch 1, turn. Sc in first st. Work 20 more sc across moss stitch section A (21 sc total), pm to mark the next 8 sts as the cable column, hdc in each of the next 8 sts, sc in each of the next 21 sts across section B. Turn. (50 sts)
Row 1 (RS): Ch 1. Begin moss stitch across section A: (sc in first st, ch 1, sk 1) 10 times, sc in last st of section A. (21 sts) Work cable cross row across 8 cable sts: (skip 2, fpdc around next 2, fpdc behind skipped 2) twice. (8 fpdc) Begin moss stitch across section B: (sc in first st, ch 1, sk 1) 10 times, sc in last st. (21 sts) Turn. (50 sts total)
Row 2 (WS): Ch 1. Moss stitch row across section B: (sc in first st, ch 1, sk ch-1 sp) 10 times, sc in last st. (21 sts) Cable maintenance row across 8 cable sts: bpdc around each of the 8 post sts. (8 sts) Moss stitch row across section A: (sc in first st, ch 1, sk ch-1 sp) 10 times, sc in last st. (21 sts) Turn. (50 sts)
Row 3 (RS): Ch 1. Moss stitch across section A (21 sts). Cable cross across 8 sts (8 fpdc). Moss stitch across section B (21 sts). Turn. (50 sts)
Row 4 (WS): Same as Row 2. Turn. (50 sts)
Continue alternating Rows 3 and 4 until body measures 11 inches / 28 cm from the top of the ribbing.
Armhole Shaping (Front Panel)
Armhole Setup Row (RS): Work in pattern across first 20 sts (left shoulder), sl st across next 10 sts (armhole bind-off), work in pattern across remaining 20 sts (right shoulder). Turn. (20 sts each shoulder)
Left Shoulder:
Work on the 20 sts of the left shoulder only.
Row 1 (WS): Ch 1, turn. Hdc across all 20 sts. Turn. (20 hdc)
Rows 2 through 6: Work even in hdc. Turn each row. (20 hdc)
Fasten off.
Right Shoulder:
Rejoin yarn at the right shoulder 20-stitch section with RS facing.
Row 1 (RS): Ch 1, turn. Hdc across all 20 sts. Turn. (20 hdc)
Rows 2 through 6: Work even in hdc. Turn each row. (20 hdc)
Fasten off.
Back Panel
The back panel is worked entirely in hdc.
Foundation: Ch 52, hdc in 3rd ch from hook and in each ch across. (50 hdc)
Hem Ribbing (Back Panel)
Switch to M-13 / 8.0 mm hook.
Ribbing Row 1: Ch 1, turn. (fpdc around next 2 sts, bpdc around next 2 sts) 12 times, fpdc around last 2 sts. Turn. (50 sts)
Repeat for 4 more rows. (5 ribbing rows total)
Switch back to N-13 / 9.0 mm hook.
Back Body
Row 1 (RS): Ch 1, turn. Hdc across all 50 sts. Turn. (50 hdc)
Continue working hdc every row until back body measures 11 inches / 28 cm from top of ribbing.
Armhole Shaping (Back Panel)
Armhole Setup Row (RS): Hdc across first 20 sts, sl st across center 10 sts, hdc across final 20 sts. Turn. (20 sts each shoulder)
Work both shoulders the same as front panel: 6 rows of hdc, then fasten off.
Assembly
Step 1 (Side Seams): Place front and back panels together with RS facing each other. Using yarn needle and matching yarn, whip stitch or mattress stitch up both side edges from hem to armhole. Turn RS out.
Step 2 (Shoulder Seams): Align the 20-stitch shoulder edges and seam each shoulder from armhole edge to neckline edge.
Sleeves (Worked in the Round, Top Down)
Pickup Round: With RS facing and N-13 / 9.0 mm hook, join yarn at the underarm point. Work 1 sc into each stitch and 1 sc into the side of each row evenly around the armhole opening. Join with sl st to first sc. (42 sc) Pm at the join.
Sleeve Round 1: Ch 1. (sc in first st, ch 1, sk 1 st) around, join with sl st to first sc. (42 sts)
Sleeve Round 2: Ch 1. (Sc in ch-1 sp, ch 1, sk sc) around, join. (42 sts)
Repeat Sleeve Round 2 for 4 more rounds. (6 rounds total)
Sleeve Taper (Decrease Rounds)
Rounds 7 to 9: Work even in moss stitch. (42 sts)
Round 10 (Decrease Round 1): Sc2tog at beg, moss stitch across, sc2tog at end, join. (40 sts)
Rounds 11 to 13: Work even. (40 sts)
Continue this pattern, working a decrease round every 4th round:
Rounds 39 to 44: Work even in moss stitch. (26 sts)
Cuff Ribbing
Switch to M-13 / 8.0 mm hook.
Transition Round: Ch 1, hdc in each st and sp around, join. (26 hdc)
Cuff Ribbing Round 1: Ch 1, (fpdc around next 2 sts, bpdc around next 2 sts) 6 times, fpdc around last 2 sts. Join. (26 sts)
Repeat for 4 more rounds. (5 ribbing rounds total)
Fasten off. Work second sleeve identically.
Turtleneck Collar
With RS facing and M-13 / 8.0 mm hook, join yarn at one shoulder seam. Sc evenly around neckline, adjusting to reach exactly 32 sc. Join with sl st. (32 sc)
Collar Round 1: Ch 1, (fpdc around next 2 sts, bpdc around next 2 sts) 8 times, join. (32 sts)
Repeat for 15 more rounds. (16 total ribbing rounds)
Fasten off. Fold the top portion down over the outside of the collar.
Finishing Your Chunky Turtleneck
Weave in all ends securely. Pay special attention to the armhole pickup joins and collar join points.
Blocking: Wet block your finished sweater by submerging it in cool water, gently squeezing out excess water without wringing, rolling in a towel, then laying flat on a blocking mat. Pin to measurements and allow to dry completely. Blocking will even out the moss stitch texture and soften any stiff spots in the cable column.
Size Customization Tips
To adjust the size, add or remove stitches from the moss stitch side sections in multiples of 4 (for ribbing) and 2 (for moss stitch). Keep the 8-stitch cable column constant.
Adding 8 stitches to both panels increases the finished bust by approximately 3.5 inches. To lengthen the body, add rows before armhole shaping. Every 4 rows of hdc adds about 2 inches.
Care Instructions
For wool or wool-blend yarn, hand wash in cool water with gentle wool wash. Do not agitate or wring. Lay flat to dry.
For acrylic yarn, machine wash on gentle cycle in cold water. Lay flat to dry for best shape retention.
Store folded, not hung, to prevent shoulder stretching.
I hope you absolutely love making this cozy turtleneck sweater. It is such a satisfying project to watch come together, and the finished result looks like something straight off a designer rack. Save this pattern to your Pinterest boards so you can find it easily when you are ready to cast on, and please drop a comment below if you make one. I would love to hear how it turns out for you!
You Might Also Like
- Baby Dragonfly Poncho Free Crochet Pattern
- Lavender Lace Party Dress Free Crochet Pattern
- Sunset Daisy Chain Dress Free Crochet Pattern
- Sage Green Bow Handbag Free Crochet Pattern
