
I don’t know about you, but I absolutely melt for baby cardigans with texture. There’s something about those tiny buttons and that squishy, touchable fabric that gets me every single time.
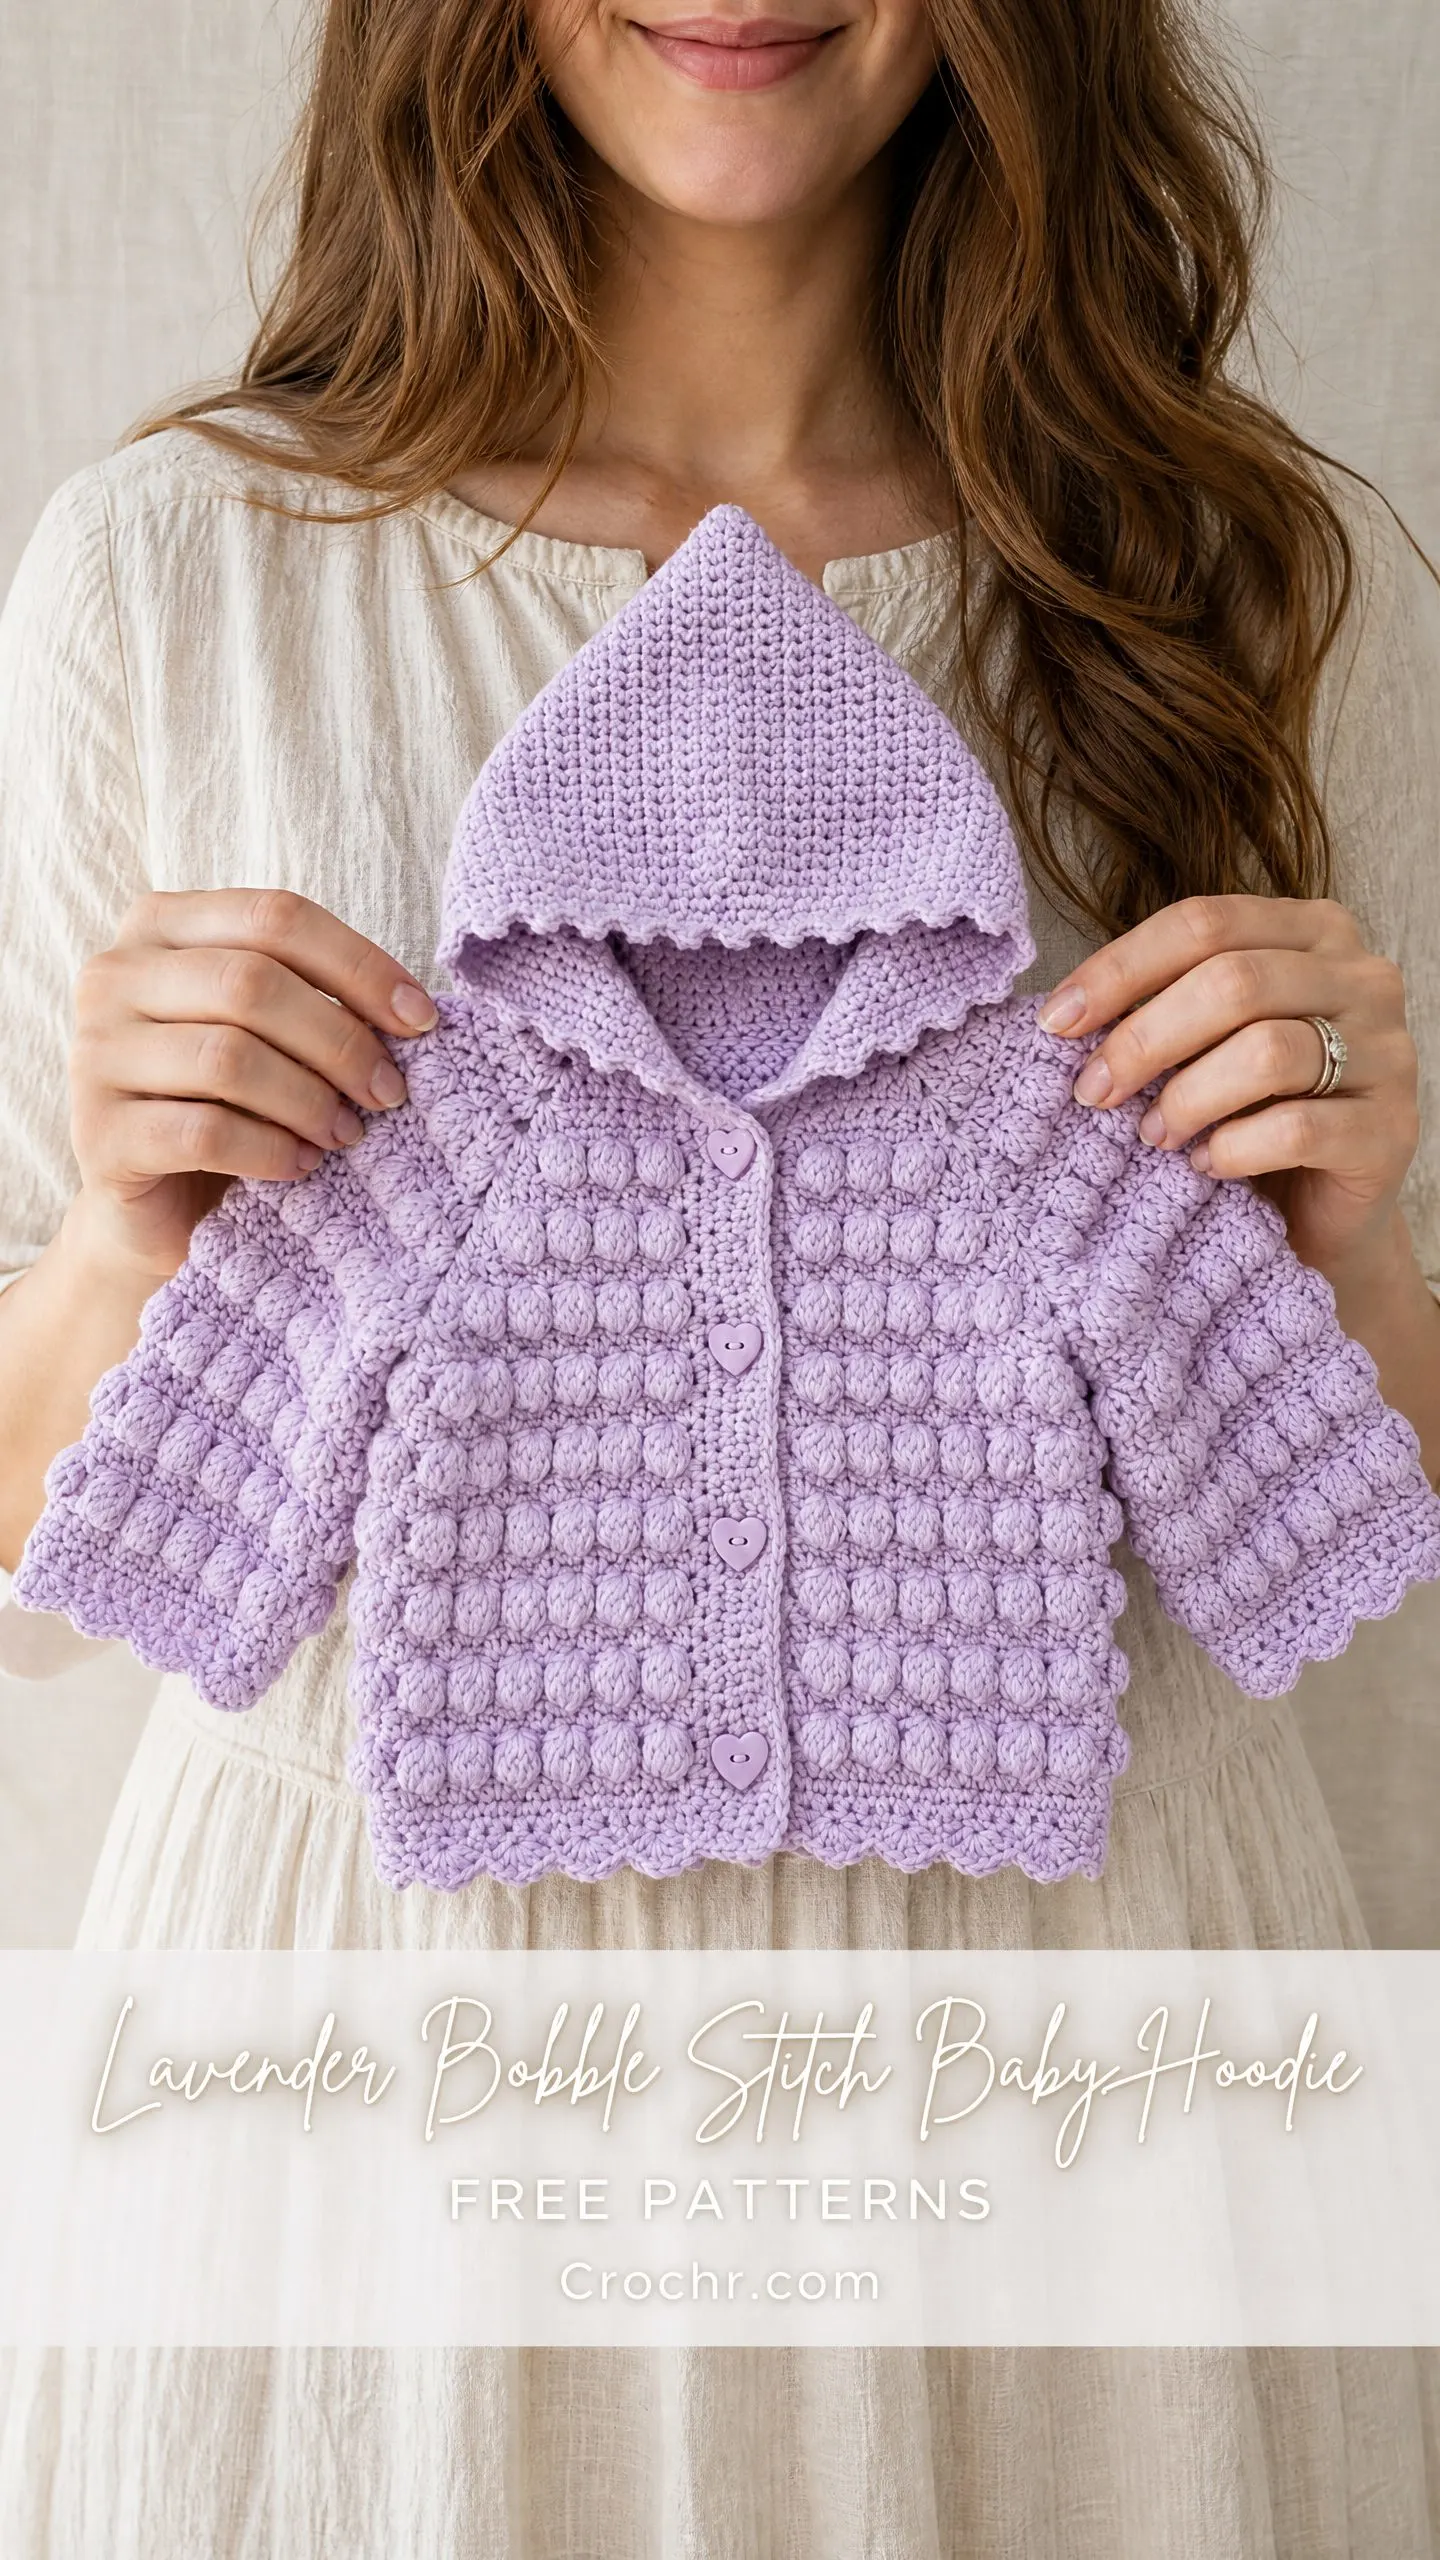
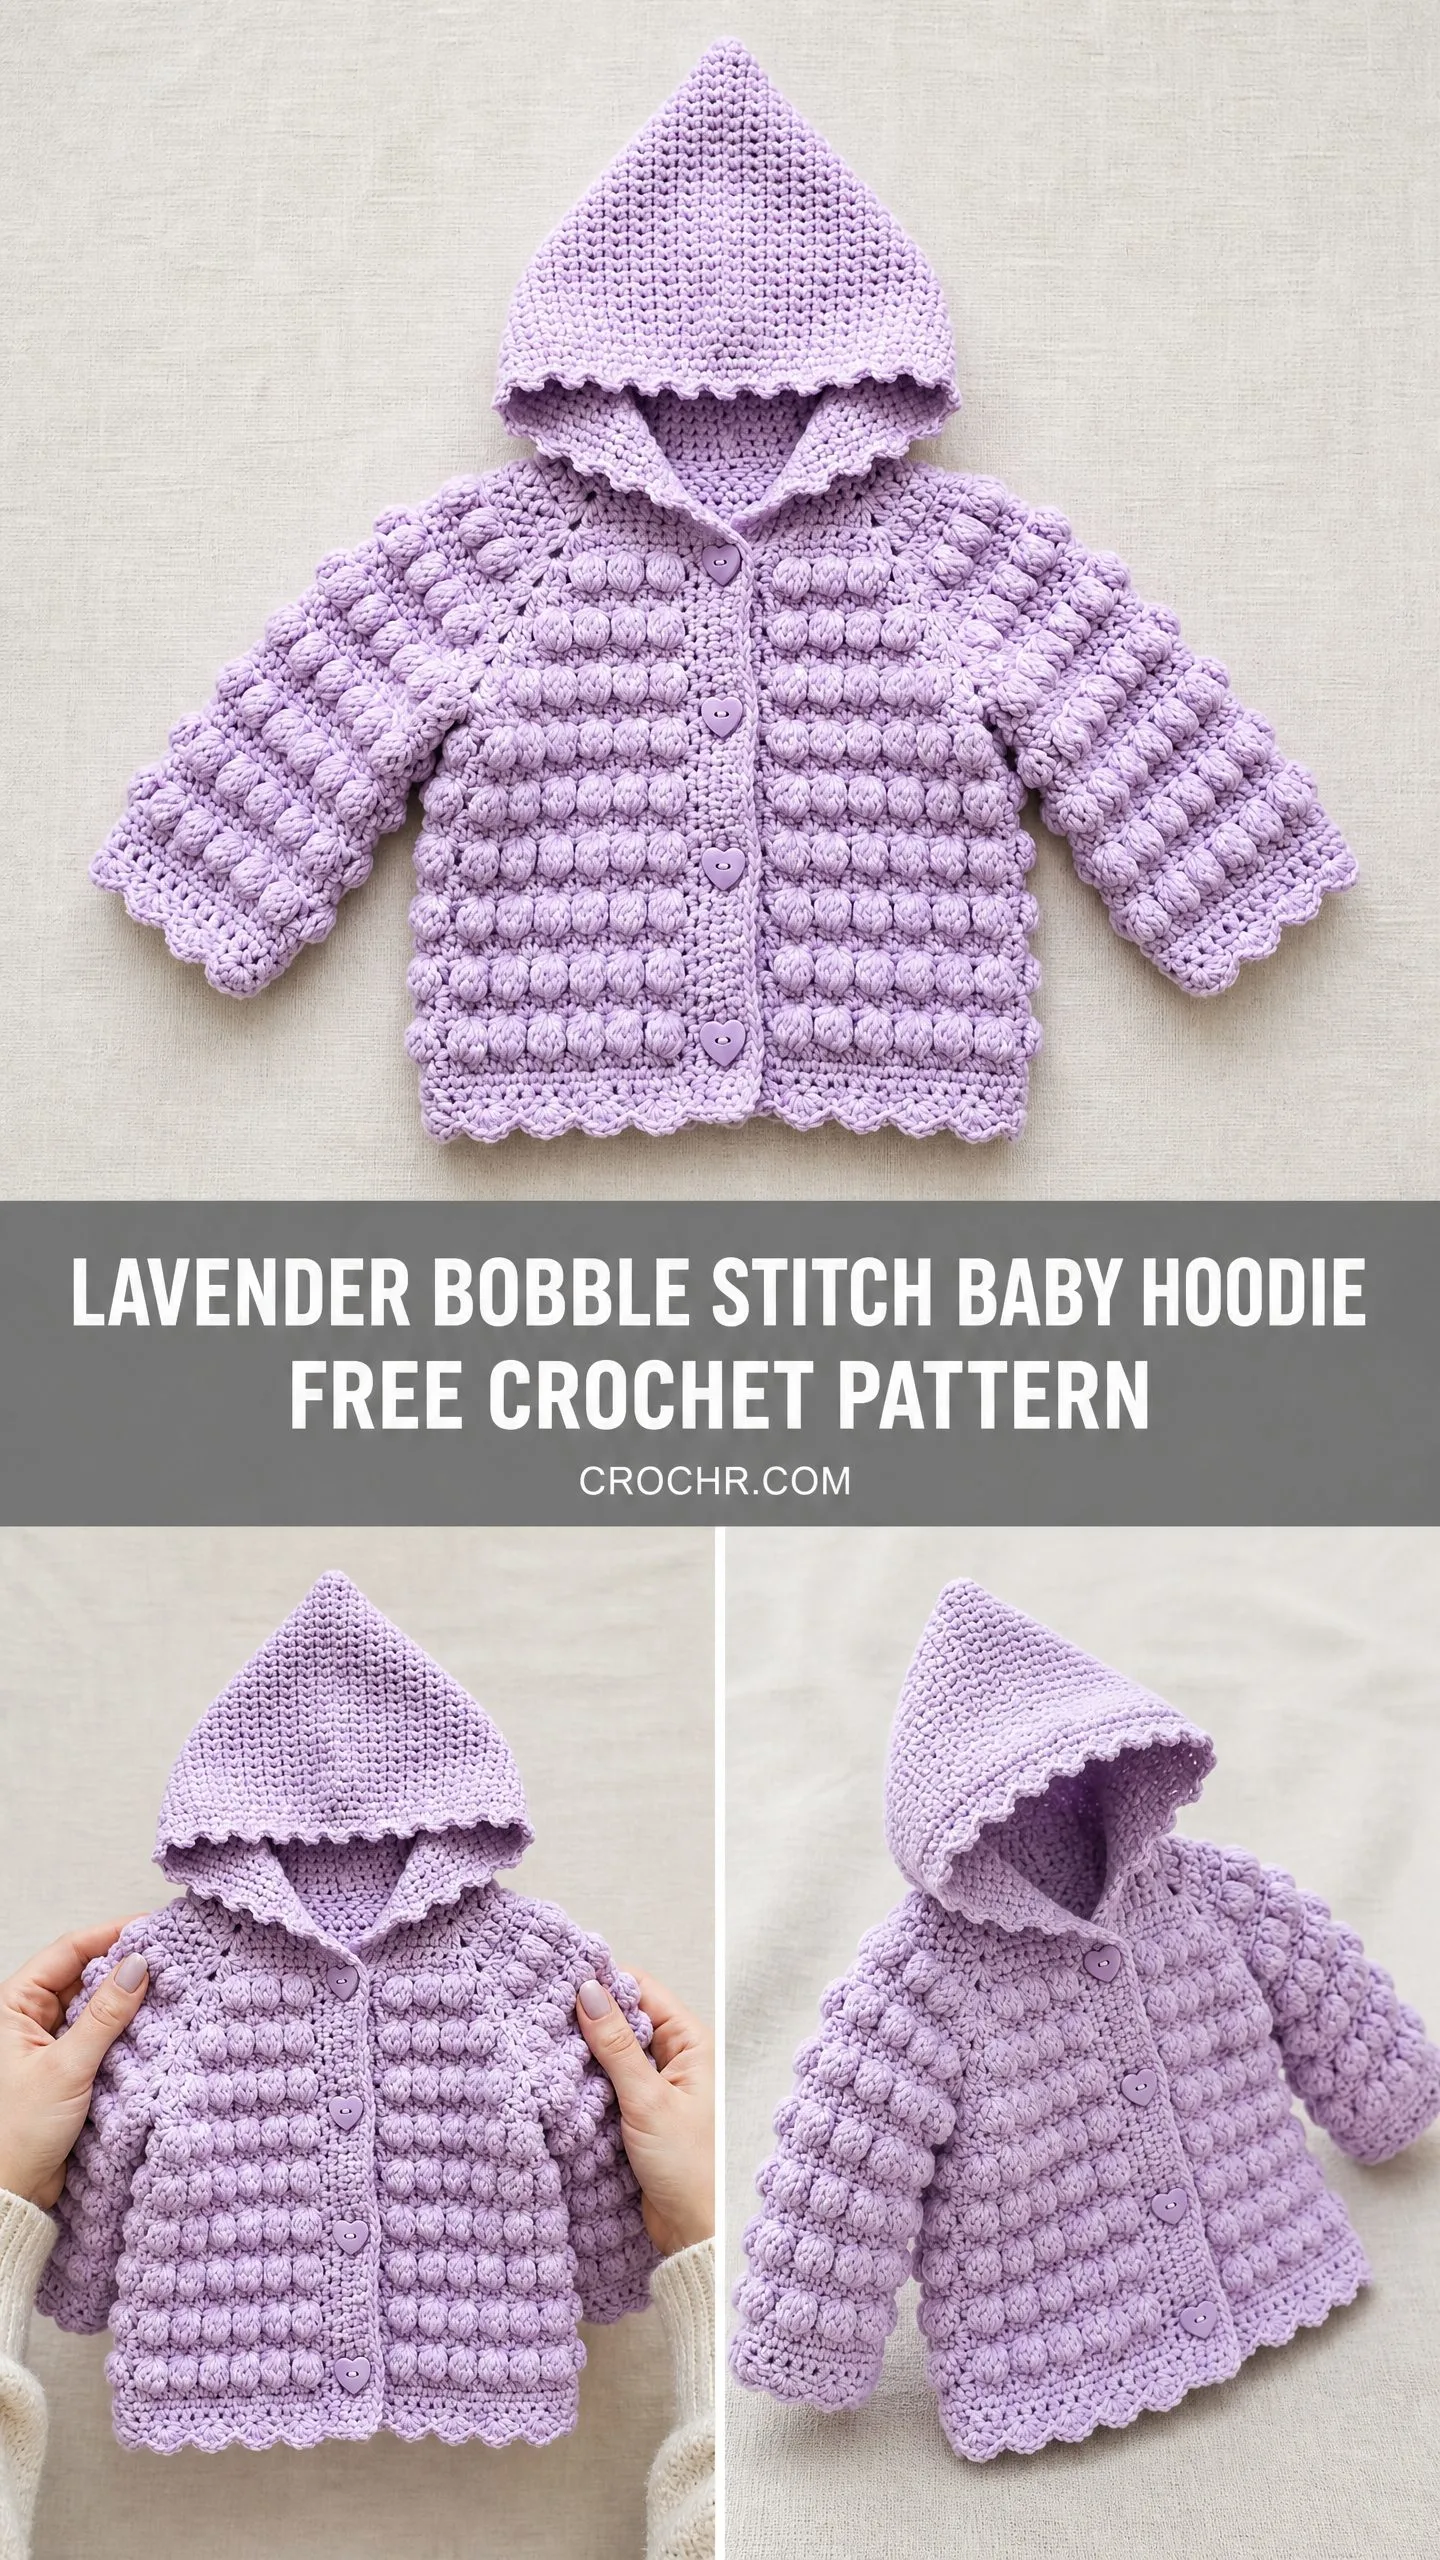
This bobble stitch baby hoodie checks every box. Cozy hood with a sweet pointed peak. Three-dimensional bobbles covering the body and sleeves. Heart-shaped buttons down the front. And that delicate scallop edging around every hem? Pure perfection.
If you’ve been looking for a baby gift that looks impressive but actually comes together in a logical, satisfying way, this is your pattern. The top-down raglan construction means minimal seaming, and you can try it on as you go if you have a willing little model nearby.
Why This Bobble Baby Hoodie Pattern Works So Well
Let me tell you what makes this crochet pattern such a joy to work up. The construction is clever. You start at the neckline and work your way down in one piece to the underarms. Then you separate the sleeves and continue the body flat to maintain that button-band opening. The hood gets picked up along the neckline and worked upward to that adorable pointed peak.
This means almost no seaming. The only seam in the entire garment is at the top of the hood where you fold and stitch to create the point. Everything else flows continuously from your hook.
The bobble stitch creates all that gorgeous texture you see. If you’ve never made bobbles before, don’t worry. I’ll walk you through exactly how they work. They’re easier than they look, and once you get the rhythm, they become almost meditative.
Finished Measurements
This pattern is written for size 6 to 12 months. Here’s what you’ll end up with:
I’ve included size customization tips at the end if you need to go bigger or smaller.
Materials You’ll Need
Yarn: Worsted weight (weight category 4), approximately 400 to 450 yards (365 to 410 meters) total in a soft lavender shade
Hook: US size H-8 / 5.0 mm crochet hook
Notions:
Yarn Suggestions
Lion Brand Vanna’s Choice works beautifully for this project. It’s 100% acrylic, machine washable, and holds bobble definition really well. You’ll need 3 skeins.
Paintbox Yarns Simply DK is another great option. Even though it’s technically DK weight, it works up perfectly at this gauge due to the ply structure. The color Dusty Lavender 150 would be gorgeous. Grab 3 skeins.
For a summer version, try Drops Safran in 100% cotton. Just know that cotton has less elasticity, so your gauge swatch is absolutely essential. You’ll need 3 skeins.
Whatever you choose, avoid fuzzy or heavily textured yarns. They’ll hide your beautiful bobbles, and that would be a shame.
Gauge (Please Don’t Skip This)
With your US H-8 / 5.0 mm hook and worsted weight yarn:
14 bobble stitches and 10 rows = 4 inches (10 cm) in bobble stitch pattern, blocked
14 single crochet and 16 rows = 4 inches (10 cm) in single crochet for the hood
I know gauge swatches aren’t the most exciting part, but they matter here. A difference of even one stitch per 4 inches will noticeably change the chest measurement. Make a swatch at least 20 bobble stitches wide and 14 rows tall. Block it and let it dry completely before measuring.
Abbreviations and Stitch Definitions
Let me walk you through every abbreviation you’ll see in this crochet tutorial. I’m defining them all on first use so you never have to wonder.
Special Stitches
How to Make the Bobble Stitch
The bobble stitch is what gives this baby hoodie all its delicious texture. Here’s exactly how to make one:
Step 1: Yarn over, insert hook into the stitch indicated.
Step 2: Yarn over and pull up a loop. You now have 3 loops on your hook.
Step 3: Yarn over and pull through 2 loops. You now have 2 loops on your hook.
Step 4: Repeat Steps 1 through 3 four more times in the same stitch. Each time, stop before that final pull-through. You’ll end up with 6 loops on your hook total.
Step 5: Yarn over and pull through all 6 loops on your hook at once.
Step 6: Chain 1 to close and secure the bobble. This closing chain-1 doesn’t count as a stitch. It just locks the bobble head in place.
Here’s a helpful tip: the bobble pops toward the back of your work on the row you’re making it. When you flip your work over, the bobbles will be facing the right side. Keep track of which side is your RS as you go.
Scallop Edging
This pretty edge finish requires a multiple of 6 stitches plus 1.
Step 1: Slip stitch into first stitch.
Step 2: Skip 2 stitches.
Step 3: Work 5 dc into next stitch (this creates a shell).
Step 4: Skip 2 stitches.
Step 5: Slip stitch into next stitch.
Step 6: Repeat Steps 2 through 5 across or around.
Raglan Increase at Marker
At each of your 4 raglan markers, you’ll work: 2 bobble stitches into the stitch immediately before the marker, 1 sc in the marked stitch (this is your raglan spine stitch), and 2 bobble stitches into the stitch immediately after the marker.
This adds 4 stitches at each raglan point per increase row. The raglan spine stitch is always a sc, never a bobble. This creates a visible diagonal line that looks really polished.
Pattern Notes Before You Begin
A few things to keep in mind as you work through this step by step crochet pattern:
1. The cardigan is worked from the top down in one piece to the underarms. The yoke is worked flat (back and forth) to create the center front opening.
2. The bobble stitch creates a right side and wrong side. Bobbles pop toward the WS as you work them and face the RS when viewed from the other side. On yoke rows worked flat, right-side rows are bobble rows and wrong-side rows are sc rows.
3. Chain-3 at the beginning of a dc row counts as 1 dc. Chain-1 at the beginning of sc rows does NOT count as a stitch.
4. Bobble rows alternate with single crochet rows throughout. This keeps the fabric stable.
5. The raglan spine stitches are always worked in sc on every row, even on bobble rows.
6. All stitch counts include raglan spine stitches.
Bobble Baby Hoodie Crochet Pattern Instructions
Yoke
The yoke begins at the neckline and is worked flat to create the front opening.
Foundation chain: Ch 43.
Row 1 (WS, setup): Sc in 2nd ch from hook and in each ch across. Turn. (42 sc)
Now place your markers to establish the raglan points:
This divides your work into: Right front (6 sts), Right sleeve (6 sts), Back (14 sts), Left sleeve (6 sts), Left front (6 sts), plus 4 raglan spine stitches. Total: 42 sts. Perfect.
Row 2 (RS, bobble increase row): Ch 1, turn. Work across, making bobbles in all non-spine stitches and sc in each of the 4 spine stitches. At each raglan marker, work the Raglan Increase as described above. (58 sts)
After Row 2 your counts are:
Row 3 (WS, sc row): Ch 1, turn. Sc in each stitch across. Do NOT work raglan increases on sc rows. (58 sc)
Row 4 (RS, bobble increase row): Ch 1, turn. Work Raglan Increase at each of the 4 markers, bobbles in all non-spine stitches, sc in spine stitches. (74 sts)
Row 5 (WS): Ch 1, turn. Sc across. (74 sc)
Row 6 (RS, bobble increase row): Work Raglan Increase at each marker. (90 sts)
Row 7 (WS): Ch 1, turn. Sc across. (90 sc)
Row 8 (RS, bobble increase row): Work Raglan Increase at each marker. (106 sts)
Row 9 (WS): Ch 1, turn. Sc across. (106 sc)
Row 10 (RS, bobble increase row): Work Raglan Increase at each marker. (122 sts)
Row 11 (WS): Ch 1, turn. Sc across. (122 sc)
Row 12 (RS, bobble increase row): Work Raglan Increase at each marker. (138 sts)
Row 13 (WS): Ch 1, turn. Sc across. (138 sc)
Row 14 (RS, bobble increase row): Work Raglan Increase at each marker. (154 sts)
After Row 14:
Row 15 (WS): Ch 1, turn. Sc across. (154 sc)
Checkpoint: Your yoke should measure approximately 6 inches (15 cm) from the foundation chain.
Body Separation
Now you’ll separate the sleeves from the body.
Row 16 (RS, separation row): Ch 1, turn.
Work in bobble pattern across right front 20 sts.
Skip right sleeve 34 sts and right spine 1 st (place these 35 sts on waste yarn).
Ch 6 for underarm bridge.
Work in bobble pattern across back 42 sts.
Skip left sleeve 34 sts and left spine 1 st (place these 35 sts on waste yarn).
Ch 6 for underarm bridge.
Work in bobble pattern across left front 20 sts. (94 sts)
Body
Continue working flat to maintain the front opening.
Row 17 (WS): Ch 1, turn. Sc across all 94 sts. (94 sc)
Row 18 (RS): Ch 1, turn. Bobble in each st across. (94 sts)
Rows 19-32: Continue alternating sc rows (WS) and bobble rows (RS), maintaining 94 sts throughout.
Do not fasten off. You’ll work the hem edging after completing the sleeves.
Checkpoint: The body from separation should measure approximately 5 inches (12.5 cm). Total length from neckline should be approximately 11 inches (28 cm).
Sleeves (Make 2)
Return to your held sleeve stitches.
Setup Round: Rejoin yarn at the underarm bridge edge. Pick up and work across the 35 held sleeve stitches, then pick up 6 sts across the underarm bridge chain. Join with sl st to first stitch to form a round. (41 sts)
Sleeve Round 1 (bobble round): Ch 1, do not turn. Bobble in each st around, join with sl st. (41 sts)
Sleeve Round 2 (sc round): Ch 1, sc in each st around, join with sl st. (41 sc)
Sleeve Rounds 3-12: Continue alternating bobble rounds and sc rounds. (41 sts)
Sleeve Round 13: Ch 1. Decrease 5 sts evenly spaced (sc2tog at 5 evenly spaced points, sc in all other sts). (36 sc)
Cuff Scallop Edging: Sl st into first st, (skip 2 sts, 5 dc in next st, skip 2 sts, sl st in next st) rep 6 times. Fasten off.
Repeat for second sleeve.
Hem Edging
Return to the body. You have 94 stitches at the bottom edge.
Hem Decrease Row: With RS facing and yarn attached at bottom right corner, ch 1. Work sc across the entire bottom edge, decreasing 4 sts evenly spaced (sc2tog at 4 evenly spaced points). (90 sc)
Hem Scallop Edging: Sl st into first st, (skip 2 sts, 5 dc in next st, skip 2 sts, sl st in next st) rep 15 times. Fasten off.
Front Band and Button Loops
With RS facing, attach yarn at bottom right front corner.
Row 1 of band: Ch 1, sc evenly up the right front edge (approximately 2 sc per bobble row, 1 sc per sc row), across the neckline, and down the left front edge. Work approximately 48 sc up right front, 42 sc across neckline, 48 sc down left front. (138 sc total)
Button Loop Row (right front only): Work sc in each st, placing 4 button loops evenly spaced. For each button loop: ch 3, skip 2 sts, sc in next st. Place first loop 4 sts from the bottom, then every 10 sts approximately.
Fasten off.
Hood
Hood Pickup Row: With RS facing, attach yarn at top right front corner. Sc evenly across the neckline edge, picking up approximately 42 sts. (42 sc)
Hood Row 1 (RS): Ch 1, turn. Bobble in each st across. (42 sts)
Hood Row 2 (WS): Ch 1, turn. Sc across. (42 sc)
Continue alternating bobble and sc rows until hood measures approximately 6 inches (15 cm) from pickup row, ending on a WS row. This takes approximately 15 to 16 rows.
Hood Peak Shaping
Row 17 (RS): Ch 1, turn. Bobble across to center 2 sts, sc2tog over center 2 sts, bobble to end. (41 sts)
Row 18 (WS): Ch 1, turn. Sc across. (41 sc)
Row 19 (RS): Ch 1, turn. Bobble to 1 st before center, sc2tog, bobble to end. (40 sts)
Row 20 (WS): Ch 1, turn. Sc across. (40 sc)
Continue decreasing 1 stitch every RS row until 20 sts remain.
Fasten off, leaving a 12-inch (30 cm) tail. Fold the hood in half with RS together. Seam the top 10 sts to the opposite 10 sts using the tail and yarn needle. Turn RS out.
Hood Opening Edging: With RS facing, attach yarn at right front corner of hood opening. Work 1 round of sc evenly around the hood opening, picking up approximately 90 sc.
Hood Scallop Round: Sl st into first st, (skip 2 sts, 5 dc in next st, skip 2 sts, sl st in next st) rep 15 times around. Join with sl st. Fasten off.
Finishing
Attach your 4 heart-shaped buttons to the left front band, aligned with the button loops on the right front. Sew securely with matching thread.
Weave in all ends on the WS, running them along the back of at least 4 to 5 stitches in different directions.
Blocking: Soak your finished hoodie in cool water with a drop of wool wash. Squeeze gently (don’t wring). Roll in a clean towel to remove moisture. Lay flat and pin to measurements, shaping the scallop edges and pointed hood peak. Let dry completely. This step makes a huge difference in how professional your finished piece looks.
Size Customization Tips
To size up to 12 to 18 months (22-inch chest): Work 2 additional raglan increase rows before separation, bringing the body to 126 stitches. Add 4 additional body rows and 2 additional sleeve rounds.
To size down to 0 to 3 months (17-inch chest): Work only 6 raglan increase rows instead of 8. This gives approximately 80 body stitches. Reduce body rows to about 20 total and sleeve rounds to 8.
To adjust length: Each 2-row repeat adds approximately 0.8 inches (2 cm). Add or remove pairs of rows as needed.
Always check that your final stitch count is divisible by 6 for the scallop edging.
I really hope you love making this bobble stitch baby hoodie as much as I loved designing it. Thank you so much for choosing this pattern for your next project.
If you make one, I would absolutely love to see it! Tag me on Instagram or share a photo in our Facebook group. There’s nothing better than seeing these little hoodies come to life in all different colors.
Go ahead and pin this pattern to your crochet board so you can find it when you’re ready to cast on. And if you have any questions or just want to share how yours turned out, drop a comment below. I always love hearing from you!
You Might Also Like
- Blush Pink Monochrome Daisy Blanket Free Crochet Pattern
- Succulent Garden Crochet Bowl Free Crochet Pattern
- Rose Romance Tote Bag Free Crochet Pattern
- Lemon Sorbet Candy Bolster Pillow Free Crochet Pattern
