Think crochet baskets that actually hold their shape are beyond your skill level? I hear this all the time, and I’m here to tell you it’s simply not true. This gorgeous hanging bathroom organizer looks like something you’d find in a high-end home goods store, but it’s built entirely with basic stitches you probably already know. If you can single crochet and work in the round, you can absolutely make this. The secret is choosing the right yarn weight and working with a slightly smaller hook than usual to create that sturdy, structured fabric. Whether you’ve been crocheting for years or just mastered your first dishcloth last month, this bathroom storage basket crochet pattern will give you professional results without the professional-level stress.
Why This Hanging Organizer Works So Well
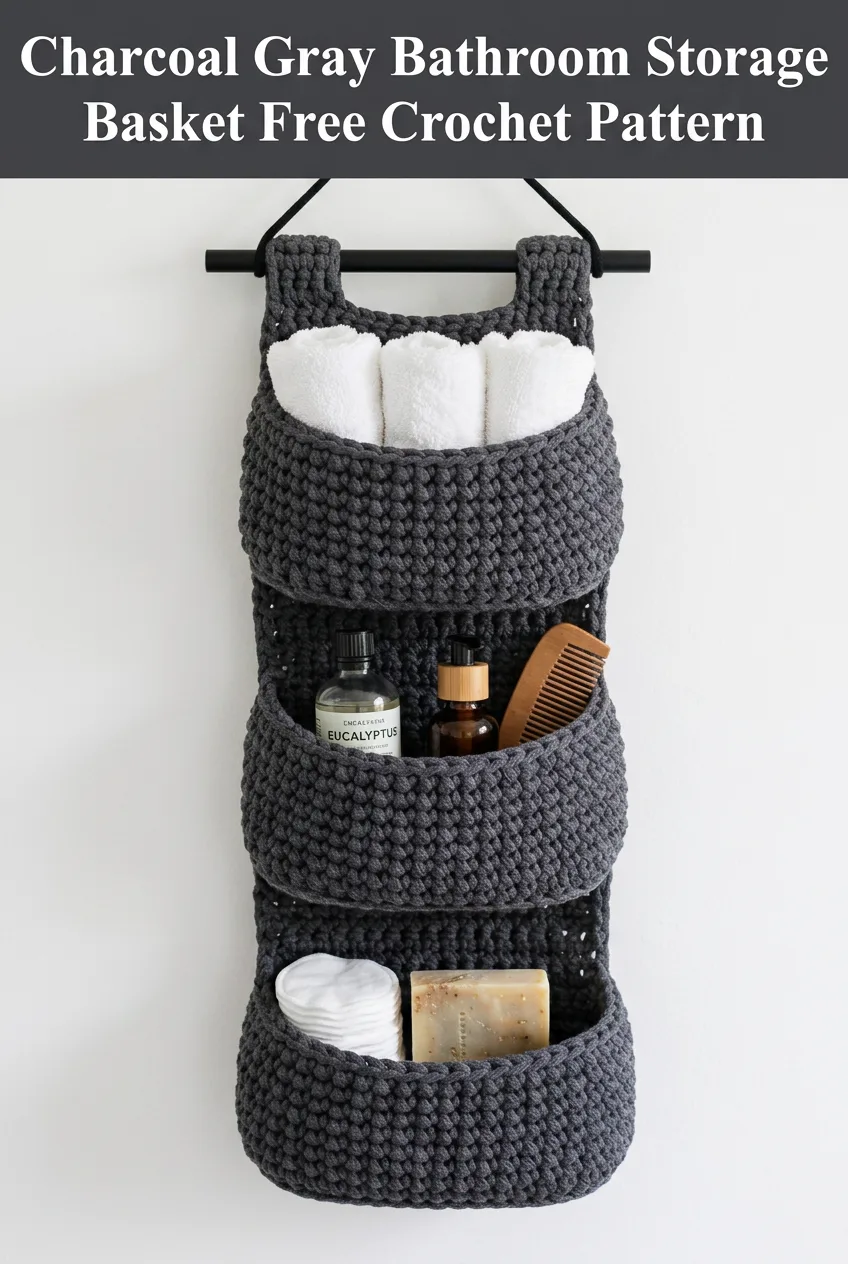
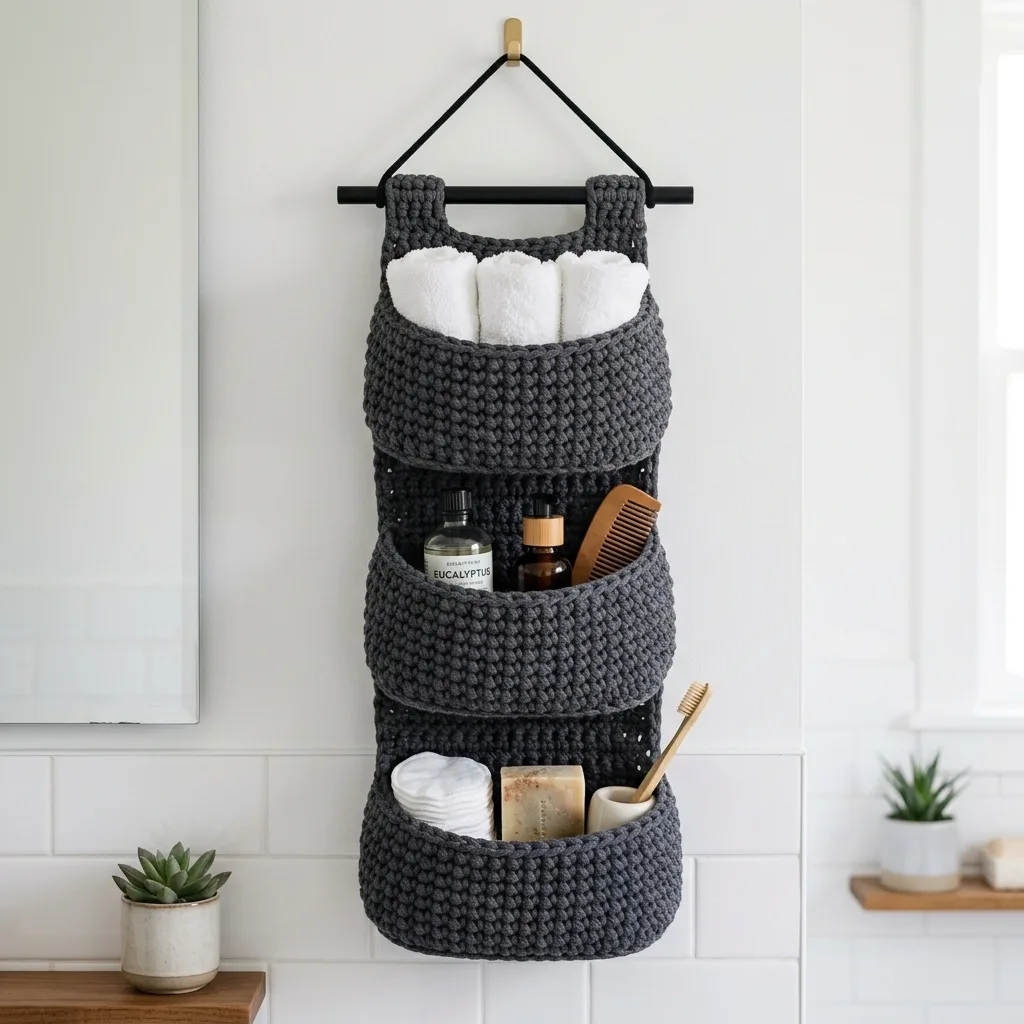
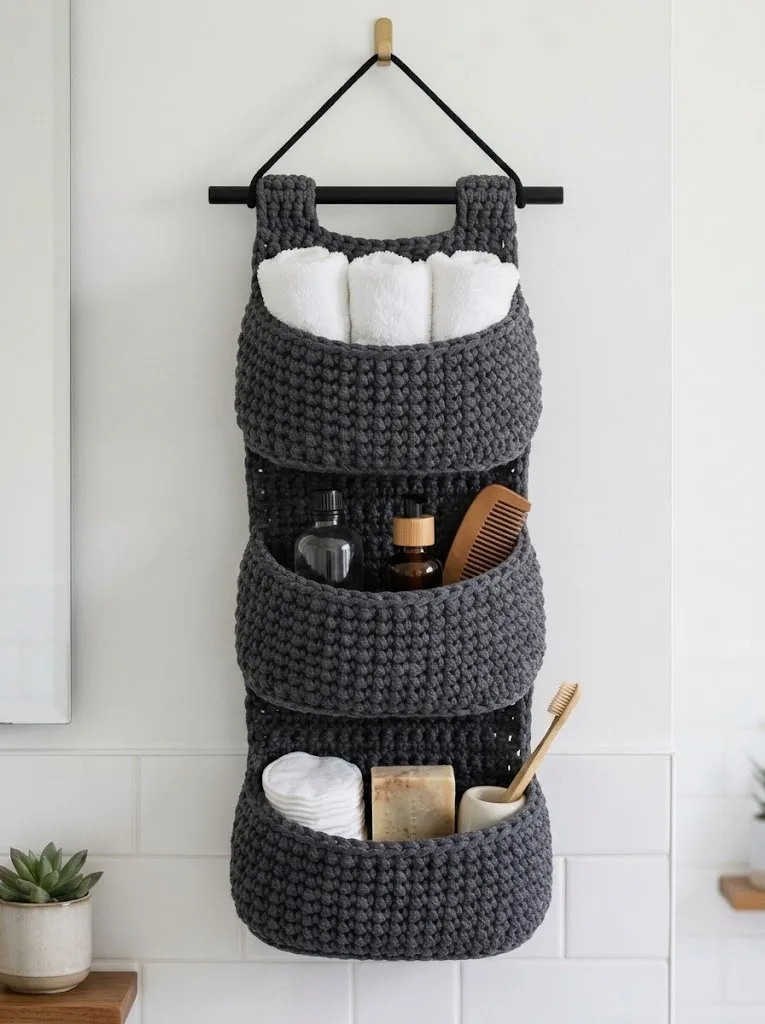
I designed this three-tier bathroom storage basket with real life in mind. Each pocket sits at the perfect depth to hold bathroom essentials without things tumbling out. The top basket is sized for rolled hand towels or washcloths. The middle tier fits bottles, combs, and everyday toiletries. The bottom pocket handles smaller items like cotton rounds, soap bars, and toothbrushes in a holder.
The charcoal gray color is intentional too. It hides water spots, doesn’t show lint, and coordinates with almost any bathroom decor. Plus, that deep gray makes the chunky texture really pop.
What makes this pattern beginner friendly:
Materials You Will Need
Yarn:
Hook:
Notions:
Gauge and Finished Dimensions
Gauge: 12 single crochet stitches and 14 rows = 4 inches in single crochet fabric
Check your gauge before starting. If your stitches are too loose, the baskets will sag under weight. Go down a hook size if needed.
Finished Measurements:
Abbreviations and Stitch Definitions
Ch = Chain. Wrap yarn over hook and pull through loop on hook.
Sc = Single crochet. Insert hook into stitch, yarn over, pull up a loop (two loops on hook), yarn over, pull through both loops.
Sl st = Slip stitch. Insert hook into stitch, yarn over, pull through both the stitch and the loop on hook in one motion.
Inc = Increase. Work two single crochet stitches into the same stitch.
St(s) = Stitch(es)
PM = Place marker
Step by Step Crochet Pattern Instructions
This bathroom storage basket is constructed in five parts: one back panel, three basket pockets, and two hanging loops. Everything gets assembled at the end.
Part 1: Back Panel
The back panel is a simple rectangle worked in rows. This forms the spine of your organizer.
Foundation: Ch 31.
Row 1: Sc in second ch from hook and in each ch across. (30 sts)
Row 2: Ch 1, turn. Sc in each st across. (30 sts)
Rows 3 through 90: Repeat Row 2.
Your back panel should measure approximately 10 inches wide and 26 inches long. Fasten off, leaving a long tail for seaming later.
*Quick tip: Count your stitches every 10 rows or so. It’s much easier to fix a mistake early than to discover it three inches later.*
Part 2: Large Top Basket
This basket will hold your rolled towels. It’s worked in continuous rounds from the bottom up.
Foundation: Ch 25.
Round 1: Sc in second ch from hook and in next 22 ch. Work 3 sc in last ch (this is the end of the oval). Working along the opposite side of the foundation chain, sc in next 22 sts. Work 2 sc in last st. PM to mark beginning of round. (50 sts)
Round 2: Sc in next 23 sts, inc in next st, sc in next st, inc in next st, sc in next 23 sts, inc in next st, sc in next st. (53 sts)
Round 3: Sc in next 24 sts, inc in next st, sc in next 2 sts, inc in next st, sc in next 24 sts, inc in next st, sc in next st. (56 sts)
Round 4: Sc in each st around. (56 sts)
Rounds 5 through 18: Sc in each st around. (56 sts)
At this point, your basket should measure approximately 5 inches tall. Sl st to next st to even out the edge. Fasten off, leaving a 24 inch tail for attaching to the back panel.
Part 3: Medium Middle Basket
This pocket is perfect for bottles and toiletries.
Foundation: Ch 23.
Round 1: Sc in second ch from hook and in next 20 ch. Work 3 sc in last ch. Working along the opposite side of the foundation chain, sc in next 20 sts. Work 2 sc in last st. PM. (46 sts)
Round 2: Sc in next 21 sts, inc in next st, sc in next st, inc in next st, sc in next 21 sts, inc in next st, sc in next st. (49 sts)
Round 3: Sc in next 22 sts, inc in next st, sc in next 2 sts, inc in next st, sc in next 22 sts, inc in next st, sc in next st. (52 sts)
Round 4: Sc in each st around. (52 sts)
Rounds 5 through 16: Sc in each st around. (52 sts)
Basket should measure approximately 4.5 inches tall. Sl st to next st. Fasten off with a 24 inch tail.
Part 4: Small Bottom Basket
The smallest basket holds cotton pads, soap, and small items.
Foundation: Ch 21.
Round 1: Sc in second ch from hook and in next 18 ch. Work 3 sc in last ch. Working along the opposite side of the foundation chain, sc in next 18 sts. Work 2 sc in last st. PM. (42 sts)
Round 2: Sc in next 19 sts, inc in next st, sc in next st, inc in next st, sc in next 19 sts, inc in next st, sc in next st. (45 sts)
Round 3: Sc in next 20 sts, inc in next st, sc in next 2 sts, inc in next st, sc in next 20 sts, inc in next st, sc in next st. (48 sts)
Round 4: Sc in each st around. (48 sts)
Rounds 5 through 14: Sc in each st around. (48 sts)
Basket should measure approximately 4 inches tall. Sl st to next st. Fasten off with a 24 inch tail.
Part 5: Hanging Loops (Make 2)
These loops wrap around your dowel rod.
Foundation: Ch 7.
Row 1: Sc in second ch from hook and in each ch across. (6 sts)
Rows 2 through 16: Ch 1, turn. Sc in each st across. (6 sts)
Fasten off, leaving a 12 inch tail. You’ll fold these in half and sew them to the top of the back panel.
Assembly Instructions
Now comes the satisfying part. Grab your yarn needle and let’s put this beauty together.
Step 1: Attach Hanging Loops
Fold each hanging loop in half lengthwise to form a tube. Position them at the top of your back panel, approximately 2 inches from each side edge. The loop should extend about 1.5 inches above the panel to slide over your dowel rod. Whip stitch securely through all layers.
Step 2: Position and Attach Baskets
Lay your back panel flat. Position the large basket approximately 1 inch below the hanging loops. The open side of the basket should face outward, with the back of the basket sitting flat against the panel.
Using the long tail, whip stitch the back half of the basket’s top edge to the panel. Stitch through both layers securely, working across the entire back width of the basket.
Position the medium basket approximately 2 inches below the first basket. Repeat the attachment process.
Position the small basket approximately 2 inches below the middle basket. Attach the same way.
Step 3: Weave in All Ends
Take your time here. Weave each tail through at least 2 inches of stitches, then double back in the opposite direction. Trim close to the fabric.
Step 4: Insert Dowel Rod
Slide your dowel rod through both hanging loops. Hang on a wall hook or nail.
Care Instructions and Tips
Cotton yarn is wonderfully practical for bathroom use. Spot clean with a damp cloth for light dust. For deeper cleaning, remove from the wall and hand wash in cool water with mild soap. Reshape while damp and lay flat to dry.
Pro tip: If your baskets feel slightly floppy, try one of these stiffening methods:
Customization Ideas for Your Crochet Storage Basket
This crochet tutorial gives you the foundation, but feel free to make it your own.
Color options: Try cream for a boho look, sage green for spa vibes, or navy for a nautical bathroom.
Size adjustments: Add more rows to each basket for deeper pockets. Add more rounds to the base for wider baskets.
Additional pockets: There’s no rule that says you must stop at three. Add a fourth small basket if your wall space allows.
Alternative hanging methods: Skip the dowel entirely and crochet a long strap that loops over a towel hook.
Why Cotton Yarn Is Perfect for Bathroom Storage
I want to take a moment to explain why I specifically recommend cotton for this bathroom storage basket crochet pattern. Bathrooms are humid environments. Acrylic yarn can feel slightly plasticky when damp, and wool can get musty. Cotton breathes naturally, dries quickly, and actually gets softer with each wash.
The bulky weight cotton also provides excellent structure without additional stiffening. Your baskets will hold toiletries, bottles, and towels without collapsing.
If you cannot find bulky cotton locally, you can hold two strands of worsted weight cotton together. This creates a similar thickness and works beautifully.
Troubleshooting Common Issues
My baskets are too floppy.
Your gauge is likely too loose. Rip back and try a smaller hook. The fabric should feel firm, not drapey.
My back panel is curling.
This is normal for single crochet worked in rows. Blocking helps, but the curl usually relaxes once the baskets are attached and the piece hangs vertically.
The oval bases look uneven.
Those first few rounds can feel awkward. Trust the process. Once you’re a few rounds in, the shape evens out naturally.
I lost count of my stitches.
It happens to everyone. Use a stitch marker to mark every 10 stitches while you’re learning. This makes counting much faster.
Gift Giving and Presentation Ideas
This hanging organizer makes a thoughtful housewarming gift or a lovely addition to a bathroom refresh gift basket. Pair it with rolled washcloths, fancy soap, and a nice comb for a spa-themed present.
For baby showers, make one in soft pastels and fill with baby washcloths, lotion, and diaper cream. Hang it near the changing table for easy access.
This pattern also works wonderfully for craft room storage, entryway organization, or even a child’s room for small toys and accessories.
I really hope you enjoy making this charcoal gray bathroom storage basket as much as I enjoyed designing it. Save this pattern to your Pinterest boards so you can find it whenever you’re ready to start, and please leave a comment below if you give it a try. I absolutely love seeing your finished projects and hearing how the pattern worked for you.
