I don’t know about you, but I have killed more houseplants than I care to admit. Between forgetting to water them and placing them in spots with zero natural light, my track record is honestly embarrassing. But here’s the thing. I still want that lush, green, plant-filled aesthetic in my home office. Enter this gorgeous crochet monstera plant that stays green forever, needs zero sunlight, and thrives on pure neglect. All the tropical vibes with none of the guilt.
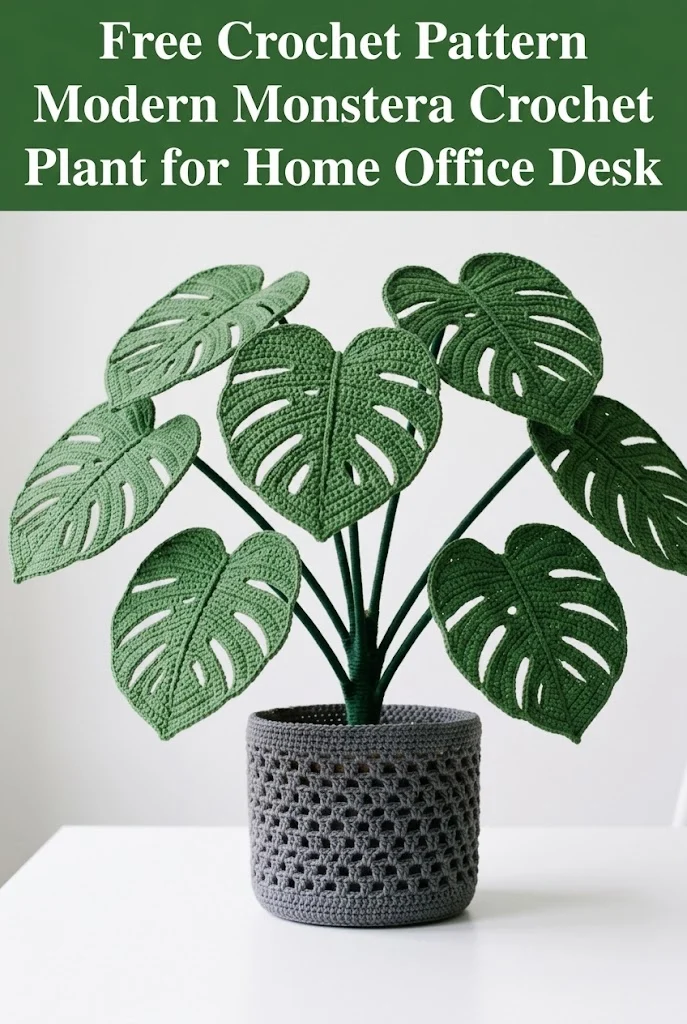
This crochet monstera pattern has become one of my absolute favorite makes. It sits on my desk looking stunning, and I never have to worry about droopy leaves or pest infestations. If you’ve been searching for a crochet plant tutorial that actually looks realistic and impressive, you’re in the right place.
Why You’ll Love This Crochet Plant Pattern
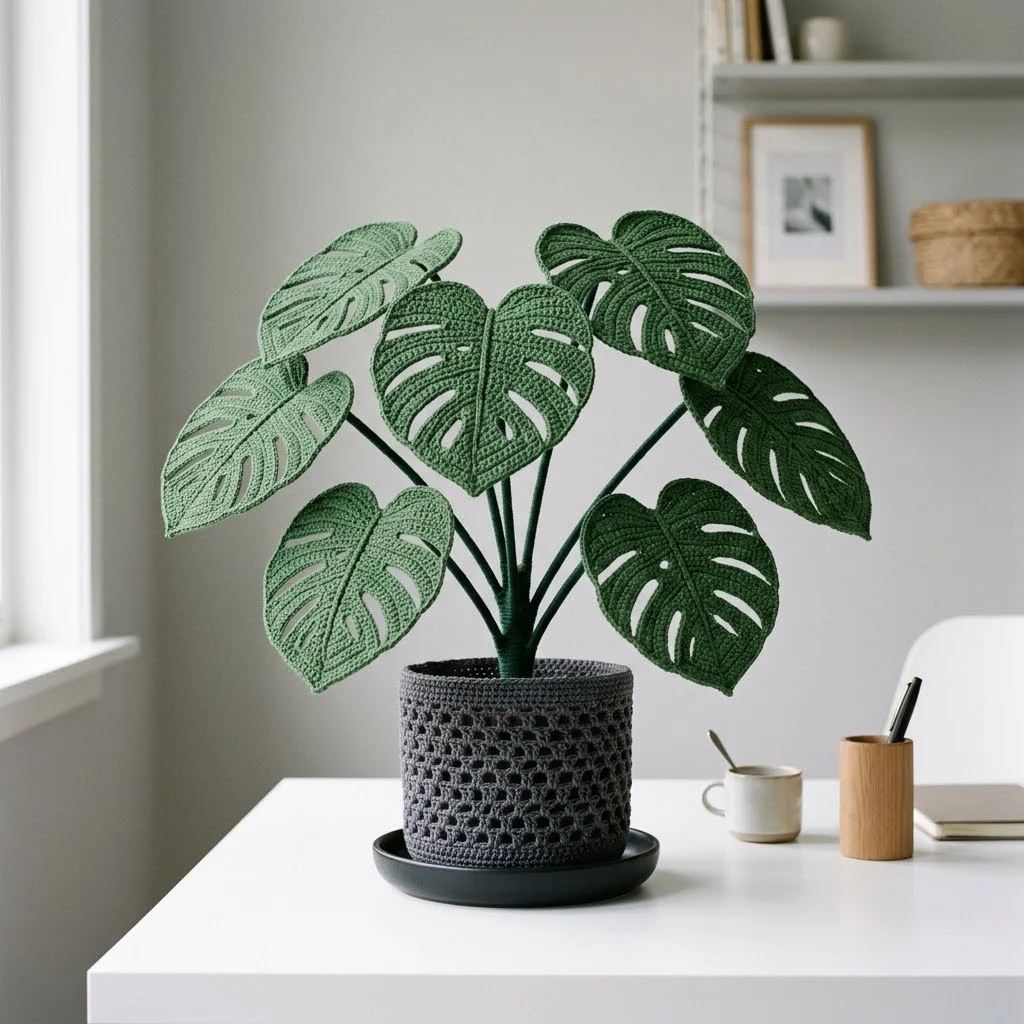
This modern monstera crochet plant hits all the right notes. It’s the perfect blend of trendy home decor and satisfying crochet work. The finished piece stands roughly 14 to 16 inches tall, making it substantial enough to be a statement piece without overwhelming your desk space.
What makes this project special is the combination of techniques. You’ll work flat leaf pieces with intentional openings to mimic the natural fenestrations (those iconic splits and holes) that make monstera leaves so recognizable. The leaves have a slightly stiff structure thanks to the yarn choice and tight gauge, so they hold their shape beautifully.
Skill level: Intermediate. If you’re comfortable with basic stitches and have made a few amigurumi or shaped flat pieces before, you can absolutely tackle this. I’ll walk you through every tricky bit.
Materials You’ll Need
Yarn:
I recommend 100% cotton yarn for this project. Cotton holds its shape better than acrylic and gives the leaves that crisp, sturdy feel you want. The matte finish also looks more natural and plant-like. Brands like Lily Sugar’n Cream, Paintbox Cotton, or Premier Home Cotton work beautifully.
Hook:
Additional Supplies:
Stitches and Abbreviations Used
Let me break down every stitch you’ll encounter. No surprises here.
Chain (ch): The foundation stitch. Yarn over, pull through the loop on your hook. This creates the base row or adds height.
Single Crochet (sc): Insert hook into stitch, yarn over and pull up a loop (2 loops on hook), yarn over and pull through both loops. This is your most basic, tightest stitch.
Half Double Crochet (hdc): Yarn over, insert hook into stitch, yarn over and pull up a loop (3 loops on hook), yarn over and pull through all 3 loops. Slightly taller than single crochet.
Double Crochet (dc): Yarn over, insert hook into stitch, yarn over and pull up a loop (3 loops on hook), yarn over and pull through 2 loops, yarn over and pull through remaining 2 loops. Creates a taller, more open fabric.
Slip Stitch (sl st): Insert hook into stitch, yarn over and pull through both the stitch and the loop on your hook in one motion. Used for joining and creating smooth edges.
Single Crochet Decrease (sc2tog): Insert hook into first stitch, pull up a loop, insert hook into next stitch, pull up a loop (3 loops on hook), yarn over and pull through all 3. This decreases your stitch count by one.
Skip (sk): Miss the indicated stitch and work into the next one. This creates intentional gaps.
Gauge
Work 16 sc and 18 rows = 4 inches in single crochet with 4.0mm hook using cotton yarn.
Gauge matters here because you want a tight, firm fabric. If your leaves are too floppy, go down a hook size. The stiffness is part of what makes this plant look so realistic.
Pattern Instructions
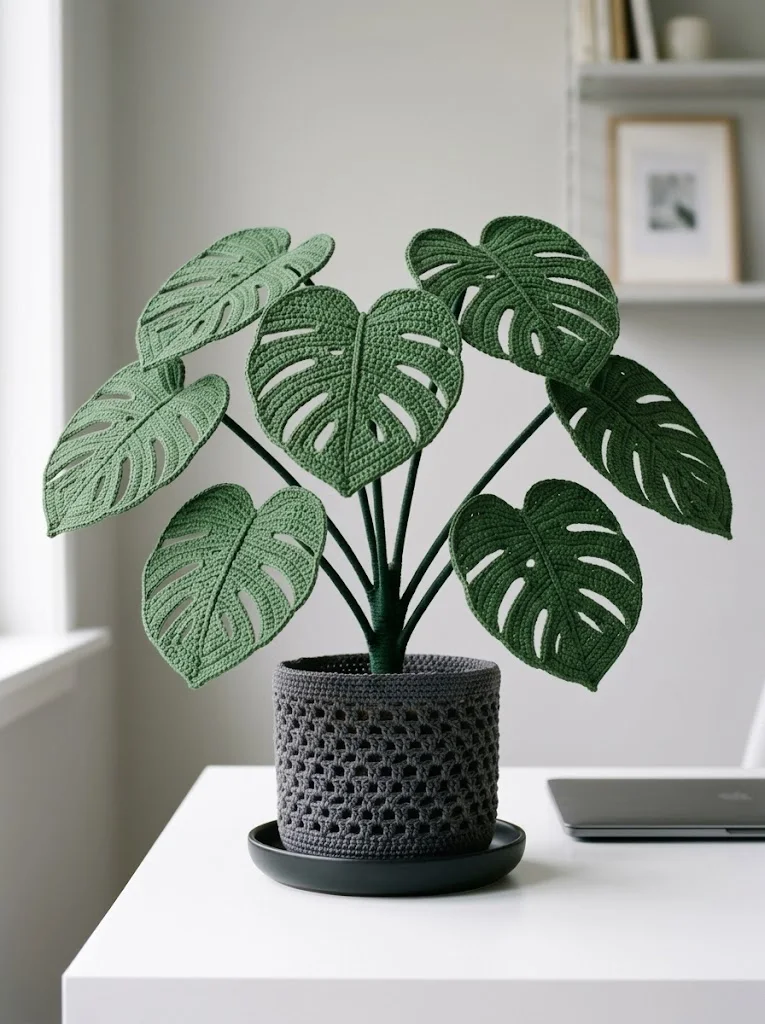
Large Monstera Leaf (Make 3 in Dark Green)
These are the star of the show. The large leaves measure approximately 6 inches wide and 7 inches tall.
Center Spine:
Row 1: Ch 30. Sc in 2nd ch from hook and in each ch across. (29 sc)
Row 2: Ch 1, turn. Sc in each st across. (29 sc)
Building the Leaf Shape (Right Side):
Row 3: Ch 1, turn. Sc in first 5 sts, hdc in next 3 sts, dc in next 6 sts, ch 3, sk 3, dc in next 6 sts, hdc in next 3 sts, sc in last 3 sts. (26 sts plus ch-3 space)
Row 4: Ch 1, turn. Sc in first 3 sts, hdc in next 2 sts, dc in next 4 sts, 3 dc in ch-3 space, dc in next 4 sts, hdc in next 2 sts, sc in next 3 sts, sc2tog over last 2 sts. (25 sts)
Row 5: Ch 1, turn. Sc2tog, sc in next 3 sts, hdc in next 3 sts, dc in next 5 sts, ch 4, sk 4, dc in next 5 sts, hdc in next 2 sts, sc in last 2 sts. (21 sts plus ch-4 space)
Row 6: Ch 1, turn. Sc in first 2 sts, hdc in next 2 sts, dc in next 4 sts, 4 dc in ch-4 space, dc in next 4 sts, hdc in next 2 sts, sc in next 2 sts, sc2tog. (23 sts)
Row 7: Ch 1, turn. Sc2tog, sc in next 2 sts, hdc in next 2 sts, dc in next 4 sts, ch 5, sk 5, dc in next 4 sts, hdc in next 2 sts, sc in last 2 sts. (18 sts plus ch-5 space)
Row 8: Ch 1, turn. Sc in first 2 sts, hdc in next 2 sts, dc in next 3 sts, 5 dc in ch-5 space, dc in next 3 sts, hdc in next 2 sts, sc in next 2 sts, sc2tog. (22 sts)
Tapering to Point:
Row 9: Ch 1, turn. Sc2tog, sc in next 8 sts, sc2tog, sc in next 8 sts, sc2tog. (19 sts)
Row 10: Ch 1, turn. Sc2tog, sc in next 6 sts, sc2tog, sc in next 6 sts, sc2tog. (16 sts)
Row 11: Ch 1, turn. Sc2tog, sc in next 5 sts, sc2tog, sc in next 5 sts, sc2tog. (13 sts)
Row 12: Ch 1, turn. Sc2tog, sc in next 3 sts, sc2tog, sc in next 3 sts, sc2tog. (10 sts)
Row 13: Ch 1, turn. Sc2tog, sc in next 2 sts, sc2tog, sc in next 2 sts, sc2tog. (7 sts)
Row 14: Ch 1, turn. Sc2tog, sc in next 3 sts, sc2tog. (5 sts)
Row 15: Ch 1, turn. Sc2tog, sc 1, sc2tog. (3 sts)
Row 16: Ch 1, turn. Sc3tog (insert hook in each of 3 sts, pull up loop, yarn over, pull through all 4 loops). Fasten off.
Border Edging:
Join yarn at base of leaf spine. Sc evenly around entire leaf edge, working 3 sc in each corner point and 1 sc in each row end along sides. Sl st to first sc. Fasten off.
Medium Monstera Leaf (Make 2 in Light Sage)
Center Spine:
Row 1: Ch 24. Sc in 2nd ch from hook and in each ch across. (23 sc)
Row 2: Ch 1, turn. Sc in each st across. (23 sc)
Building the Leaf Shape:
Row 3: Ch 1, turn. Sc in first 4 sts, hdc in next 2 sts, dc in next 4 sts, ch 3, sk 3, dc in next 4 sts, hdc in next 2 sts, sc in last 4 sts. (20 sts plus ch-3 space)
Row 4: Ch 1, turn. Sc in first 3 sts, hdc in next 2 sts, dc in next 3 sts, 3 dc in ch-3 space, dc in next 3 sts, hdc in next 2 sts, sc in last 3 sts, sc2tog. (21 sts)
Row 5: Ch 1, turn. Sc2tog, sc in next 3 sts, hdc in next 2 sts, dc in next 4 sts, ch 3, sk 3, dc in next 4 sts, hdc in next 2 sts, sc in last 2 sts. (17 sts plus ch-3 space)
Row 6: Ch 1, turn. Sc in first 2 sts, hdc in next 2 sts, dc in next 3 sts, 3 dc in ch-3 space, dc in next 3 sts, hdc in next 2 sts, sc2tog. (18 sts)
Tapering:
Rows 7 through 12: Continue decreasing at edges as established, reducing by 2 sts each row until 6 sts remain.
Row 13: Ch 1, turn. Sc2tog, sc in next 2 sts, sc2tog. (4 sts)
Row 14: Ch 1, turn. Sc2tog twice. (2 sts)
Row 15: Ch 1, turn. Sc2tog. Fasten off.
Work border edging as for large leaf.
Small Baby Leaf (Make 2 in Light Sage)
These little heart-shaped leaves add authenticity. Young monstera leaves don’t have fenestrations yet.
Row 1: Ch 16. Sc in 2nd ch from hook and in each ch across. (15 sc)
Row 2: Ch 1, turn. Sc in each st across. (15 sc)
Row 3: Ch 1, turn. Sc2tog, sc in next 11 sts, sc2tog. (13 sts)
Row 4: Ch 1, turn. Sc in each st across. (13 sts)
Row 5: Ch 1, turn. Sc2tog, sc in next 9 sts, sc2tog. (11 sts)
Row 6: Ch 1, turn. Sc2tog, sc in next 7 sts, sc2tog. (9 sts)
Row 7: Ch 1, turn. Sc2tog, sc in next 5 sts, sc2tog. (7 sts)
Row 8: Ch 1, turn. Sc2tog, sc in next 3 sts, sc2tog. (5 sts)
Row 9: Ch 1, turn. Sc2tog, sc 1, sc2tog. (3 sts)
Row 10: Ch 1, turn. Sc3tog. Fasten off.
Work border edging around entire leaf.
Leaf Stems
For each leaf, cut floral wire 2 inches longer than desired stem length (approximately 8 to 12 inches for large leaves, 6 to 8 inches for medium, 4 to 6 inches for small).
Crocheted Stem Cover:
Ch 4. Join with sl st to form ring.
Round 1: Ch 1. Work 6 sc in ring. Do not join. Work in continuous spiral. (6 sc)
Continue working 6 sc per round until stem cover reaches desired length.
Sl st to close final round. Fasten off, leaving long tail.
Insert wire into stem cover. Use yarn needle to attach stem to base of leaf spine securely. Wrap any exposed wire with green floral tape.
Crocheted Pot Cover
This charming pot cover uses a simple mesh pattern. Finished size fits a 4-inch diameter pot.
Base:
Round 1: With dark gray yarn, magic ring. Ch 1. Work 6 sc in ring. Pull tight. (6 sc)
Round 2: 2 sc in each st around. (12 sc)
Round 3: *Sc 1, 2 sc in next st* around. (18 sc)
Round 4: *Sc 2, 2 sc in next st* around. (24 sc)
Round 5: *Sc 3, 2 sc in next st* around. (30 sc)
Round 6: *Sc 4, 2 sc in next st* around. (36 sc)
Round 7: *Sc 5, 2 sc in next st* around. (42 sc)
Sides with Mesh Detail:
Round 8: Working in back loops only, sc in each st around. (42 sc)
Rounds 9 through 11: Sc in each st around. (42 sc)
Round 12: *Sc 1, ch 1, sk 1* around. (21 sc, 21 ch-1 spaces)
Rounds 13 through 18: *Sc in next sc, ch 1, sk ch-1 space* around. (21 sc, 21 ch-1 spaces per round)
Rounds 19 through 21: Sc in each st and ch-1 space around. (42 sc)
Sl st to first sc. Fasten off and weave in ends.
Assembly Instructions
Now comes the fun part. Putting your plant together.
1. Prepare the pot: Place floral foam block inside your pot (or inside the crocheted pot cover). Trim to fit snugly.
2. Optional stiffening: If you want extra crispness, lightly spray leaves with fabric stiffener and let dry completely before assembly.
3. Position stems: Arrange your stems in the foam, tallest leaves at back, smaller leaves at front. Push wire ends firmly into foam.
4. Adjust angles: Bend stems gently to create natural, organic positioning. Real monstera leaves grow in various directions, so don’t make everything too symmetrical.
5. Secure base: If needed, add additional foam pieces or yarn scraps around stem bases to hold everything stable.
6. Final touches: Fluff and adjust leaves. Step back and admire your creation.
Tips for Success
Don’t skip the wire. Trust me. Without internal structure, your leaves will flop sadly. The wire is what gives this crochet plant its realistic posture.
When creating the fenestrations (those open spaces), keep your tension consistent on either side of the chain spaces. This prevents the holes from stretching weirdly.
If your leaf edges curl, try blocking. Wet the finished leaf, pin it flat on a blocking board, and let it dry completely. Cotton responds beautifully to wet blocking.
Final Thoughts on This Crochet Monstera Plant Pattern
This modern monstera crochet plant pattern has been such a joy to create and share. It’s the kind of project that looks incredibly impressive but uses straightforward techniques once you get into the rhythm. Every time I glance at my desk and see those beautiful green leaves, I smile knowing they’ll look perfect forever.
Whether you’re making this for your own home office or crafting it as a thoughtful gift for someone who loves plants (but maybe shouldn’t be trusted with living ones), this crochet tutorial gives you everything you need to succeed. The step by step instructions walk you through each leaf variation, and the beginner friendly tips help you troubleshoot along the way.
Thank you so much for spending time with me on this project. It means the world when you choose to make something from my patterns. If you create your own crochet monstera, I would absolutely love to see it. Tag me on Instagram or share a photo in my Facebook group. Seeing your finished plants genuinely makes my day.
If this pattern made you excited to start crocheting, go ahead and save it to your Pinterest boards so you can find it easily when you’re ready to begin. And please drop a comment below if you make one. I’d love to hear which color combination you chose and where your new plant friend ends up living.
