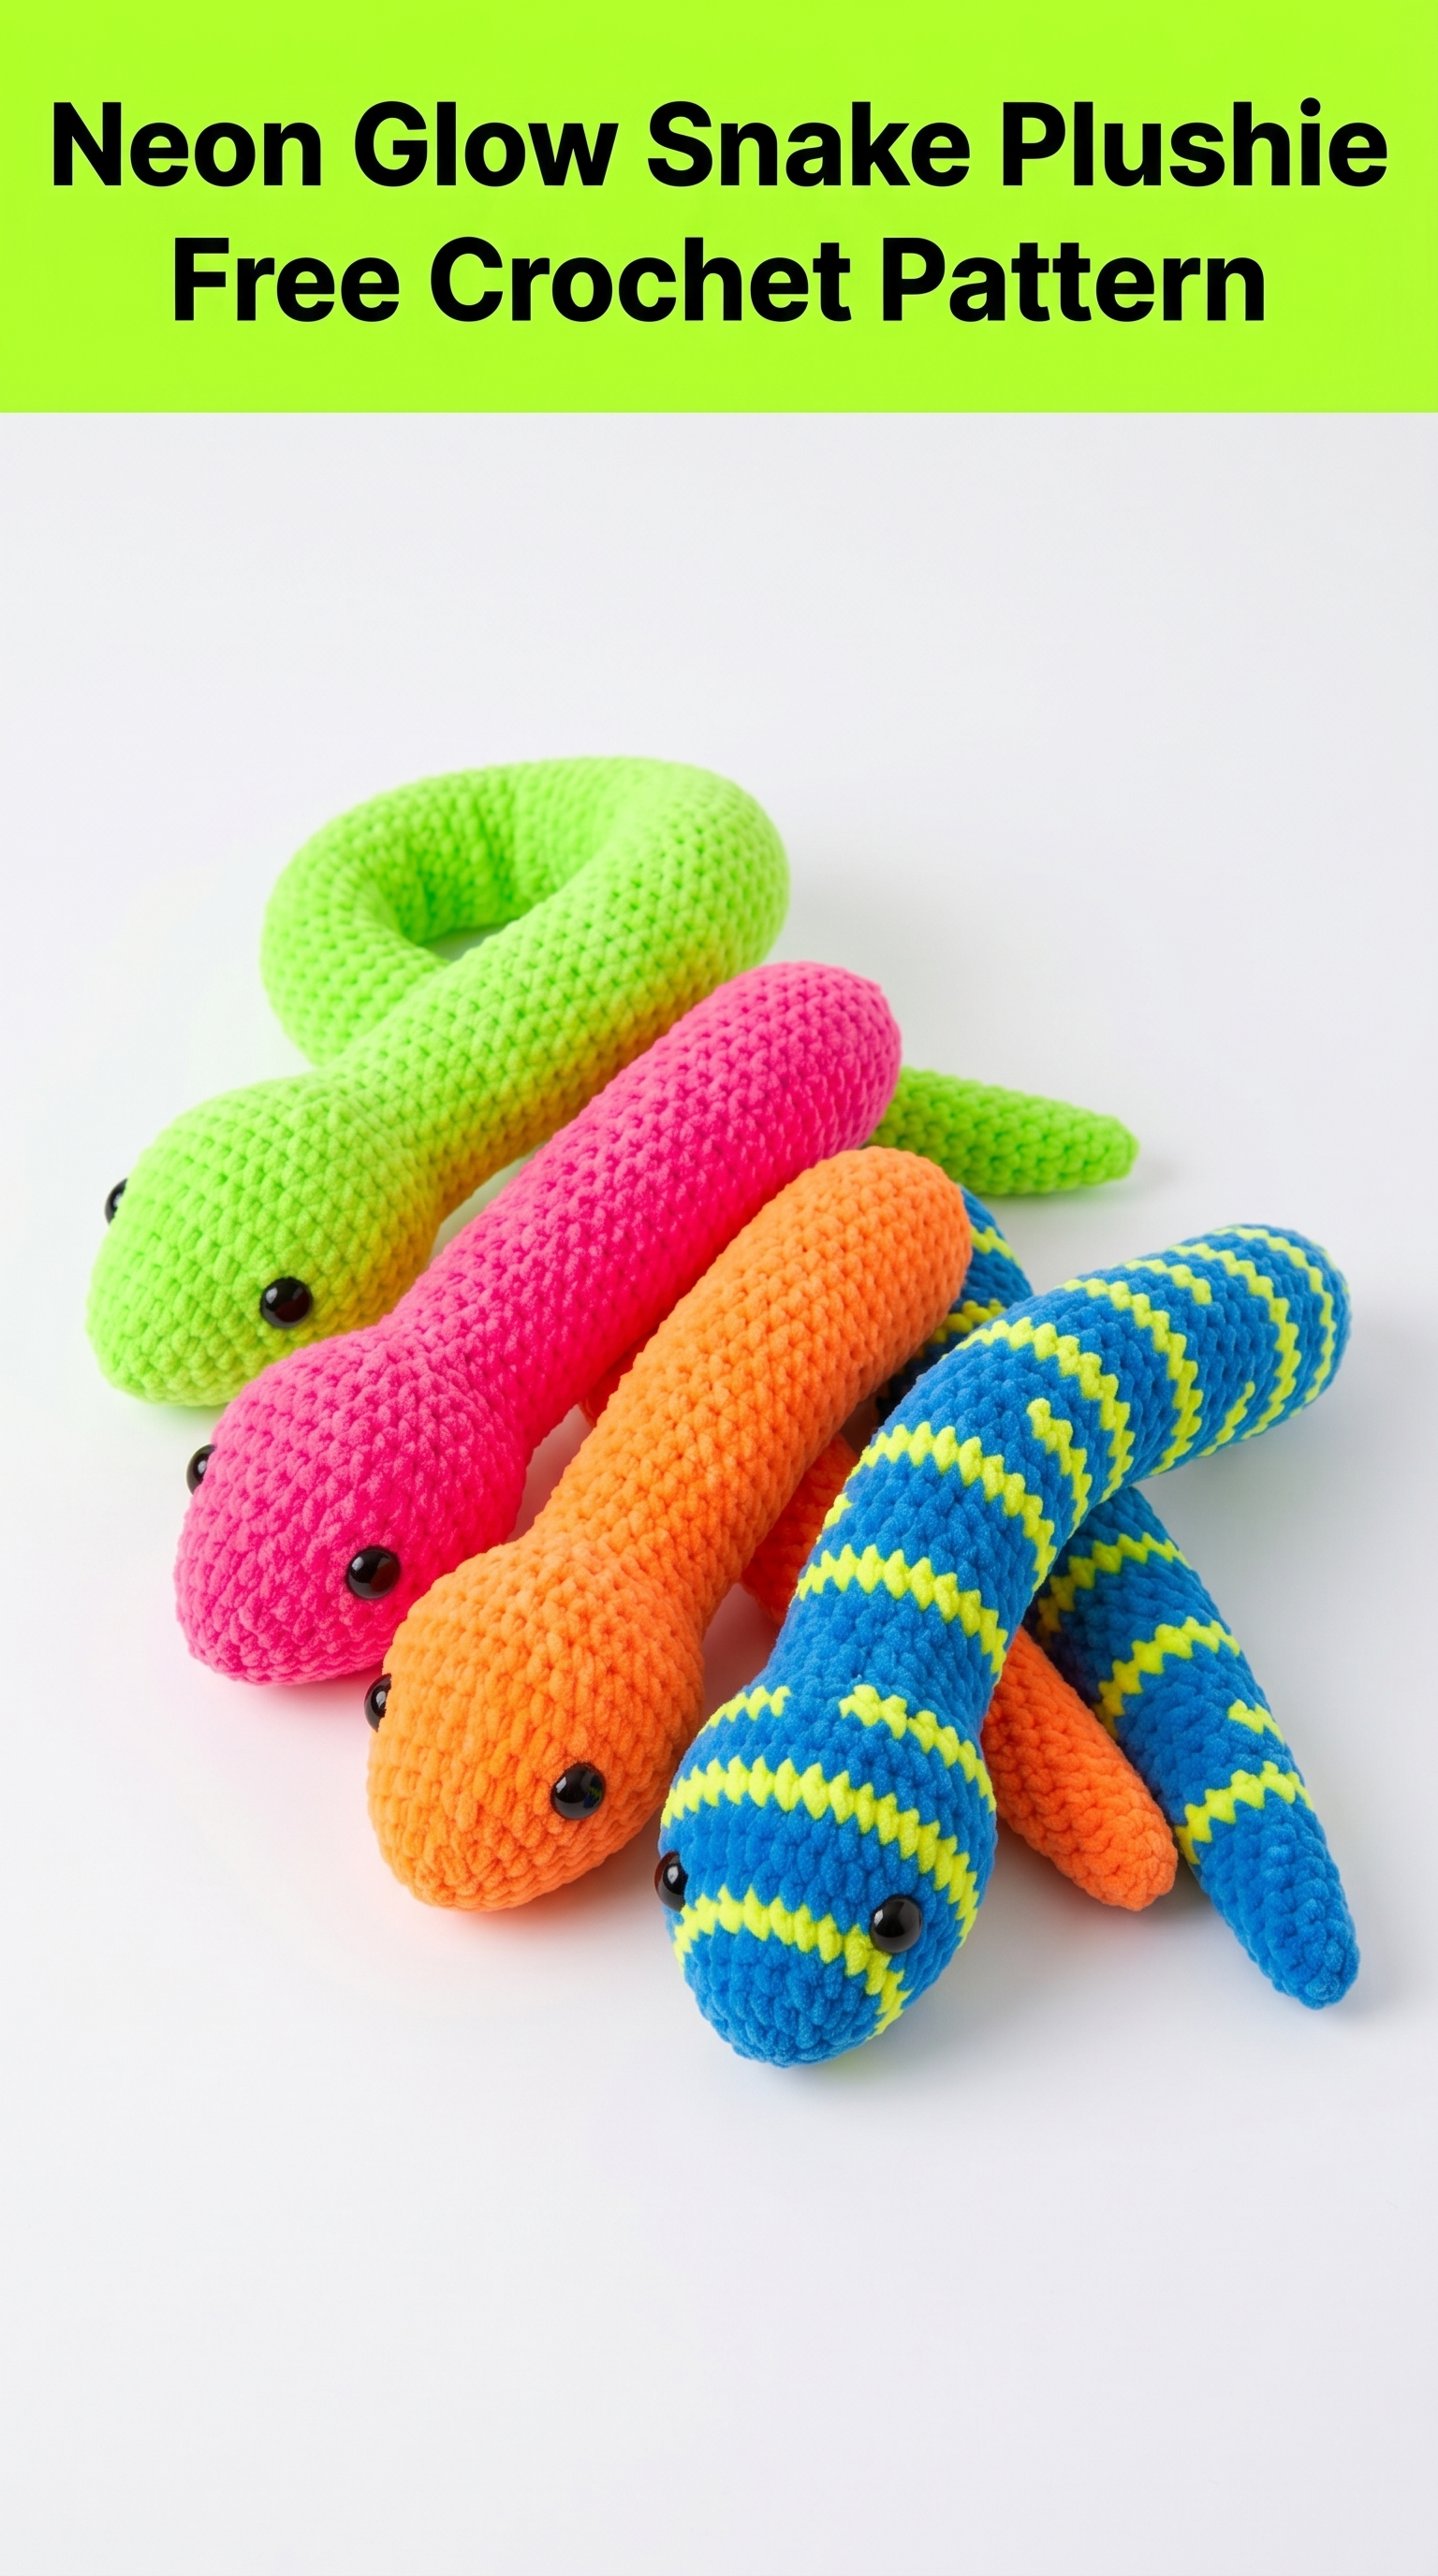
These little guys make me so happy. There’s something about neon yarn that just screams fun, and when you turn it into a squishy snake plushie? Pure joy.
This crochet pattern is perfect for beginners who want to try amigurumi for the first time. You’ll only need to know a few basic stitches. The construction is straightforward. And the result is a bright, cuddly snake that kids (and let’s be honest, adults) will absolutely love.
I designed this pattern to work up quickly. You can finish one snake in an evening. Make a whole slithering family in a weekend. The striped version adds a little extra fun without any complicated colorwork.
Let me walk you through everything you need to create your own neon glow snake plushie from start to finish.
Why This Crochet Snake Pattern Works So Well
Amigurumi can feel intimidating if you’ve never tried it. Tiny hooks, endless increases, invisible joins. But snakes? Snakes are the perfect gateway project.
Think about it. A snake is basically a long tube with a rounded head and a tapered tail. No legs to attach. No arms to stuff and sew. No complicated shaping for ears or snouts.
This step by step crochet tutorial breaks everything down into manageable sections. You’ll work the head first, then seamlessly continue into the body, and finish with a gently tapered tail. One continuous piece. No sewing parts together.
The neon yarn does all the heavy lifting visually. Even if your stitches aren’t perfectly even yet, the bright colors distract from any small imperfections. That’s a little secret experienced crocheters know. Bold colors are very forgiving.
Materials You’ll Need
Before you start, gather everything so you can crochet without interruptions.
Yarn:
I used bright neon shades: lime green, hot pink, vivid orange, and a turquoise with yellow stripes. Any worsted weight yarn works beautifully here. Acrylic is ideal because it’s washable, affordable, and comes in the most electric neon shades.
Hook:
Using a smaller hook than typically recommended for worsted weight creates a tighter fabric. This prevents stuffing from showing through the stitches. Very important for amigurumi.
Notions:
Safety note: If making this for a child under 3, skip the safety eyes entirely. Embroider the eyes with black yarn instead. Safety eyes are only safe when securely attached before stuffing, but embroidered eyes eliminate any risk.
Skill Level and Techniques
This crochet pattern is beginner friendly with just a touch of intermediate shaping.
You should be comfortable with:
Stitches and Abbreviations Used:
Magic Ring (MR): An adjustable starting loop that closes completely, leaving no hole at the center. If magic rings frustrate you, chain 2 and work your starting stitches into the second chain from the hook instead.
Chain (ch): The foundation stitch. Yarn over, pull through the loop on your hook.
Single Crochet (sc): Insert hook into stitch, yarn over and pull up a loop (two loops on hook), yarn over and pull through both loops.
Increase (inc): Work 2 single crochet stitches into the same stitch. This adds one stitch to your total count.
Invisible Decrease (invdec): Insert hook through the front loops only of the next two stitches, yarn over and pull through both front loops, yarn over and pull through both loops on hook. This creates a neater decrease than the standard method.
Slip Stitch (sl st): Insert hook, yarn over, pull through stitch and loop on hook in one motion.
Fasten Off (FO): Cut yarn and pull tail through final loop to secure.
Gauge
Exact gauge is not critical for amigurumi. Your snake might be slightly larger or smaller than mine, and that’s perfectly fine.
What matters is fabric density. Your stitches should be tight enough that you cannot see light through them. If you can see your stuffing poking through, go down a hook size.
My approximate gauge: 5 single crochet stitches and 5 rows = 1 inch
Finished Dimensions
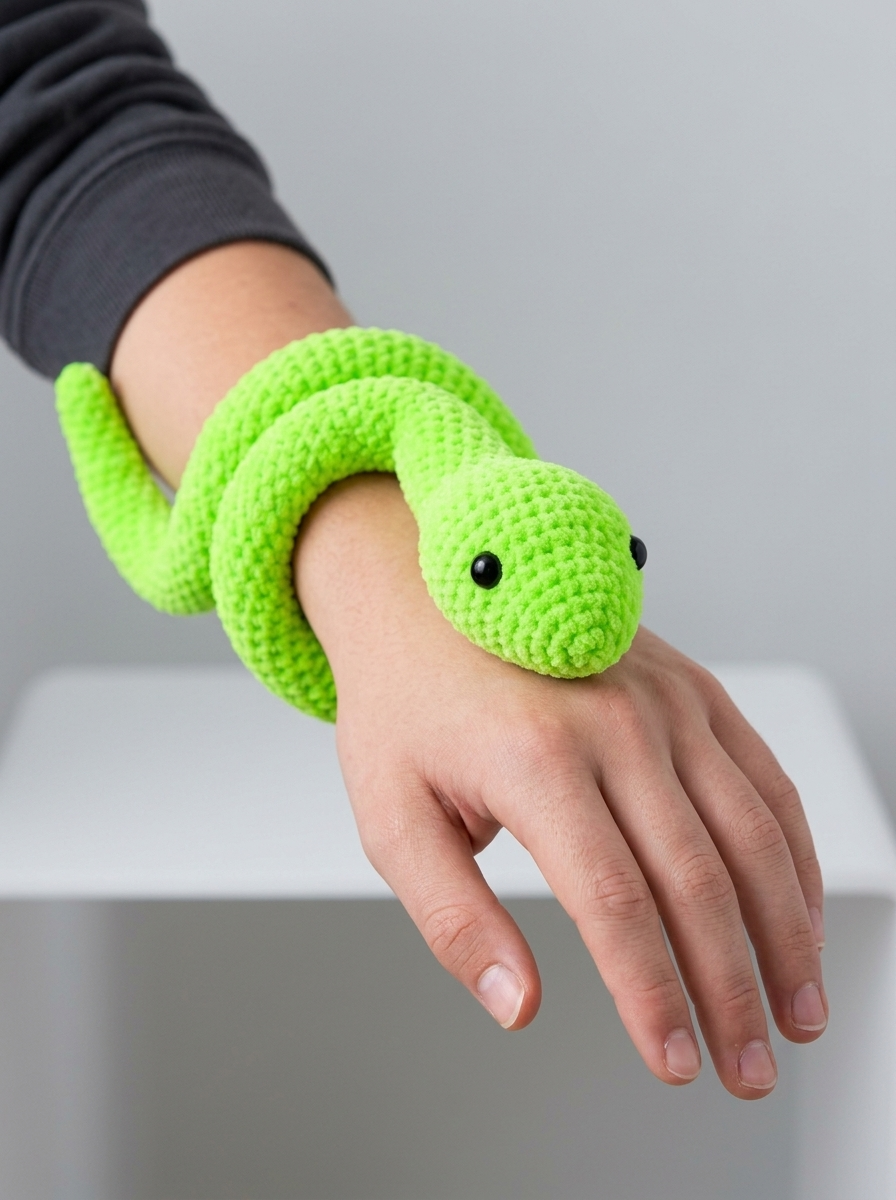
Each completed snake measures approximately 14 to 16 inches long when gently stretched, and about 2 inches wide at the body’s thickest point. The head is slightly larger, around 2.5 inches in diameter.
Pattern Notes Before You Begin
Neon Glow Snake Plushie Crochet Pattern
Head
Round 1: MR, 6 sc into ring. Pull ring closed. (6 sts)
Round 2: Inc in each st around. (12 sts)
Round 3: *Sc 1, inc* repeat around. (18 sts)
Round 4: *Sc 2, inc* repeat around. (24 sts)
Round 5: *Sc 3, inc* repeat around. (30 sts)
Rounds 6 to 10: Sc in each st around. (30 sts) — 5 rounds total
This creates a nice rounded head shape. Now is the time to attach your safety eyes. Place them between Rounds 7 and 8, approximately 6 stitches apart. Push the post through the fabric from outside, then secure the washer firmly on the inside.
Take a moment to check placement before clicking the washer on. Once it’s secured, you cannot remove it without cutting.
Round 11: *Sc 3, invdec* repeat around. (24 sts)
Round 12: *Sc 2, invdec* repeat around. (18 sts)
Begin stuffing the head now. Pack it firmly but not so tight that it stretches the stitches.
Body
Rounds 13 to 45: Sc in each st around. (18 sts) — 33 rounds total
Yes, this is a lot of rounds of plain single crochet. This is where podcasts, audiobooks, or your favorite show come in handy. The repetition is meditative once you find your rhythm.
Continue stuffing as you work. Add small amounts every few rounds rather than trying to stuff everything at the end. This ensures even, squishy firmness throughout.
Tail
Now we taper toward the tail. The decreases happen gradually for a natural snake shape.
Round 46: *Sc 4, invdec* repeat around. (15 sts)
Rounds 47 to 50: Sc in each st around. (15 sts) — 4 rounds
Round 51: *Sc 3, invdec* repeat around. (12 sts)
Rounds 52 to 55: Sc in each st around. (12 sts) — 4 rounds
Round 56: *Sc 2, invdec* repeat around. (9 sts)
Rounds 57 to 60: Sc in each st around. (9 sts) — 4 rounds
Round 61: *Sc 1, invdec* repeat around. (6 sts)
Rounds 62 to 64: Sc in each st around. (6 sts) — 3 rounds
Finish stuffing the tail. Use smaller pieces of fiberfill and a chopstick or pencil to push stuffing into the narrow tip.
Round 65: Invdec around. (3 sts)
FO, leaving a 6 inch tail. Thread yarn needle and weave through the front loops of the remaining 3 stitches. Pull tight to close. Weave in the end securely.
How to Crochet the Striped Version
The blue and yellow striped snake in the photos uses a simple two round stripe pattern.
Color change method: At the end of Round 2 (and every even numbered round), complete your last stitch until you have two loops on your hook. Drop Color A, yarn over with Color B, and pull through both loops. Continue working Round 3 in Color B.
Carry the unused color loosely up the inside of your work. Do not cut the yarn each time. Every 4 to 6 rounds, catch the carried yarn in your stitches to prevent long floats inside.
Stripe sequence:
The zigzag effect you see happens naturally when working in continuous spirals with contrasting colors. It’s not a flaw. It’s a feature. Embrace it.
Finishing Your Snake
Weaving ends: Thread each yarn tail onto your needle and weave through the inside of several stitches. Go one direction, then back the other way. Trim close to the fabric.
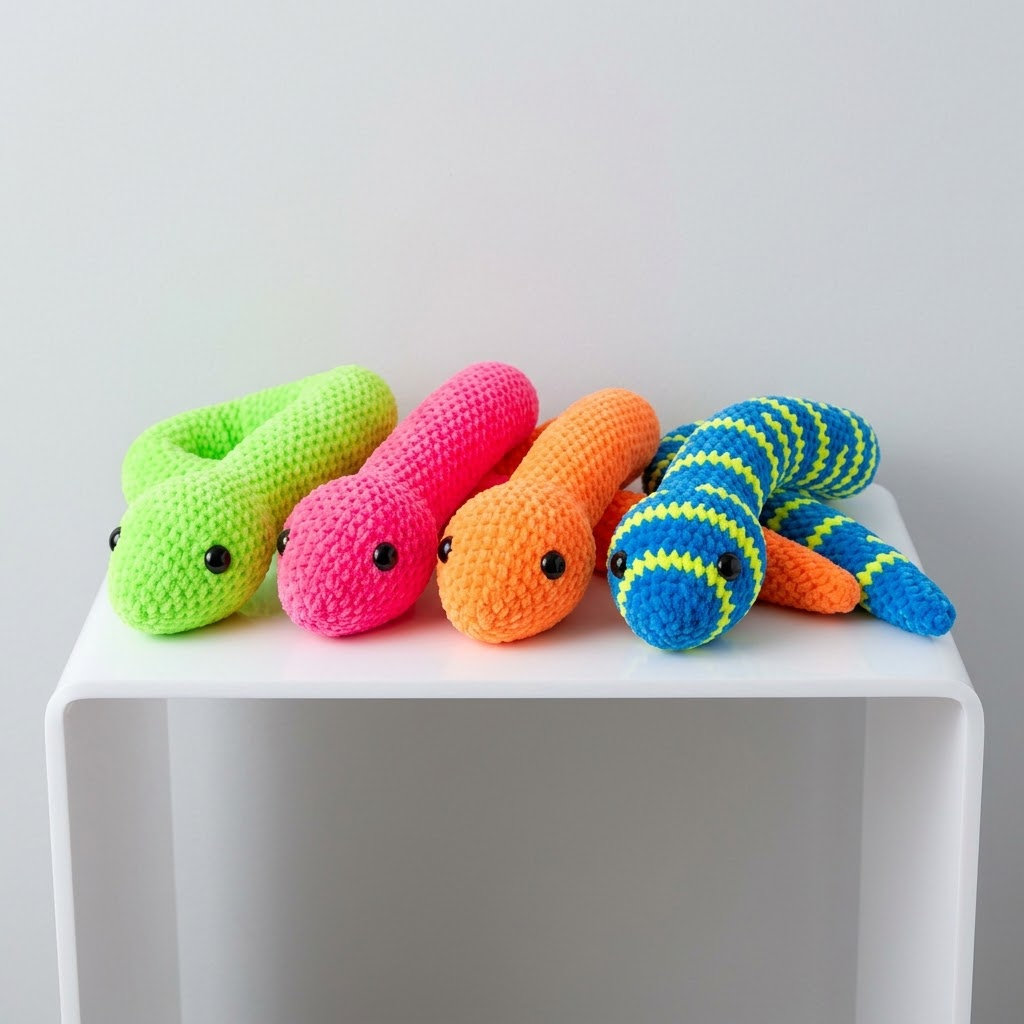
Shaping: Once finished, you can gently manipulate your snake into curves and coils. The stuffing will hold whatever position you create. This is how I arranged the snakes in the photo, each one curled in its own unique pose.
Optional embellishments: Feel free to embroider a little forked tongue using red or pink yarn. A simple straight stitch with a small V at the end does the trick. You could also add nostrils with tiny French knots.
Tips for Success
If your snake looks lumpy: You may be overstuffing. Amigurumi should feel firm but still have some give when squeezed.
If your stitches look uneven: Try working a bit more slowly and focus on inserting your hook into the same part of each stitch consistently. Muscle memory develops with practice.
If you lose count: This is why the stitch marker exists. If you’re counting constantly and still losing track, try using the counting feature on a free app, or simply place a second marker every 10 stitches.
If the magic ring frustrates you: The chain 2 method works perfectly fine. Your starting hole might be slightly visible, but once the snake is curled up, no one will notice.
More Ideas for Your Snake Plushies
Once you’ve mastered this how to crochet snake pattern, the variations are endless.
Make a longer snake by adding more body rounds. A 60 round body creates a snake you can drape around your shoulders.
Try different yarn weights. Sport weight with a 3mm hook makes a more delicate snake. Bulky yarn with a 5mm hook creates a chunky, huggable version.
Use self striping yarn for an effortless multicolor effect without any color changes.
Create a whole rainbow family for a child’s room. These make wonderful handmade gifts, party favors, or even quirky photo props.
You Did It
Thank you so much for choosing this pattern for your next crochet project. I genuinely hope you love making these silly little snakes as much as I loved designing them.
There’s something magical about watching a ball of neon yarn transform into a squishy, happy faced creature. Whether you made one snake or five, you created something special with your own hands.
I would absolutely love to see your finished neon glow snake plushies. Tag me on Instagram or share in my Facebook group. Seeing your creations truly makes my day.
Happy crocheting, friend. Now go snuggle those snakes.
