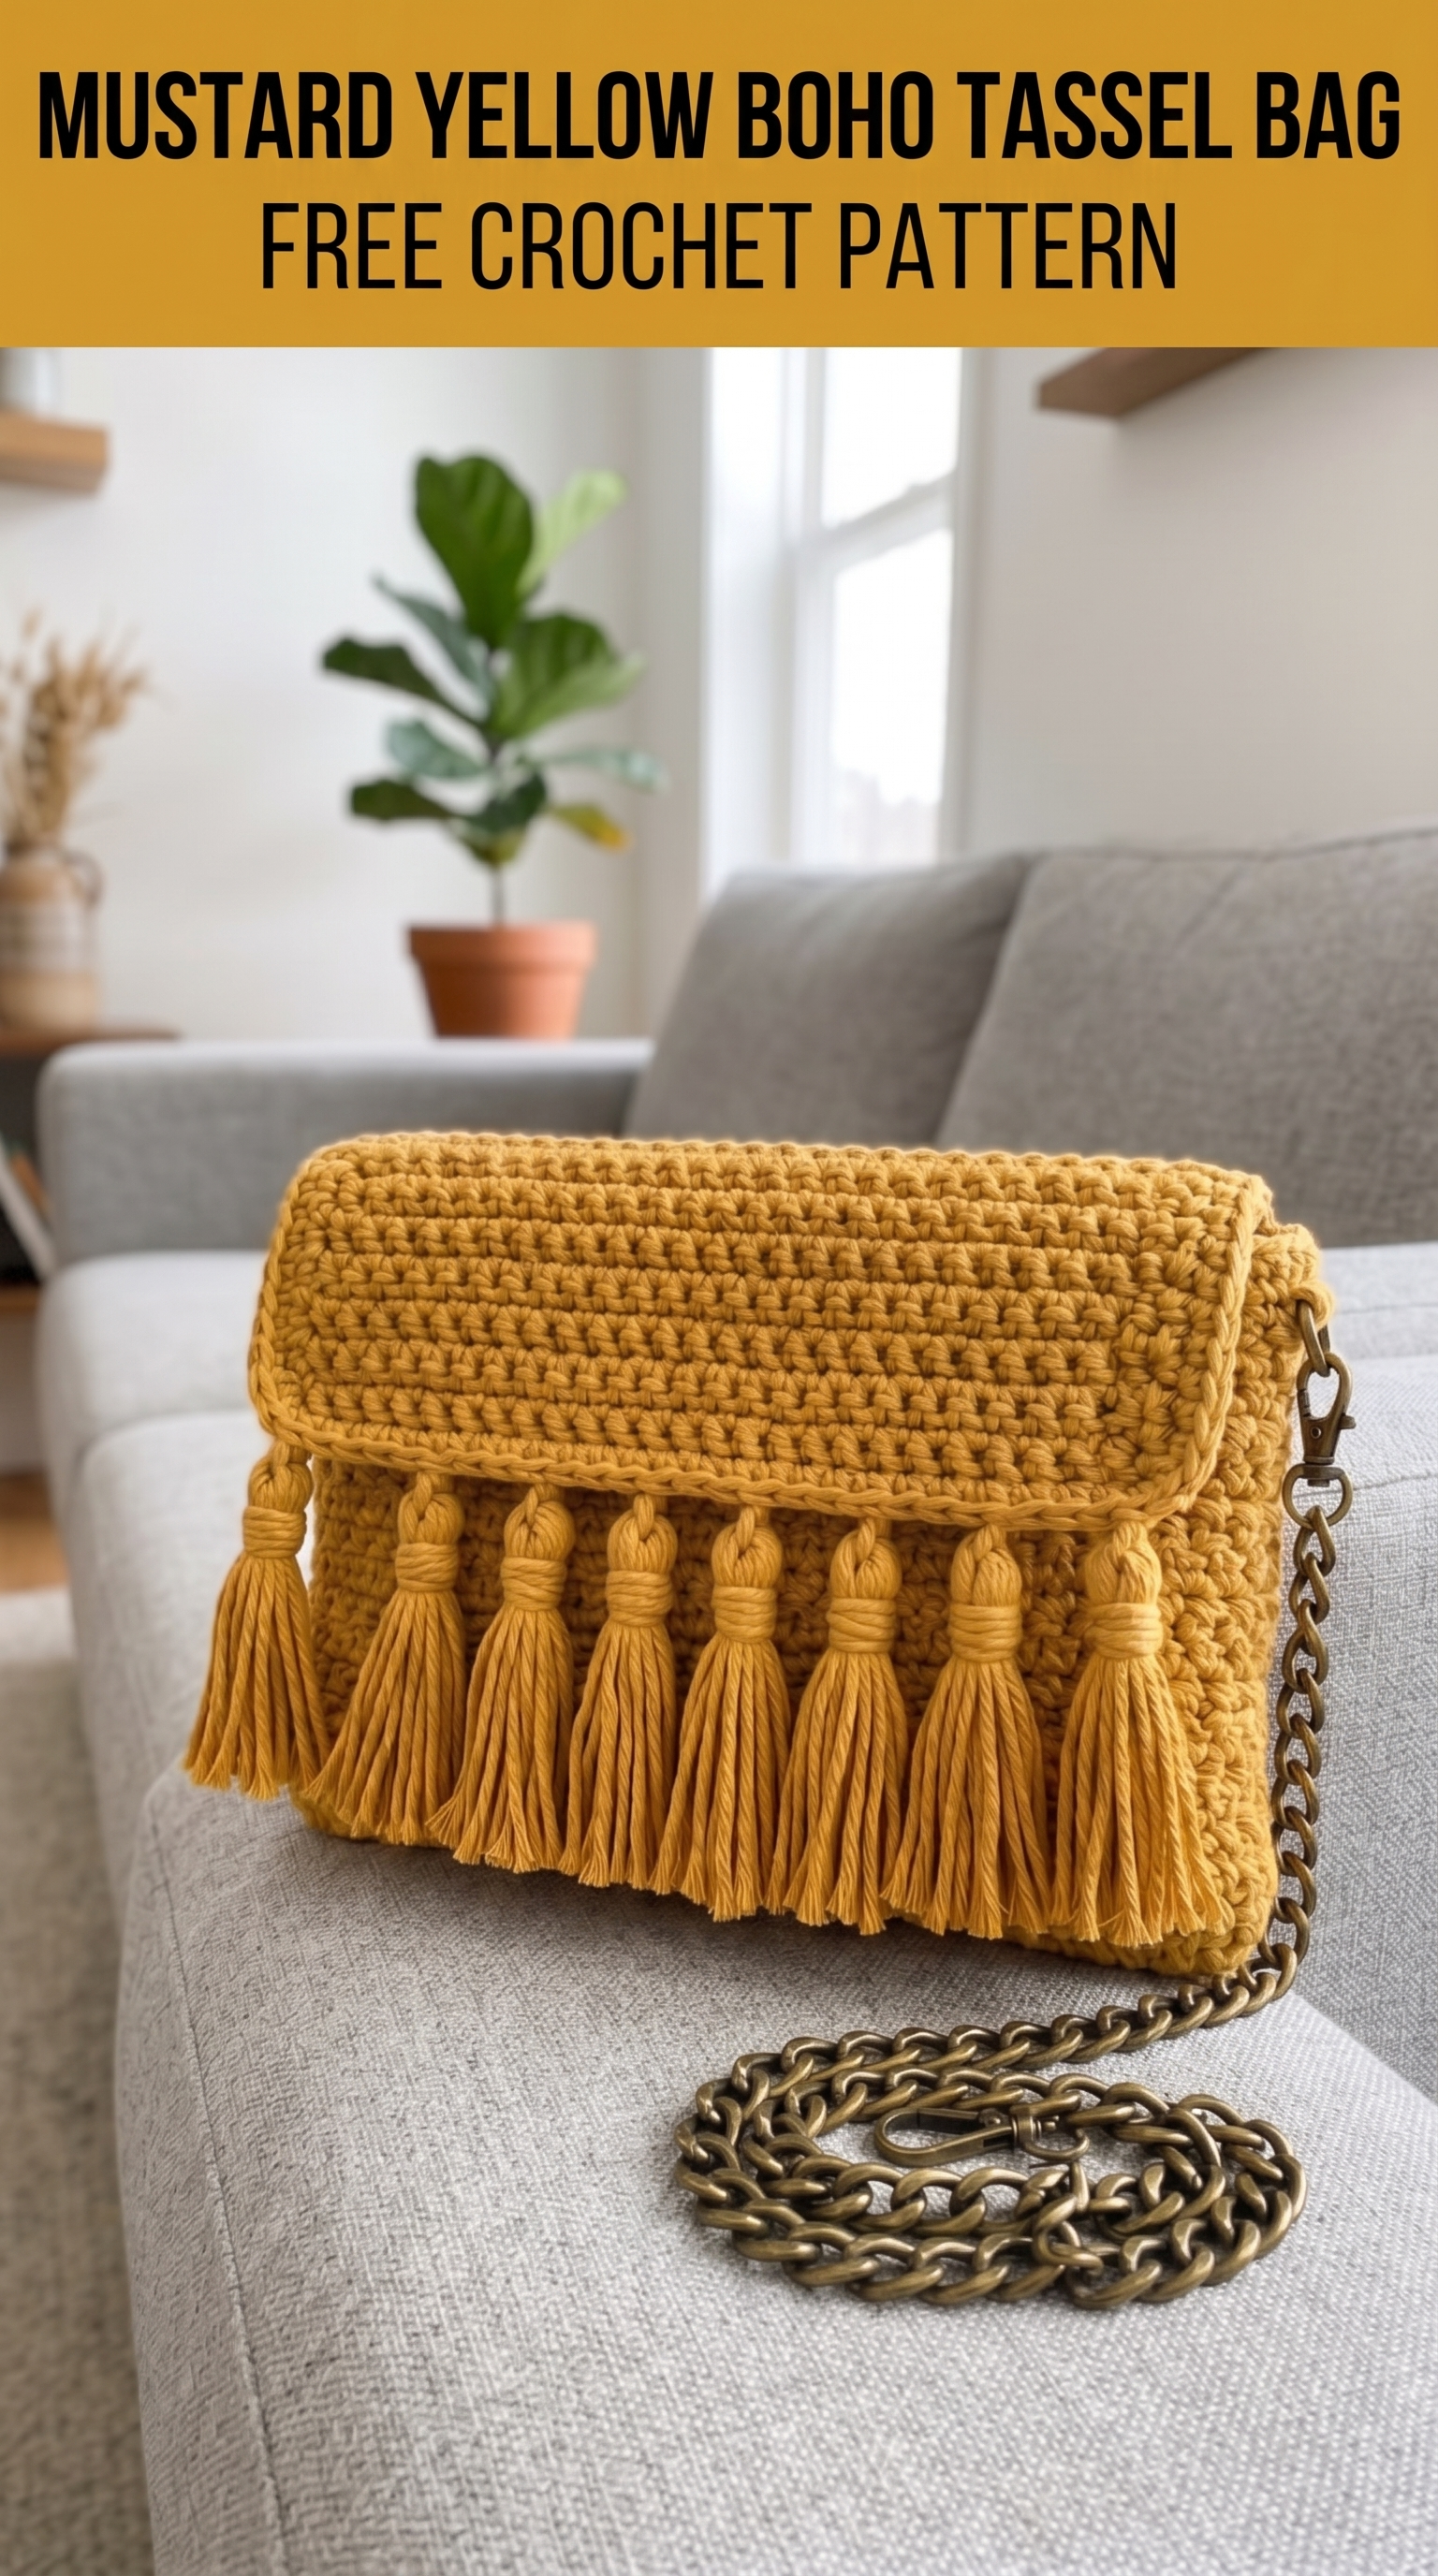
This gorgeous mustard yellow crossbody bag is about to become your new favorite summer accessory. I designed this boho tassel bag crochet pattern after falling in love with the combination of chunky texture and playful fringe. The result is a statement piece that looks way more complicated than it actually is.
If you can work basic stitches in rows and know how to make a simple tassel, you can absolutely create this bag. I would call this an easy to intermediate level project. The stitch pattern creates that beautiful textured look you see in the photos, and I will walk you through every single step.
Let me show you how to crochet this stunning piece from start to finish.
Why You Will Love This Boho Tassel Bag Crochet Pattern
This bag hits all the right notes for a handmade accessory. The compact size makes it perfect for evenings out or running errands when you only need your phone, cards, and keys. The fold-over flap keeps everything secure without needing a zipper or button closure.
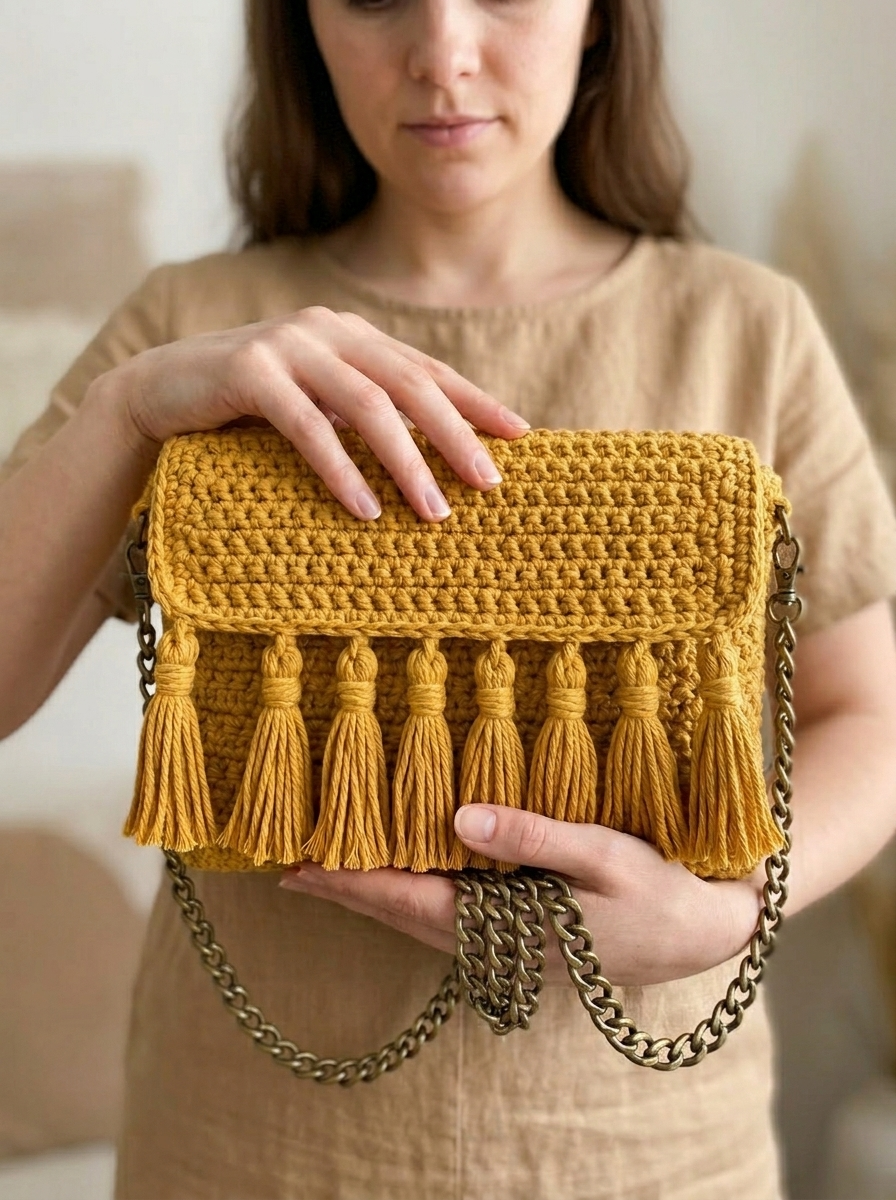
Those tassels along the front edge? They add movement and that effortless boho vibe that works with jeans or a sundress. And the antique brass chain strap elevates the whole look from craft project to boutique quality.
The textured stitch pattern you see throughout the bag comes from alternating between single crochet and half double crochet stitches. This creates those little bumps and ridges that catch the light so beautifully. It looks intricate but follows a simple two-row repeat once you get going.
Materials Needed for Your Crochet Crossbody Bag
Yarn:
Hook:
Notions:
Gauge:
Stitch Abbreviations and Definitions
Let me break down every stitch you will use in this crochet tutorial. I want you to feel confident before we begin.
ch = chain: Yarn over, pull through the loop on your hook. This creates the foundation and turning chains.
sl st = slip stitch: Insert hook, yarn over, pull through both the stitch and the loop on your hook in one motion. Used for joining and creating a clean edge.
sc = single crochet: Insert hook into stitch, yarn over and pull up a loop (2 loops on hook), yarn over and pull through both loops. A short, tight stitch.
hdc = half double crochet: Yarn over, insert hook into stitch, yarn over and pull up a loop (3 loops on hook), yarn over and pull through all 3 loops. Slightly taller than sc with a bit more texture.
sk = skip: Pass over the indicated stitch without working into it.
st(s) = stitch(es)
RS = right side: The front of your work, the pretty side.
WS = wrong side: The back of your work.
Understanding the Textured Stitch Pattern
Before we dive into the full pattern, let me explain how this beautiful texture happens. You will alternate between rows of single crochet and rows that combine sc and hdc in a specific rhythm.
The key is working your hdc stitches into the sc stitches from two rows below, creating those raised bumps. Do not worry if this sounds confusing right now. I will guide you through each row.
Pattern stitch (worked over an even number of stitches):
When you work the hdc into every other stitch, it creates vertical lines of texture. The mustard cotton yarn really shows this off beautifully.
Step by Step Crochet Pattern Instructions

Back Panel
The bag is constructed in three pieces: a back panel, a front panel, and a flap. We start with the back.
Foundation: Ch 37.
Row 1 (RS): Sc in 2nd ch from hook and in each ch across. (36 sts)
Row 2 (WS): Ch 1, turn. Sc in first st, *hdc in next st, sc in next st* repeat across. (36 sts)
Row 3: Ch 1, turn. Sc in each st across. (36 sts)
Row 4: Ch 1, turn. Sc in first st, *hdc in next st, sc in next st* repeat across. (36 sts)
Rows 5-28: Repeat Rows 3 and 4, alternating between the plain sc row and the textured row. You should have 28 rows total.
Fasten off and weave in your end. Set this piece aside.
Your back panel should measure approximately 26cm wide by 23cm tall (about 10 inches by 9 inches).
Front Panel
The front panel is worked exactly the same as the back.
Foundation: Ch 37.
Rows 1-28: Follow the same instructions as the back panel.
Fasten off but leave a long tail of about 60cm for seaming later.
Flap
The flap creates that elegant fold-over closure. It is worked the same way but with fewer rows.
Foundation: Ch 37.
Rows 1-18: Follow the same stitch pattern as the body panels. Alternate between sc rows and textured rows.
Row 19 (edging): Ch 1, turn. Sc in each st across. (36 sts)
Row 20: Ch 1, turn. Working from left to right (reverse sc, also called crab stitch), sc in each st across. This creates a finished, slightly rolled edge.
If you have never done reverse single crochet before, here is the trick: instead of inserting your hook from front to back in the next stitch to the right, you work backwards. It feels awkward at first but creates a beautiful corded edge.
Fasten off and weave in ends.
Your flap should measure approximately 26cm wide by 15cm tall (about 10 inches by 6 inches).
Assembly
Now we put it all together. Take your time with this part. Good seaming makes all the difference in how professional your finished bag looks.
Step 1: Place the front and back panels together with wrong sides facing (so the right sides face outward). Line up the edges carefully.
Step 2: Using the long tail from your front panel and your tapestry needle, whip stitch the bottom edge closed. Work through both layers, catching just the outer loops of each stitch.
Step 3: Continue whip stitching up both side edges, stopping when you reach the top. Leave the top open.
Step 4: Turn the bag right side out through the opening. The seams should now be hidden inside.
Step 5: Position the flap at the back top edge of the bag. The flap should fold over toward the front. Pin in place.
Step 6: Whip stitch the top edge of the flap to the back panel along the entire width. Make sure your stitches are secure but not too tight.
Adding the Chain Strap Hardware
To attach your chain strap, you will need to create two small tabs with D-rings.
Tab (make 2):
Ch 8, sl st in first ch to form a ring. Do not twist.
Round 1: Ch 1, work 12 sc around the chain ring, sl st to join. (12 sts)
Fasten off, leaving a 30cm tail.
Attachment:
Slide a D-ring onto each crocheted tab. Fold the tab in half around the ring. Position one tab at each top corner of the bag, on the back panel side. Sew securely in place using the yarn tail.
Clip your chain strap to the D-rings. If your chain came without clasps, you can add lobster claw clasps or large jump rings.
Making the Tassels
The tassels are what make this boho bag so special. You will make 9 tassels to line the bottom edge of the flap.
For each tassel:
1. Cut approximately 20 strands of yarn, each 20cm long (about 8 inches).
2. Cut one additional strand about 30cm long. This is your tie.
3. Lay the 20 strands together, aligning the ends.
4. Fold the bundle in half.
5. Insert your crochet hook through one stitch along the bottom edge of the flap, from front to back.
6. Grab the folded center of your tassel bundle with the hook and pull it through to create a loop.
7. Pull all the tassel ends through the loop and tug firmly to secure.
8. Take your 30cm strand and wrap it tightly around the tassel about 1.5cm below the top fold. Wrap 5 or 6 times.
9. Tie the wrapping strand in a secure knot, then use your tapestry needle to hide the ends inside the tassel head.
10. Trim the tassel ends evenly.
Space your 9 tassels evenly across the flap edge. I placed mine in every 4th stitch, with one tassel at each corner and one in the center.
Take your time trimming. Even, neat tassels look so much more polished than raggedy ones.
Helpful Tips for Success
Gauge matters here. Because this is a bag, you need fabric that holds its shape. If your gauge is too loose, crochet tighter or go down a hook size. A floppy bag will not hang nicely.
Block your pieces before assembly. Wet blocking cotton is easy. Just dampen your pieces, pin them to shape on a blocking mat, and let them dry completely. This evens out your stitches and makes seaming much easier.
Do not skip the lining. While I did not include lining instructions here, adding a simple fabric lining will protect your belongings from poking through the stitches and give your bag a more finished look inside. A basic rectangle of cotton fabric, hand sewn in place, works perfectly.
Customize your chain length. Measure where you want the bag to hang before committing to your chain. Some people like a shorter strap for shoulder carry, others prefer a longer crossbody drop.
Pattern Customization Ideas
Want to make this crochet crossbody bag your own? Here are some ideas:
Final Thoughts on This Boho Tassel Bag Crochet Pattern
I hope this step by step crochet tutorial gives you everything you need to create your own beautiful boho tassel bag. This pattern combines simple techniques with a stunning result, and I genuinely believe anyone with basic crochet skills can make this.
The textured stitch pattern, the playful tassels, and that gorgeous mustard color all come together to create something truly special. Whether you make it for yourself or as a gift, this bag is going to turn heads.
Thank you so much for choosing to make this pattern. It means the world to me when you trust my instructions for your creative time.
I would absolutely love to see your finished bag. Please share your photos on Instagram or Facebook and tag me so I can cheer you on. Seeing your makes is honestly the best part of sharing patterns.
Happy crocheting, friend. You have got this.
