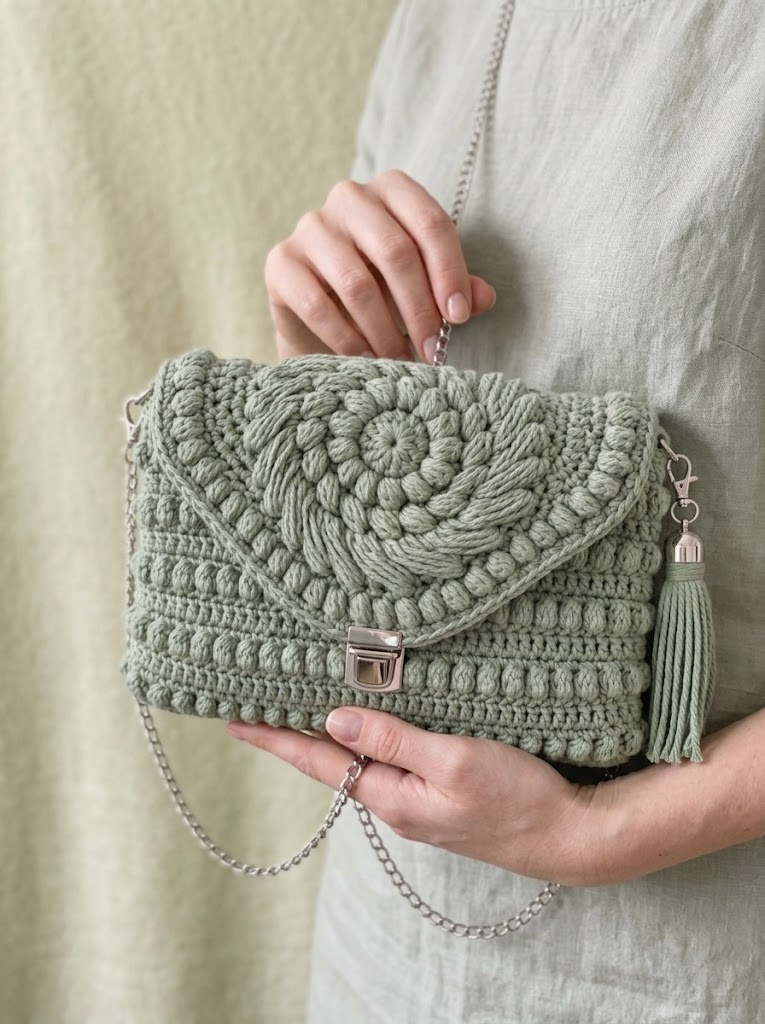
This stunning sage green clutch bag is exactly the kind of project that makes people stop and ask, “Wait, you *made* that?” The answer is yes, and you absolutely can too.
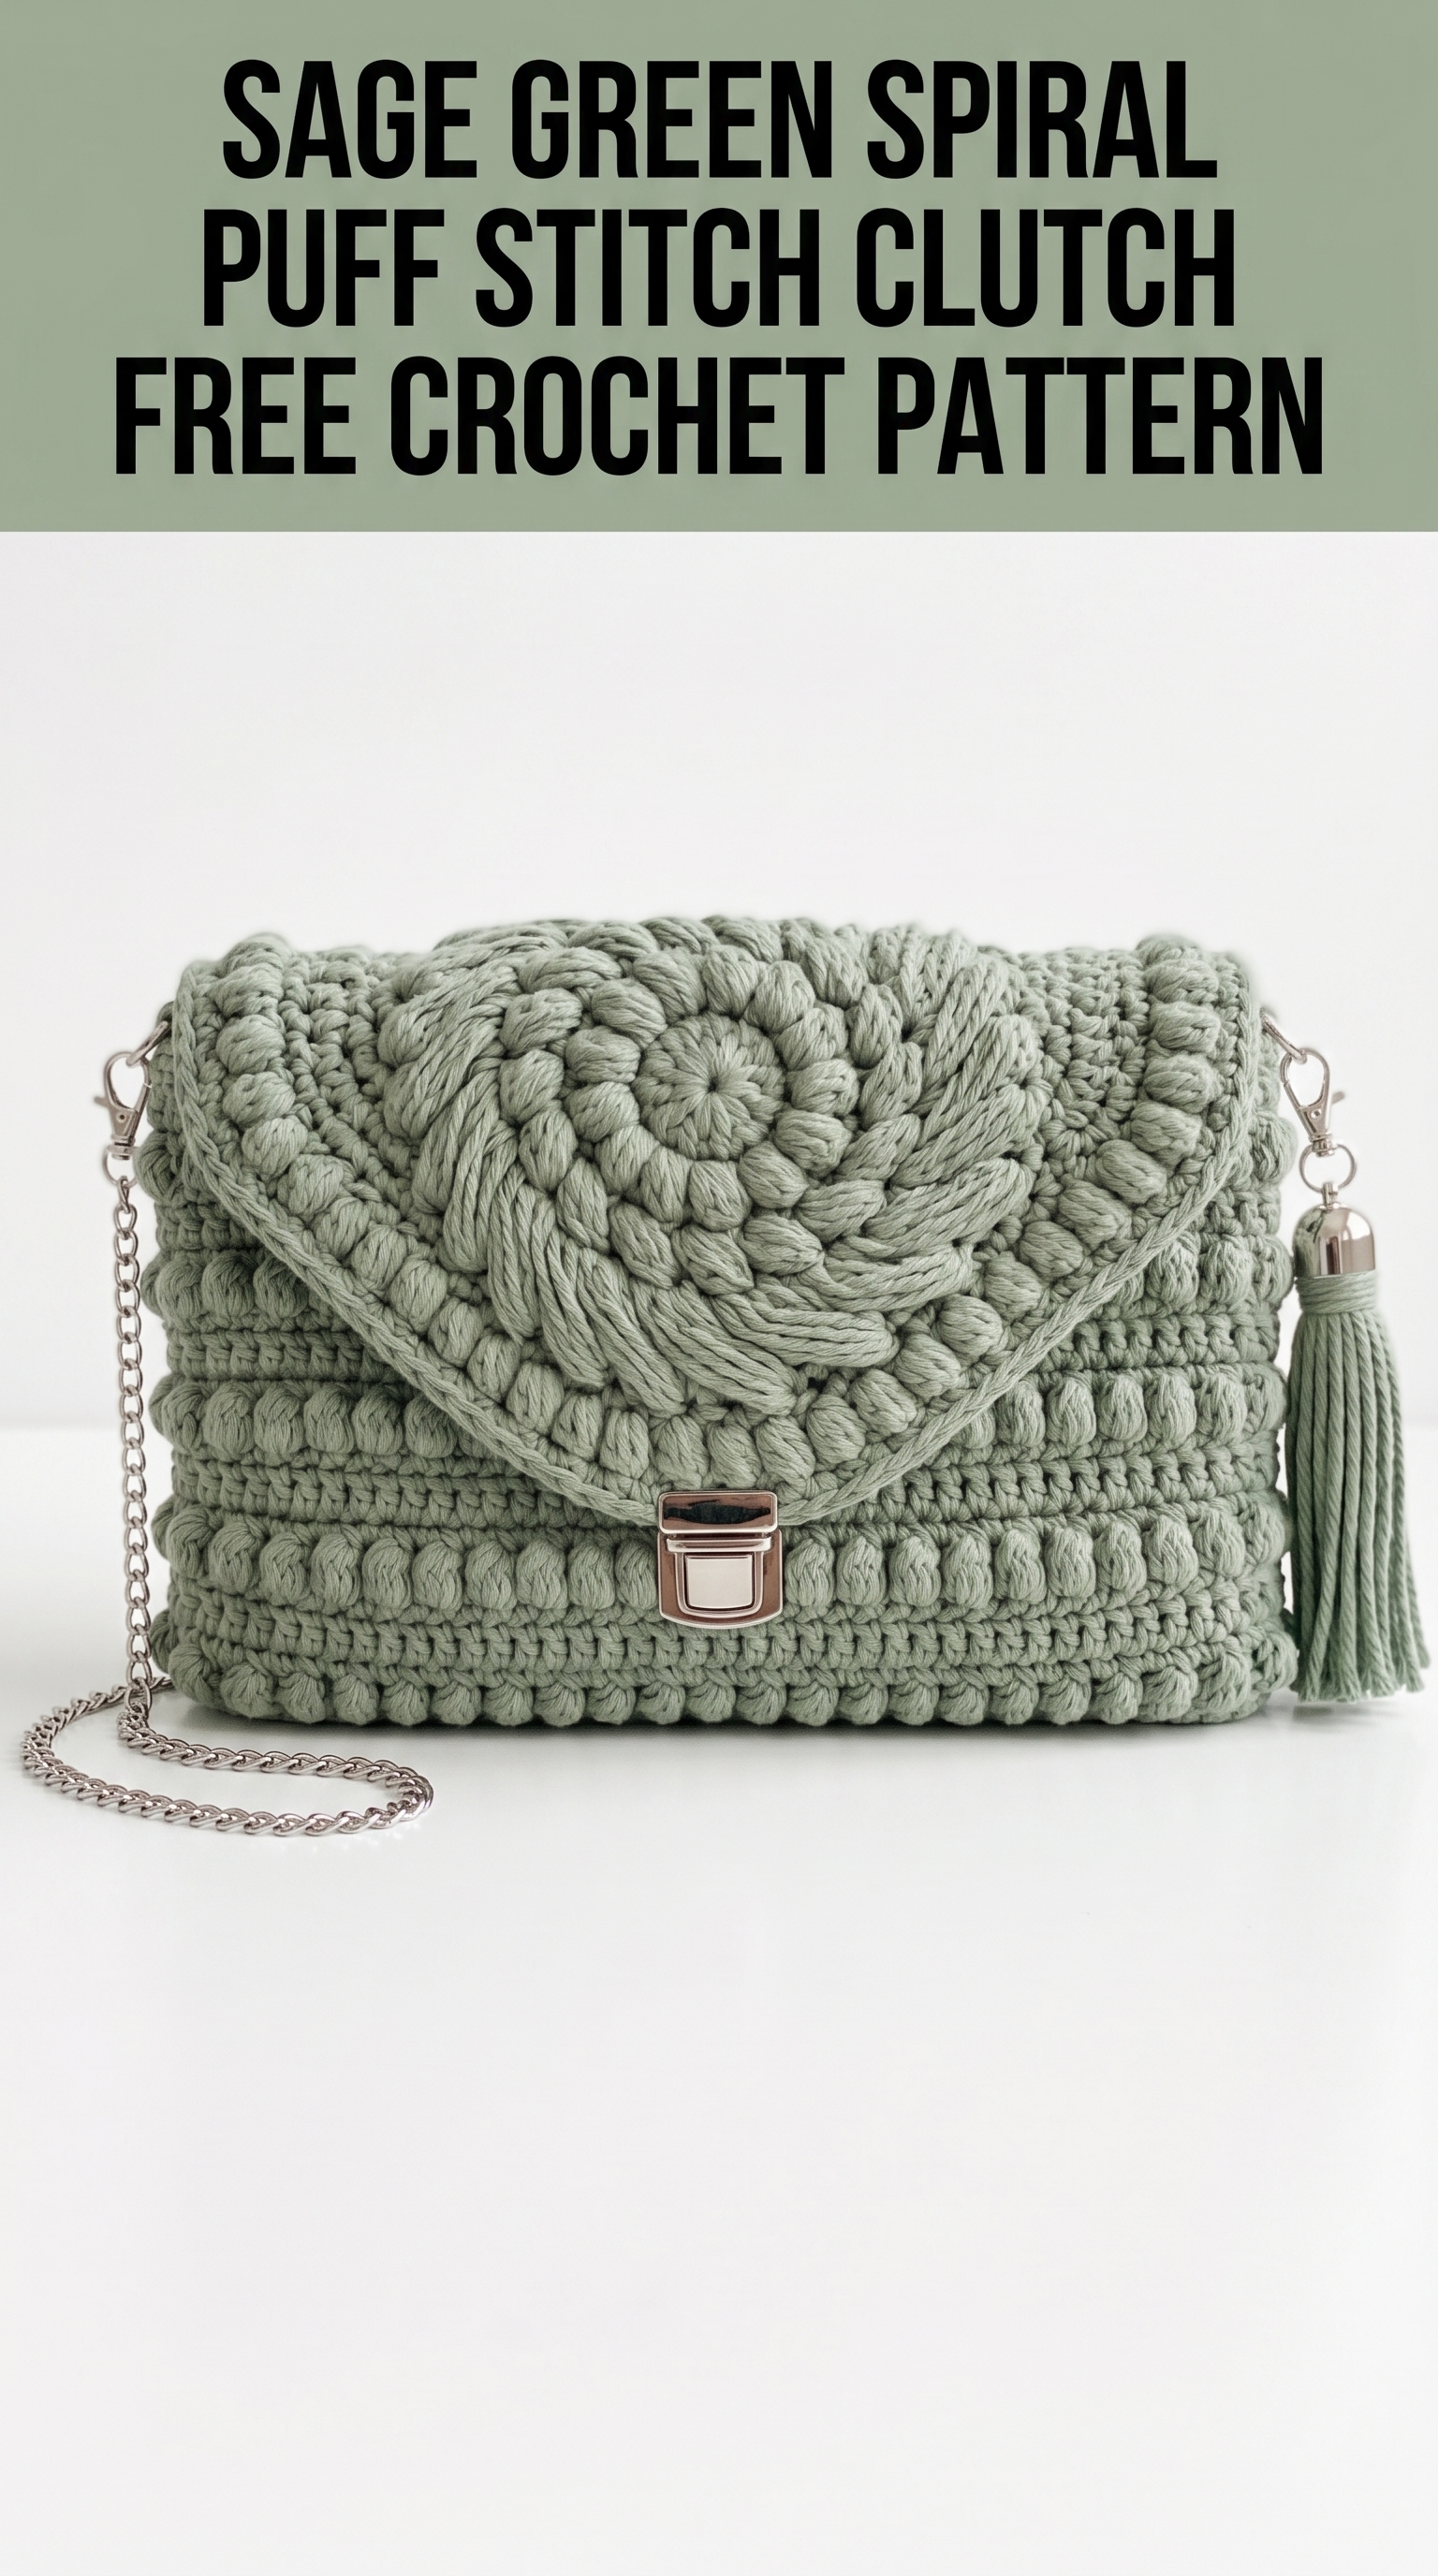
I am so excited to share this spiral puff stitch clutch crochet pattern with you today. The flap features a gorgeous textured spiral design created with puff stitches that radiate outward like petals, while the body of the bag uses a clean combination of single crochet and bobble rows. The result looks incredibly sophisticated, but I promise the techniques are more approachable than they appear.
This crochet tutorial walks you through every step to create this elegant accessory from scratch. If you can work basic stitches and follow a simple pattern repeat, you have everything you need. The spiral flap is worked separately and attached at the end, so even that impressive focal point is manageable when broken into pieces.
Let me show you exactly how to make this beautiful clutch bag.
Why This Spiral Puff Stitch Clutch Pattern Works
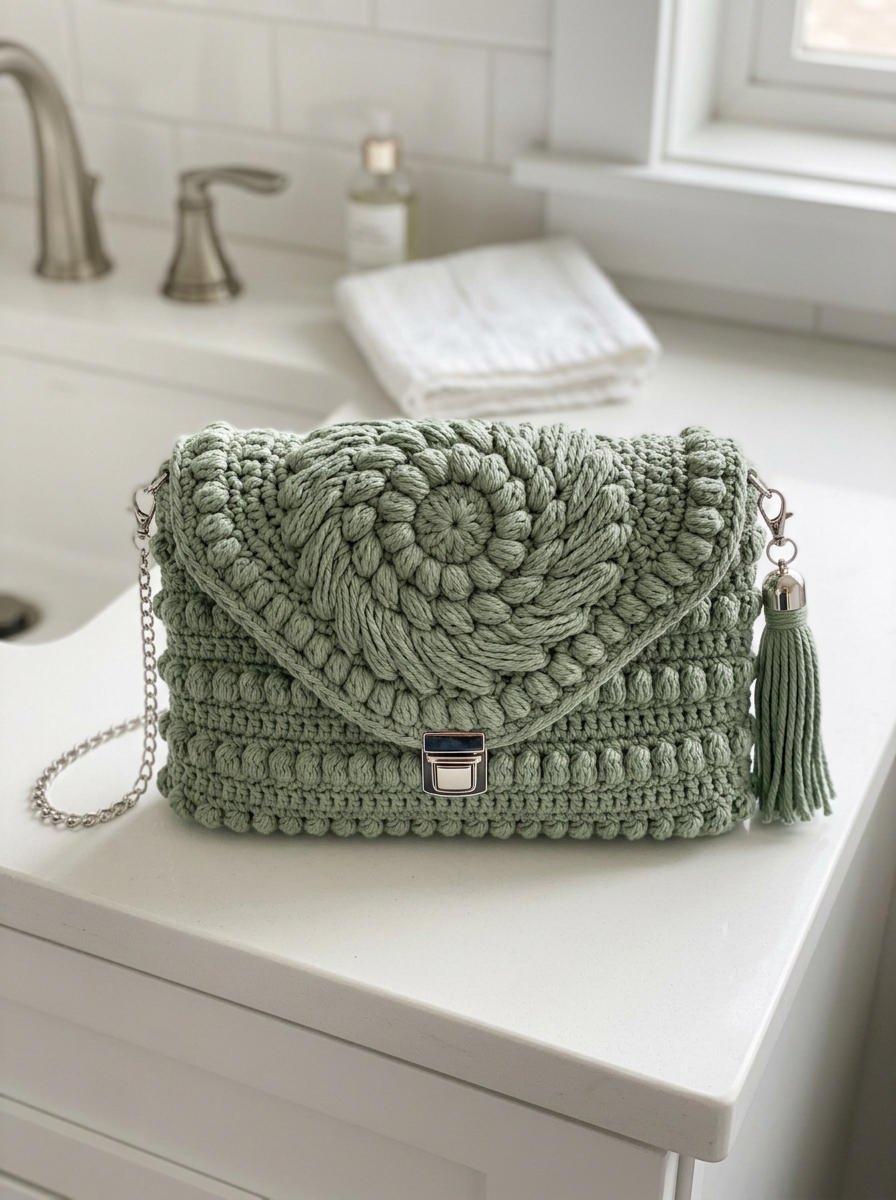
What makes this clutch special is the contrast between the structured body and the organic, flowing spiral on the flap. The puff stitches create dimension and visual interest without adding bulk to the bag itself. Combined with the sage green color and silver hardware, this bag reads as modern and polished.
The construction is smart too. You will work the body as a flat rectangle, fold and seam it, then create the spiral flap as a separate piece. This means no complicated shaping while you work. Each component stays simple until assembly brings everything together.
Materials You Will Need
Yarn:
Hook:
Notions:
Finished Dimensions:
Skill Level
Intermediate. You should be comfortable with basic stitches and willing to try puff stitches if they are new to you. The spiral technique looks complex but follows a logical increase pattern once you get the rhythm.
If you have never made a puff stitch before, I will walk you through it completely. Do not let that stop you.
Abbreviations and Stitch Glossary
Let me define every stitch and term before we begin. Refer back here anytime you need a refresher.
ch = chain. Wrap yarn over hook, pull through loop on hook. This creates the foundation for most crochet projects.
sl st = slip stitch. Insert hook into stitch, yarn over, pull through both the stitch and the loop on your hook in one motion. Used for joining rounds or moving across stitches invisibly.
sc = single crochet. Insert hook into stitch, yarn over and pull up a loop (2 loops on hook), yarn over and pull through both loops. This creates a short, dense stitch.
hdc = half double crochet. Yarn over, insert hook into stitch, yarn over and pull up a loop (3 loops on hook), yarn over and pull through all 3 loops. Slightly taller than single crochet.
dc = double crochet. Yarn over, insert hook into stitch, yarn over and pull up a loop (3 loops on hook), yarn over and pull through 2 loops (2 loops remain), yarn over and pull through remaining 2 loops. Creates a tall, open stitch.
puff st = puff stitch. [Yarn over, insert hook into stitch, yarn over and pull up a loop] 4 times in the same stitch (9 loops on hook), yarn over and pull through all 9 loops, ch 1 to secure. This creates a raised, rounded cluster.
bobble = bobble stitch. Work 5 incomplete dc stitches in the same stitch (6 loops on hook), yarn over and pull through all 6 loops. Similar to puff but with dc base.
inc = increase. Work 2 stitches into the same stitch.
FLO = front loop only. Work into just the front loop of the stitch from the previous row.
BLO = back loop only. Work into just the back loop of the stitch.
Gauge
With 6.0mm hook and chunky cord:
Gauge matters here because the bag needs to hold its shape. If your fabric feels floppy, go down a hook size. If it feels stiff and hard to work, go up a hook size.
Step by Step Crochet Pattern
Part 1: The Clutch Body
The body is worked flat in rows, then folded and seamed to create the bag shape.
Foundation:
Ch 32.
Row 1: Sc in 2nd ch from hook and in each ch across. (31 sts)
Row 2: Ch 1, turn. Sc in BLO of each st across. (31 sts)
This back loop only row creates a subtle ridge that adds texture to the body.
Row 3: Ch 1, turn. Sc in each st across. (31 sts)
Row 4: Ch 1, turn. Sc in first st, *bobble in next st, sc in next st* repeat across. (31 sts, 15 bobbles)
The bobbles should pop toward you as you work. If they are going to the back, push them through to the front with your finger after each one.
Row 5: Ch 1, turn. Sc in each st across, including the top of each bobble. (31 sts)
Row 6: Ch 1, turn. Sc in BLO of each st across. (31 sts)
Rows 7 through 28: Repeat Rows 3 through 6 five more times, then repeat Rows 3 and 4 once more.
You should have 7 bobble rows total with ridge rows between them.
Rows 29 through 32: Ch 1, turn. Sc in each st across. (31 sts each row)
Fasten off, leaving a long tail for seaming.
Part 2: Assembling the Body
Fold the body piece with the foundation chain meeting Row 32. The bobbles should face outward.
Using your tapestry needle and the long tail, whip stitch or mattress stitch the side seams closed. Work through both layers, keeping stitches even and tight.
Weave in ends on the inside of the bag.
The bag should now stand as a pouch with an open top.
Part 3: The Spiral Puff Stitch Flap
This is the showstopper. The flap is worked in a continuous spiral from the center outward.
To begin:
Make a magic ring.
Round 1: Work 6 puff st into the ring, pulling each puff tight before moving to the next. Do not join. Place a stitch marker in the first puff to track your rounds. (6 puff sts)
Here is the key: you are working in a continuous spiral, not joining at the end of each round. The stitch marker moves up with you.
Round 2: Work 2 puff st in each puff st around. (12 puff sts)
Round 3: *Puff st in next st, 2 puff st in next st* repeat around. (18 puff sts)
Round 4: *Puff st in next 2 sts, 2 puff st in next st* repeat around. (24 puff sts)
Round 5: *Puff st in next 3 sts, 2 puff st in next st* repeat around. (30 puff sts)
Round 6: *Puff st in next 4 sts, 2 puff st in next st* repeat around. (36 puff sts)
Round 7: *Puff st in next 5 sts, 2 puff st in next st* repeat around. (42 puff sts)
Round 8: *Puff st in next 6 sts, 2 puff st in next st* repeat around. (48 puff sts)
Continue this pattern, adding one more stitch between increases each round, until your circle measures approximately 9 to 10 inches across. This should be roughly 10 to 11 rounds total depending on your gauge.
Final Round: Sl st in next st. Fasten off, leaving a very long tail for attaching to the body.
The spiral will naturally curve in one direction. This creates that beautiful swirl effect you see in the finished bag.
Part 4: Shaping the Flap
The circular spiral needs to become a semi-circle that sits as a flap.
Fold the circle in half. The fold line will attach to the back of the bag opening.
Using your long tail and tapestry needle, whip stitch the straight edge of the folded flap to the back edge of the bag opening. Work through both layers of the flap and the bag edge, keeping stitches small and even.
The rounded portion of the flap will curve over the front of the bag.
Part 5: Adding Hardware
Push Lock Clasp:
Position the clasp on the front center of the bag body, approximately 1 inch below the top edge. Mark where the prongs will go.
Using a yarn needle or awl, carefully create small holes for the prongs. Insert the clasp and bend the prongs flat on the inside. Some crafters add a small piece of felt or fabric behind the prongs for a cleaner interior finish.
Attach the corresponding lock plate to the flap, centering it so the clasp closes smoothly.
D-Rings:
Attach D-rings to each side seam at the top of the bag. You can crochet small tabs (ch 8, sl st to join as a loop) and sew them inside the seam, or use small metal rings sewn directly with needle and thread.
Chain Strap:
Clip your chain strap to the D-rings. Adjust length to your preference for crossbody or shoulder wear.
Tassel:
Attach a matching tassel to one D-ring or the chain strap. You can make your own by wrapping yarn around a piece of cardboard, tying at the top, cutting the bottom, and wrapping the neck.
Finishing Tips for Your Crochet Clutch
Common Questions About This Pattern
Can I use different yarn?
Yes, but choose something with body. Soft acrylic will not hold the bag shape well. Cotton, cord, or t-shirt yarn work best.
My puff stitches look different from each other.
This is normal at first. Tension evens out as you get comfortable. Pull each puff snug before starting the next one for consistency.
The spiral is cupping instead of lying flat.
You may need more increases. Add an extra increase round or try a larger hook.
How do I keep track of rounds in the spiral?
Move your stitch marker up every round. Some people use a different color marker for every 5th round.
You Did It
I hope this spiral puff stitch clutch crochet pattern brings you as much joy to make as it has brought me. There is something deeply satisfying about creating an accessory this beautiful with your own hands. The combination of texture, color, and hardware elevates this bag to something truly special.
Thank you so much for choosing this pattern and trusting me to guide you through the process. Your time and creativity mean the world.
When you finish your clutch, I would absolutely love to see it. Share your photos with me on Instagram or in our Facebook group so I can celebrate your work. Tag me and use hashtags so fellow crocheters can find your inspiration.
Happy crocheting, friend. You have got this.
